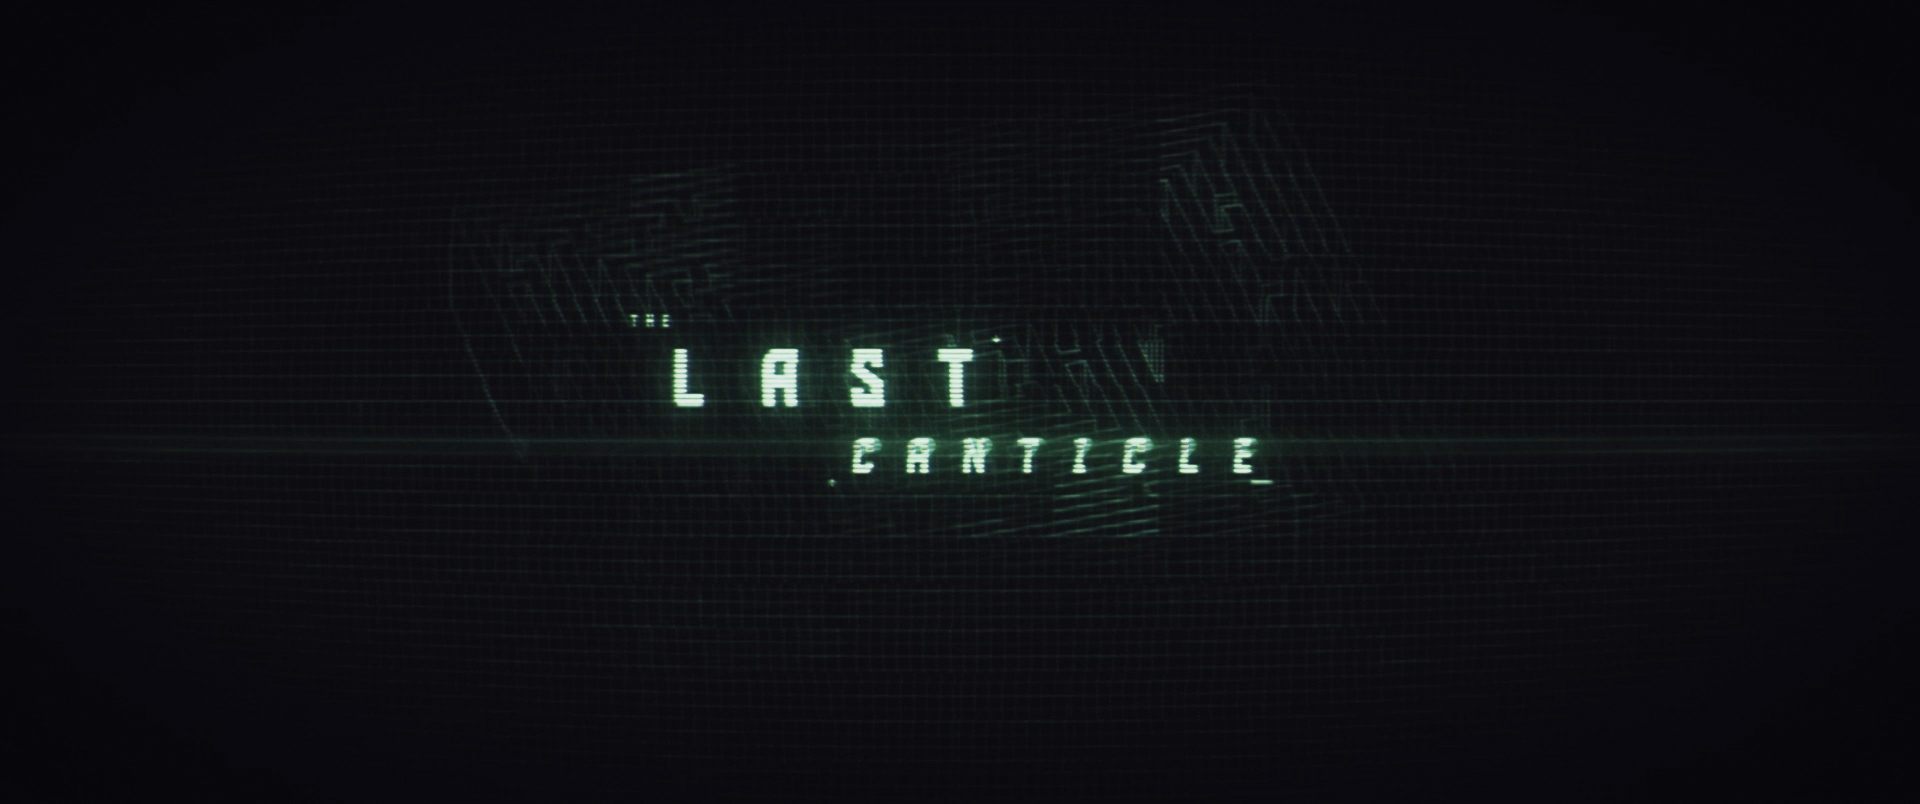
The Last Canticle
Audio + Video Experiment / Kitbash3d Contest
The Last Canticle
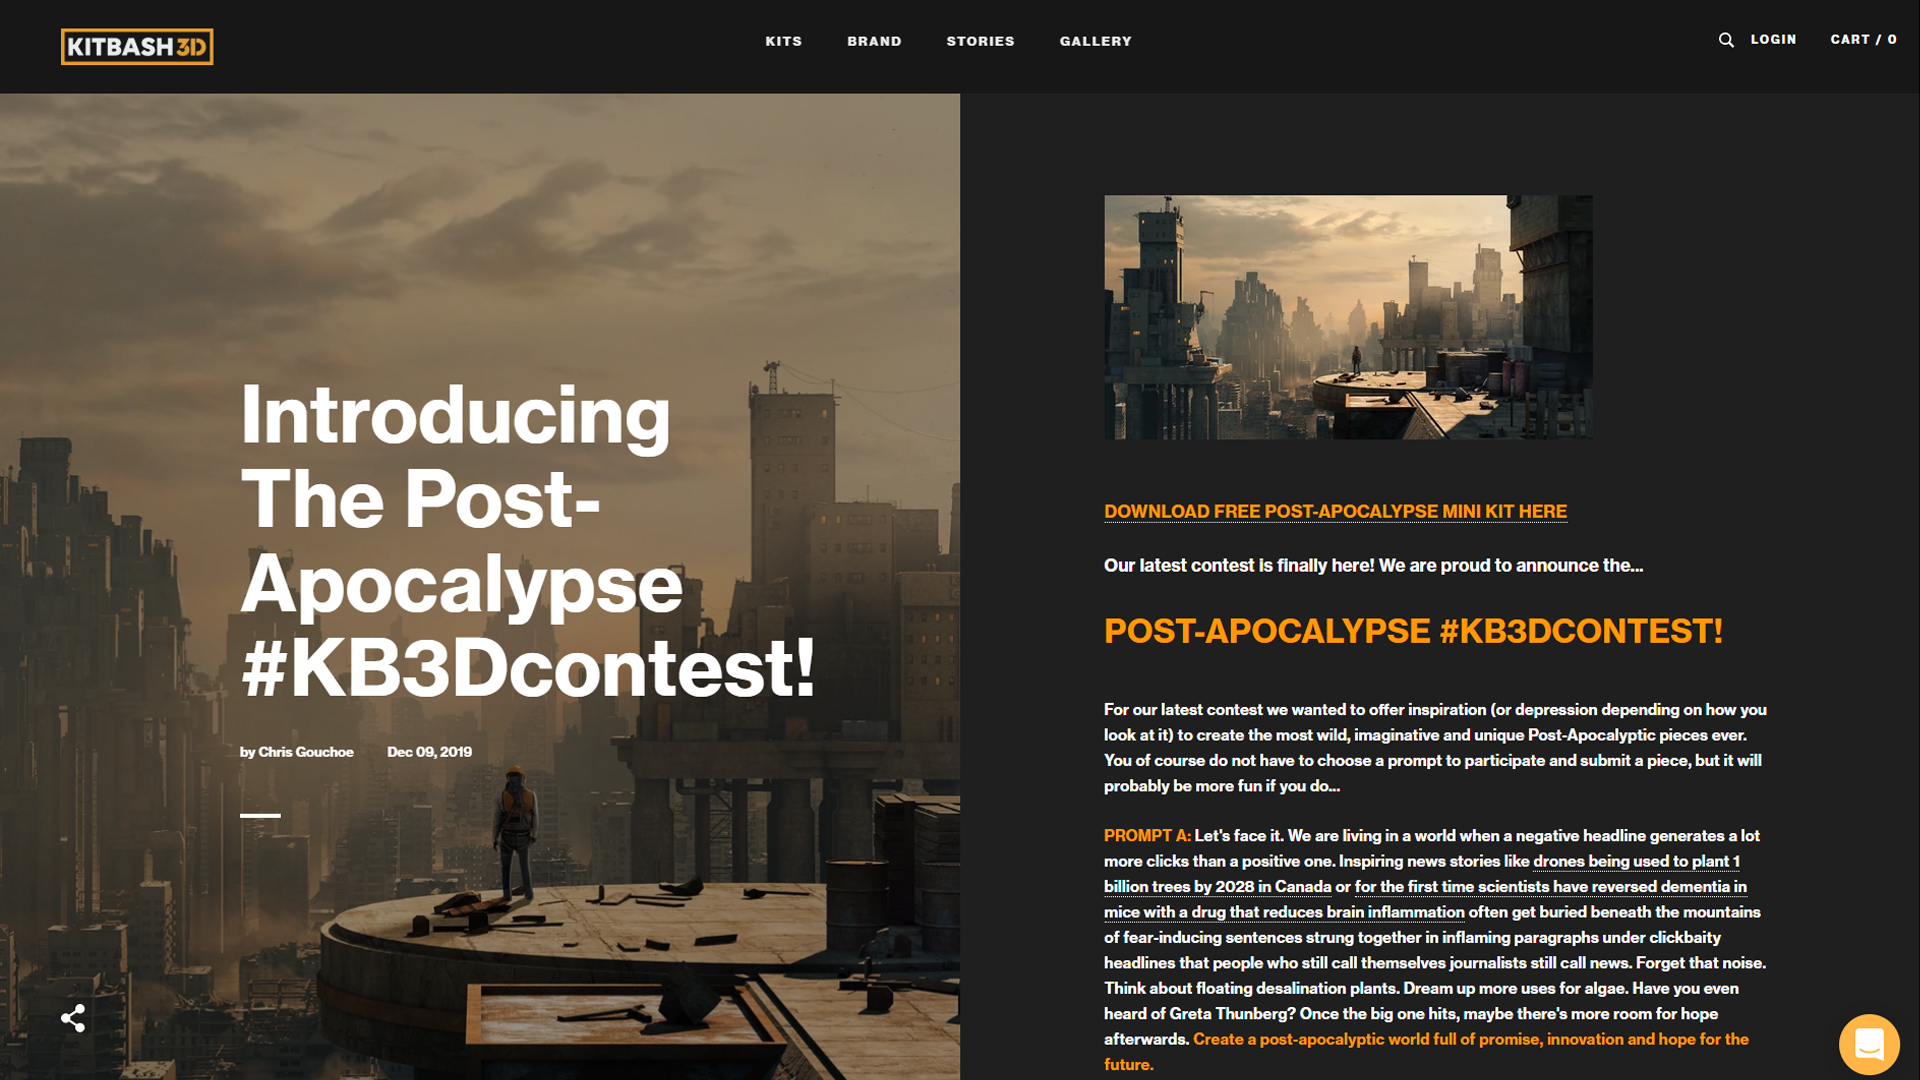
Brief
External deadlines are immensely helpful when undertaking personal projects. So when the awesome folks over at Kitbash3d announced a “Post-Apocalypse” contest, a plan was hatched!
SOLUTION
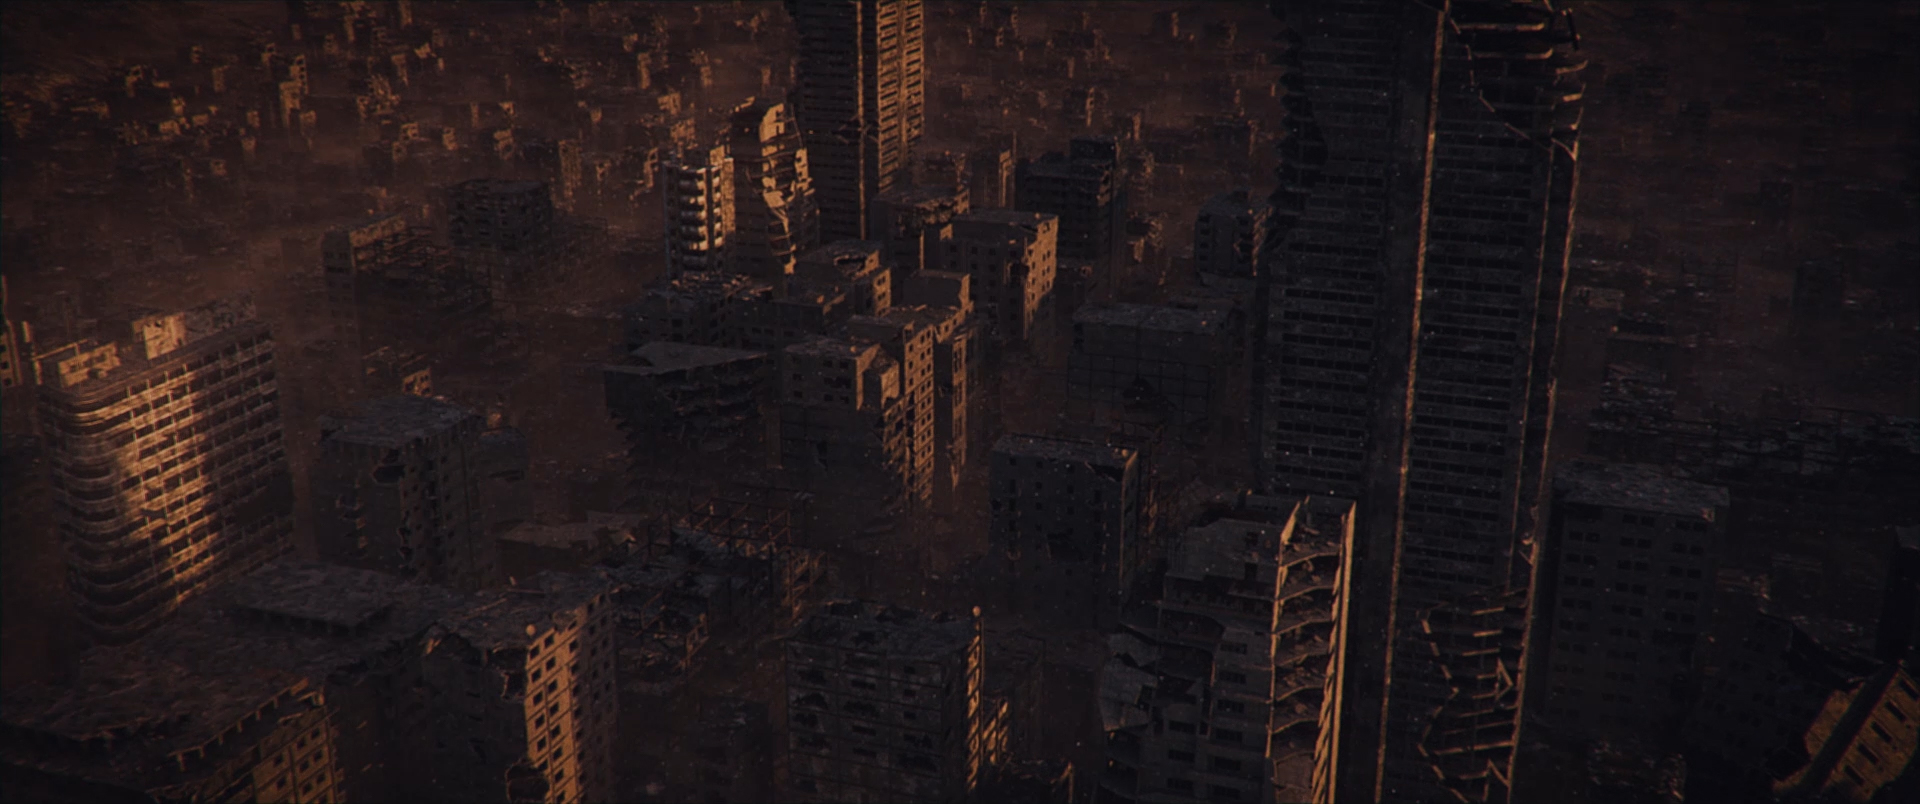
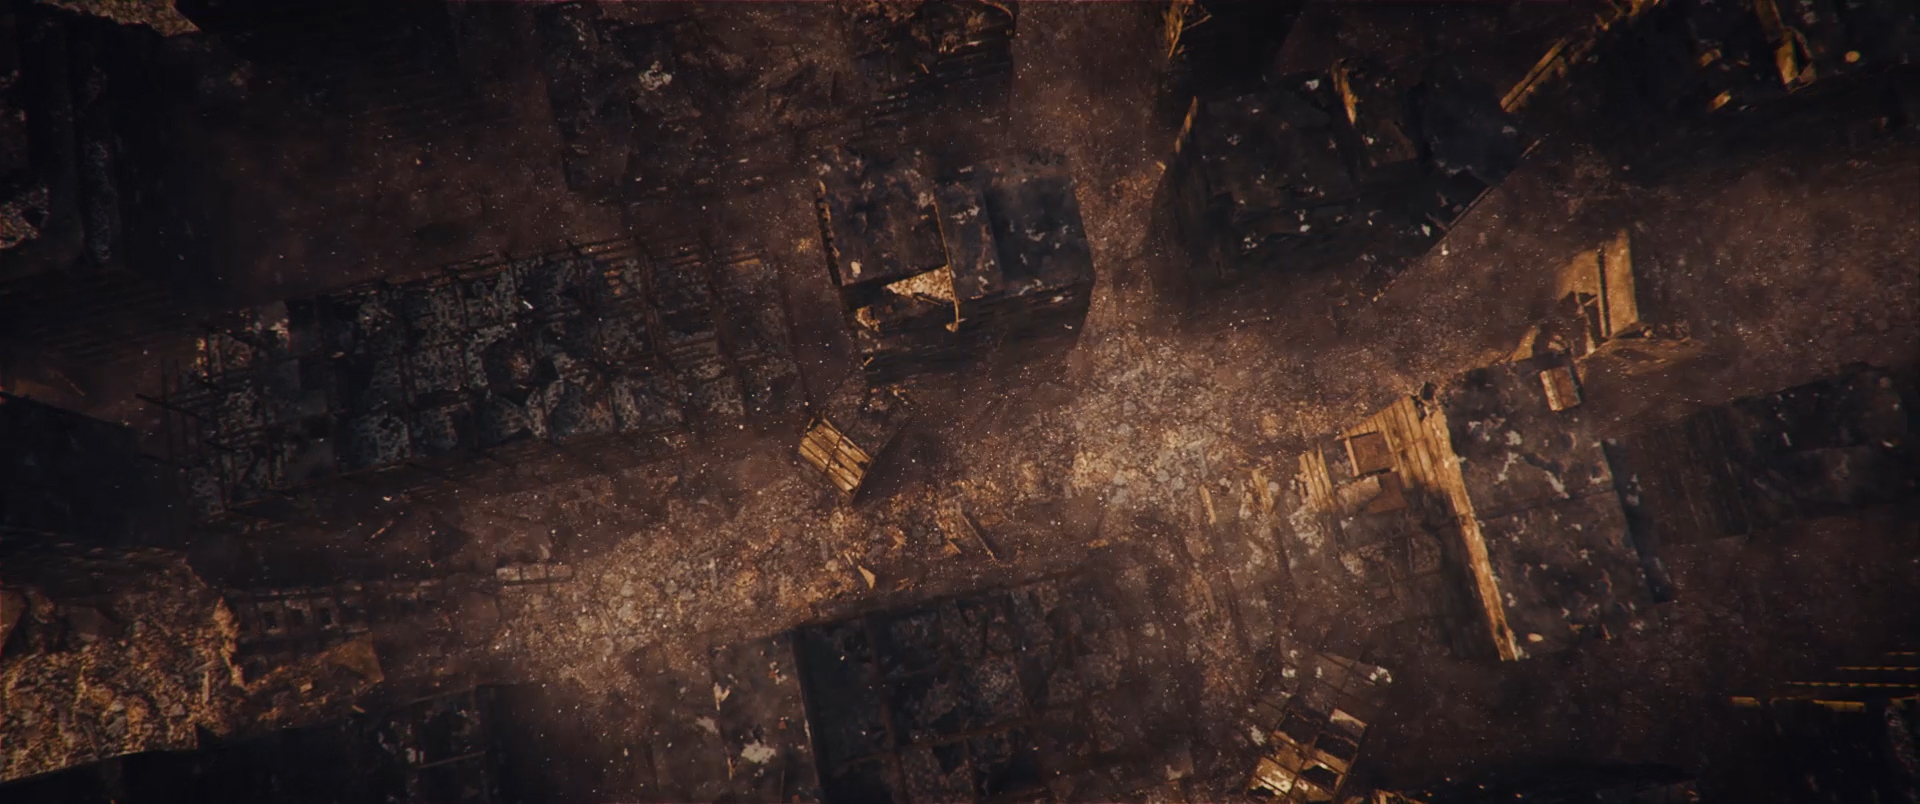
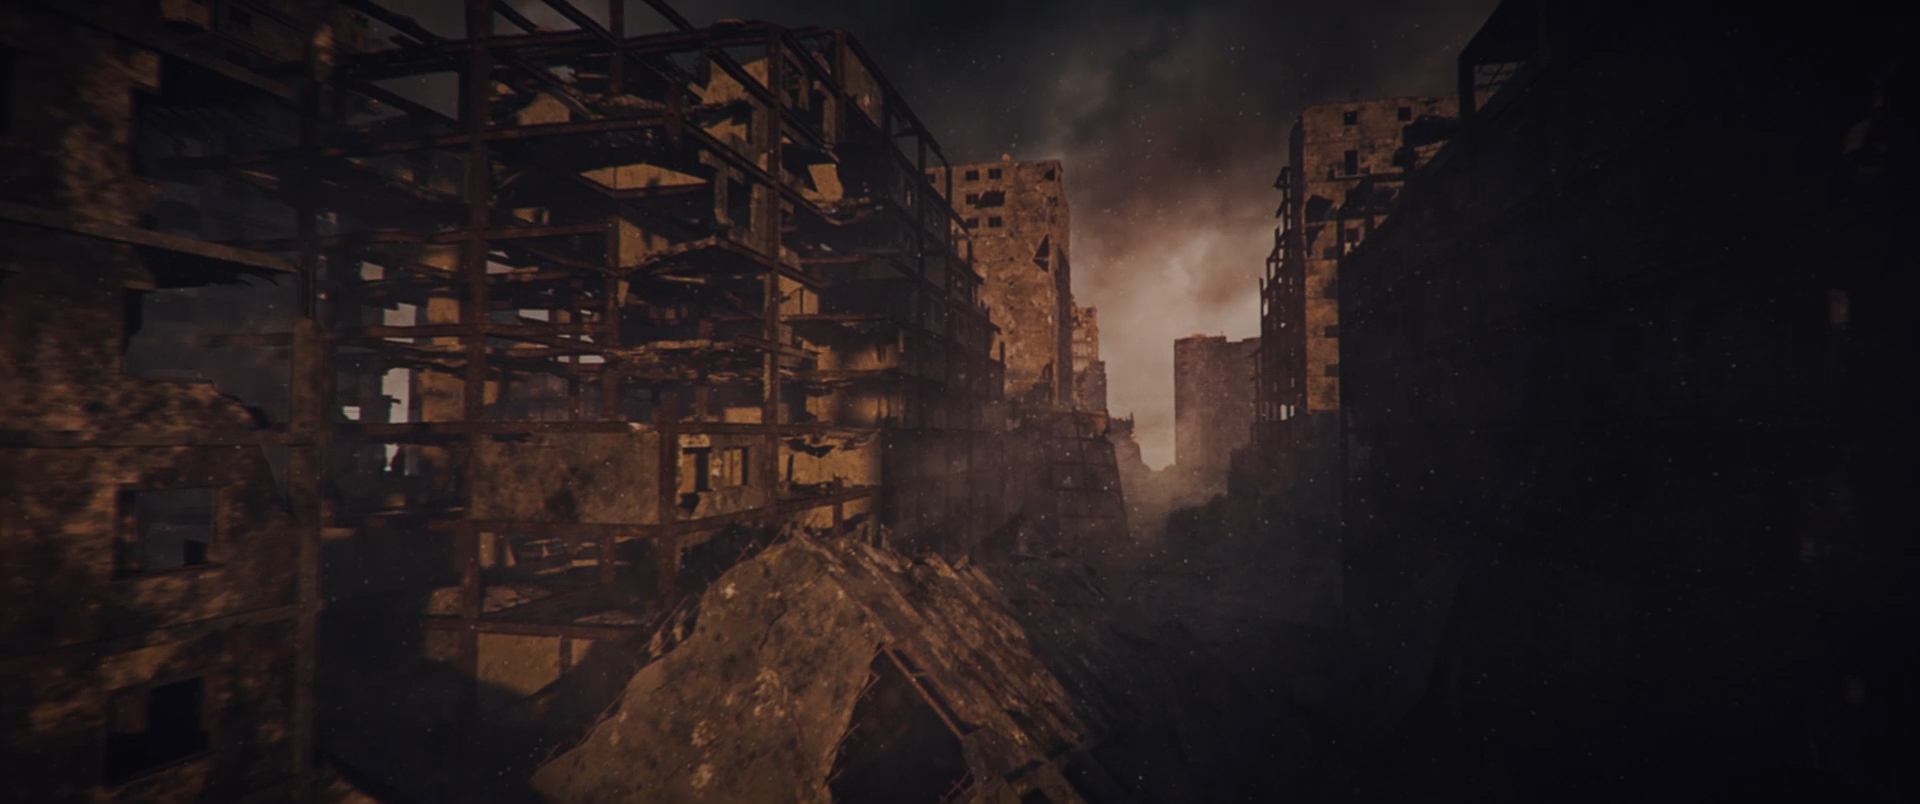
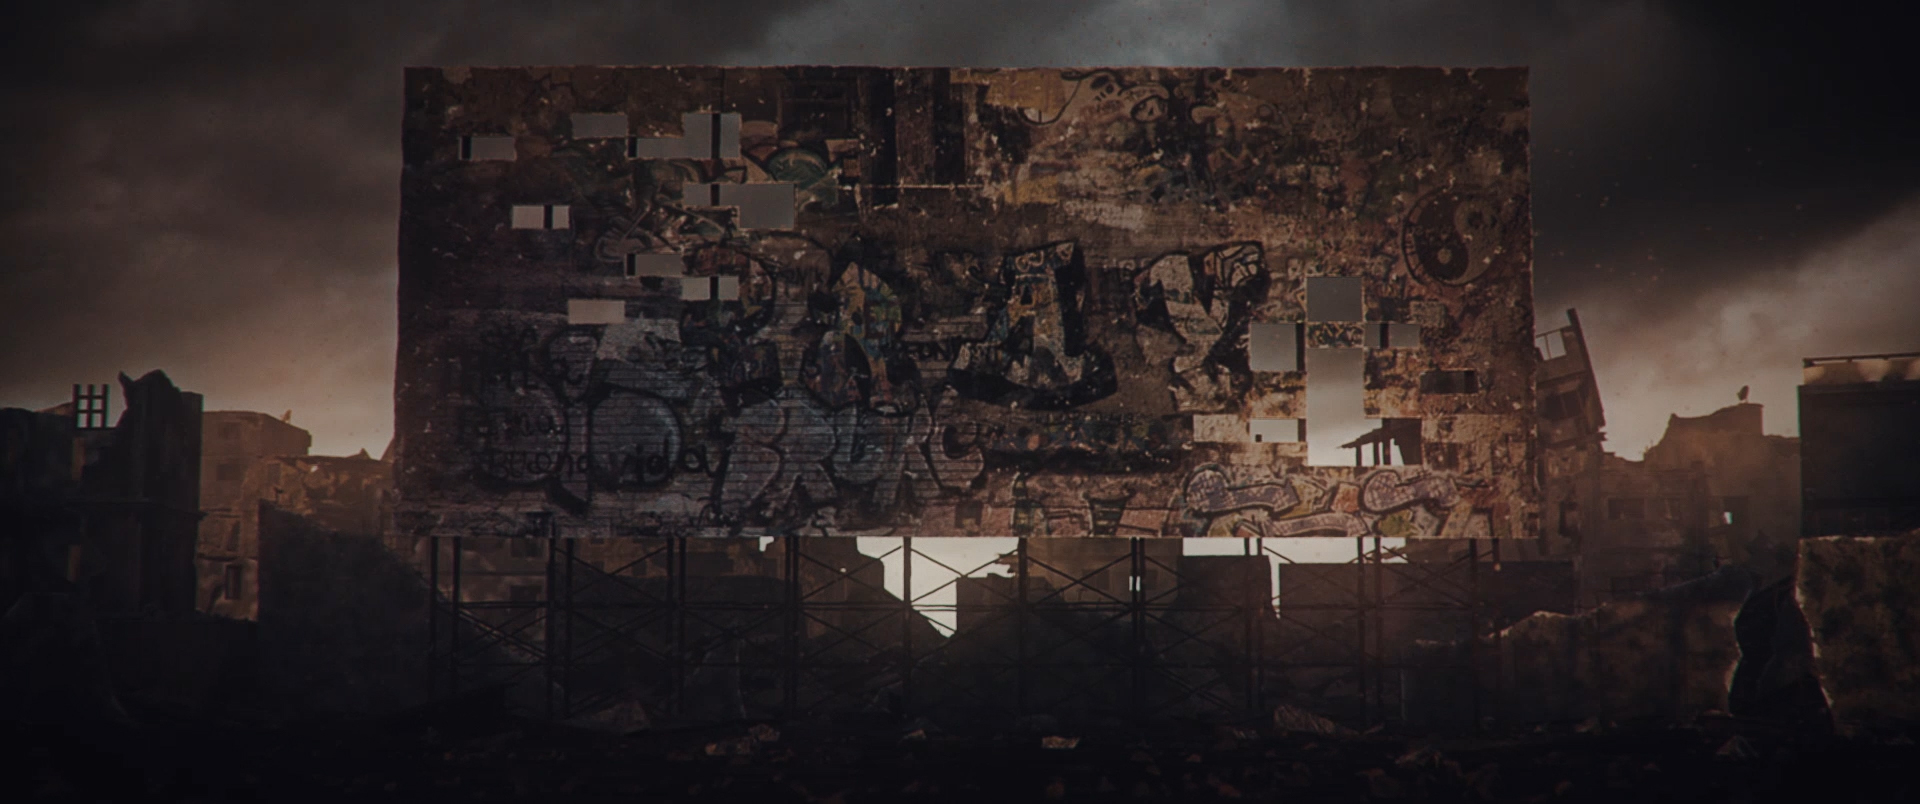
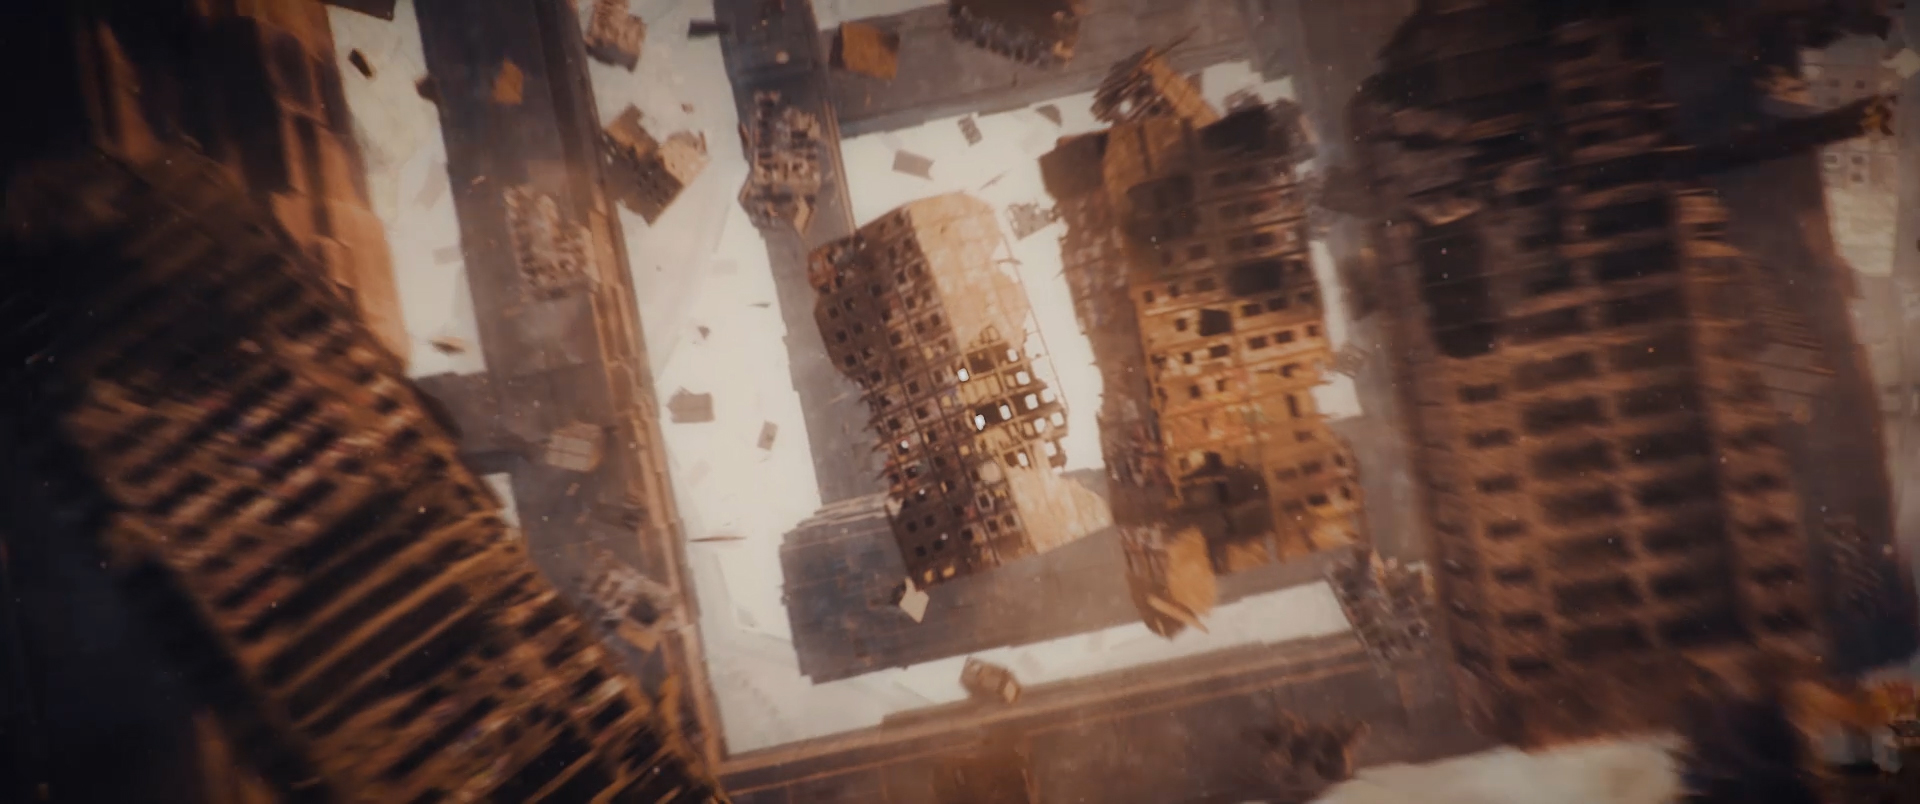
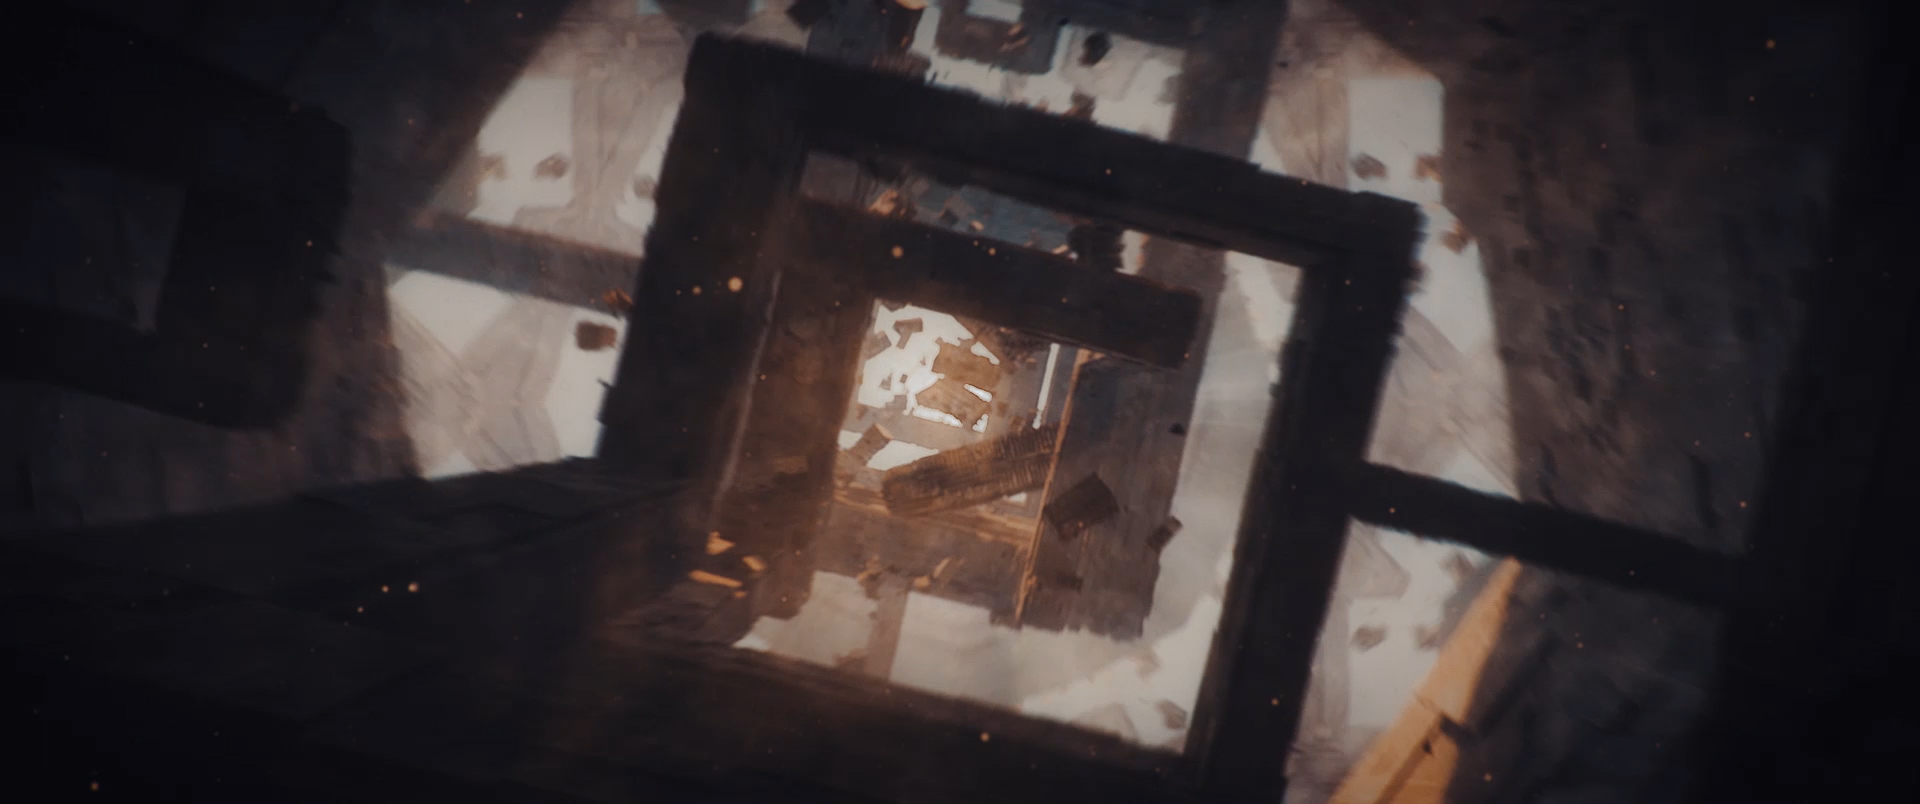
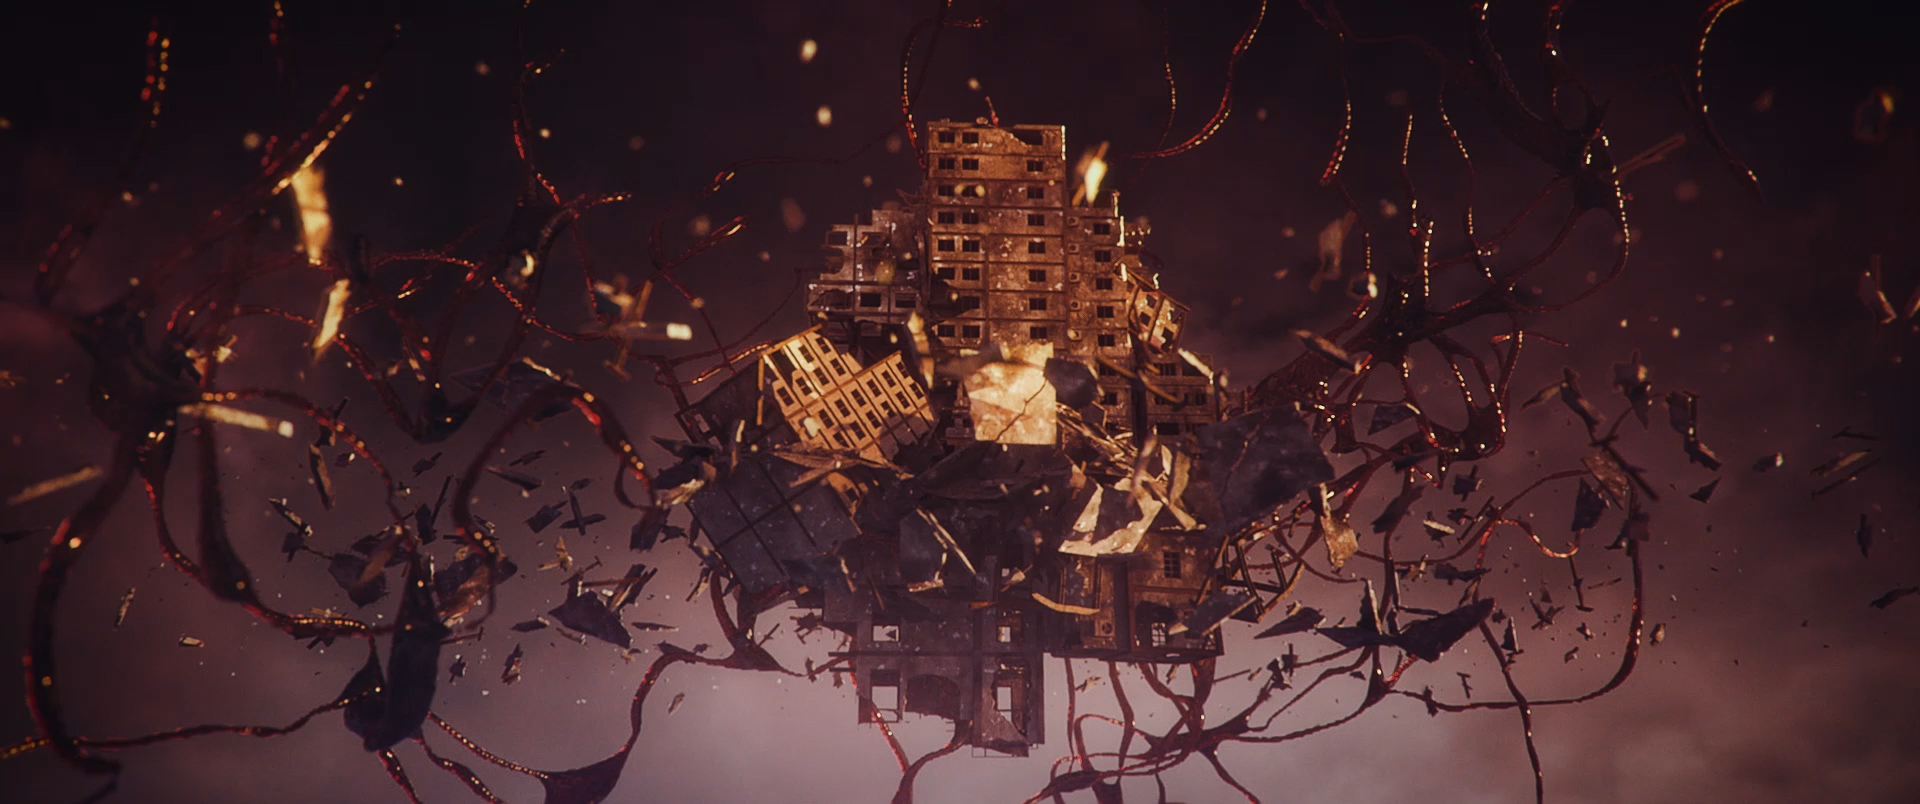
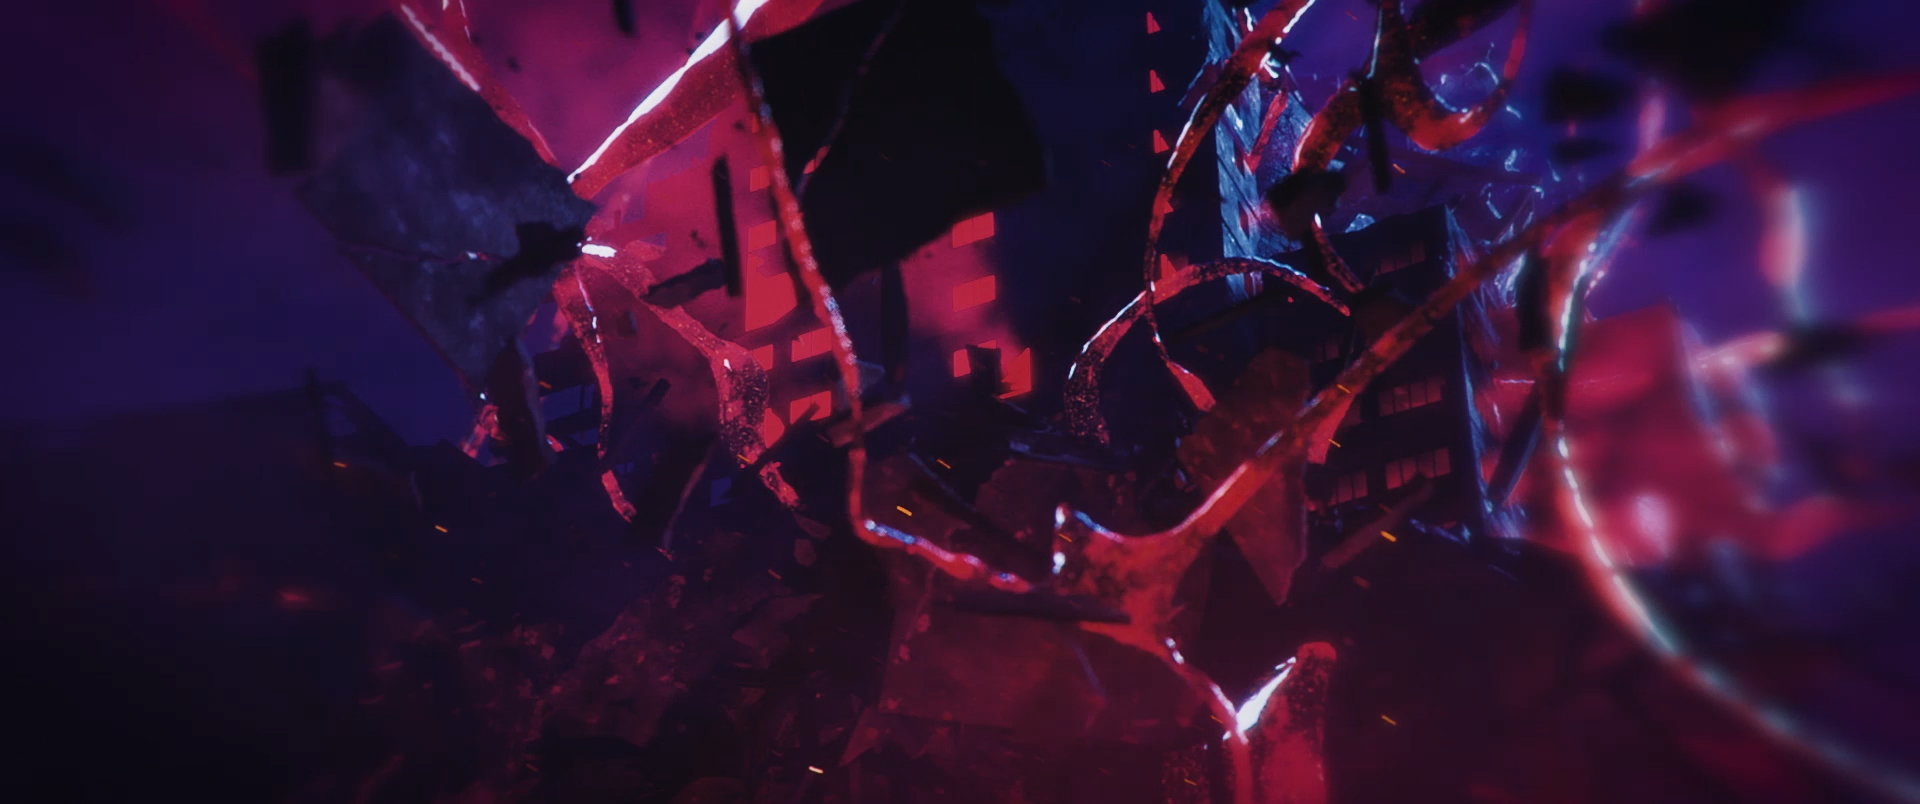
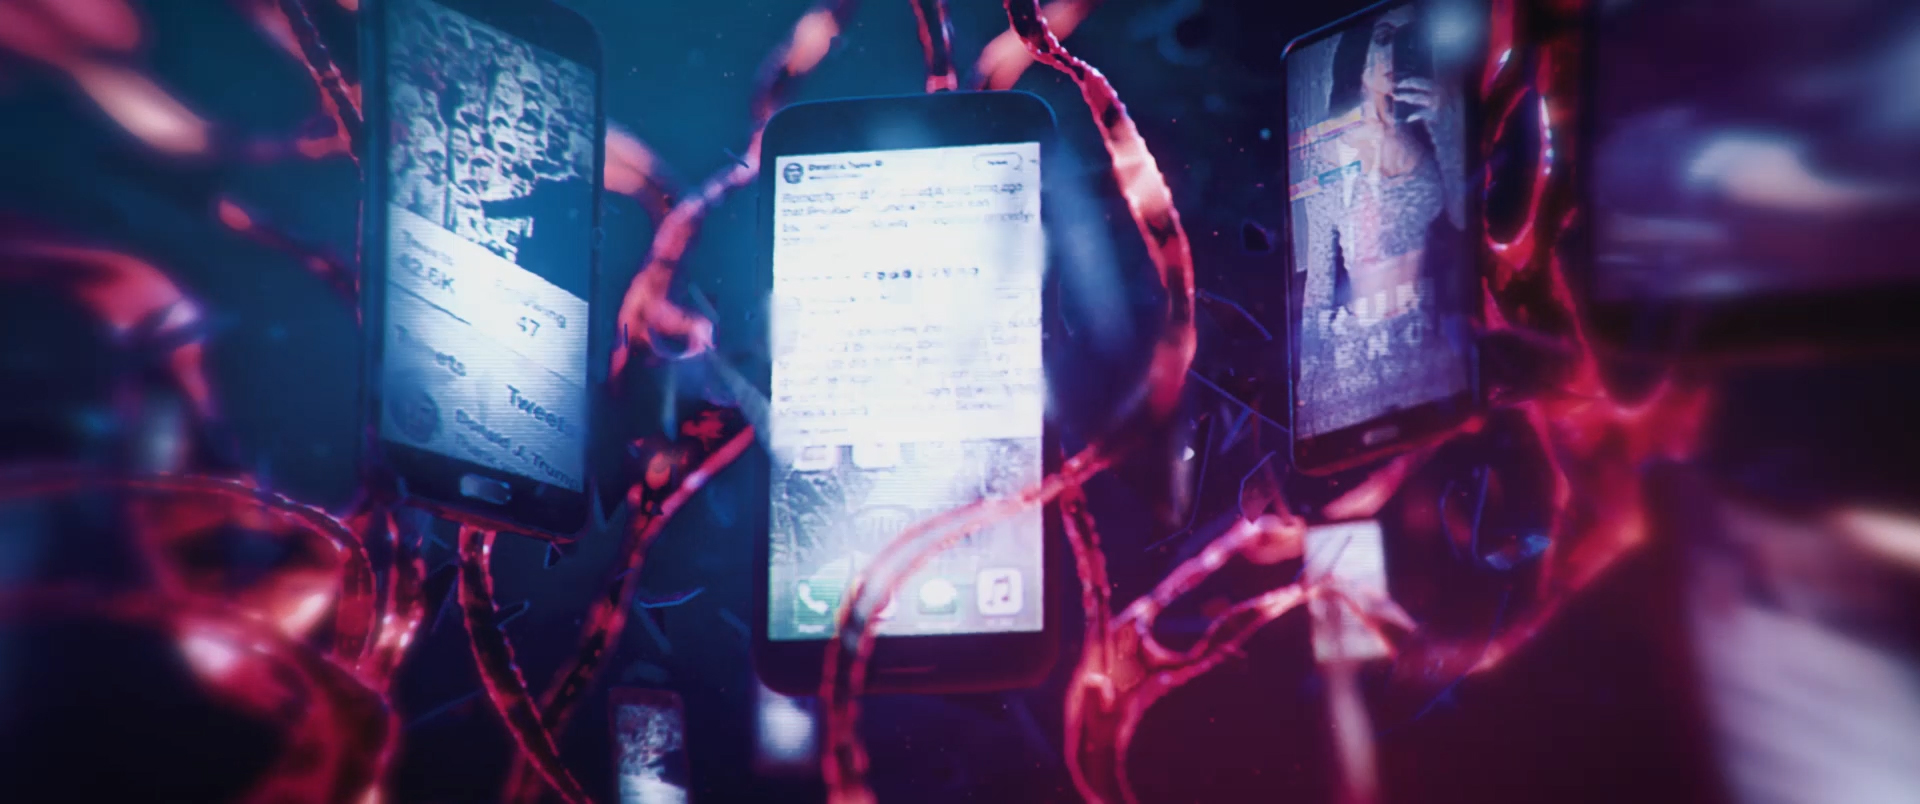
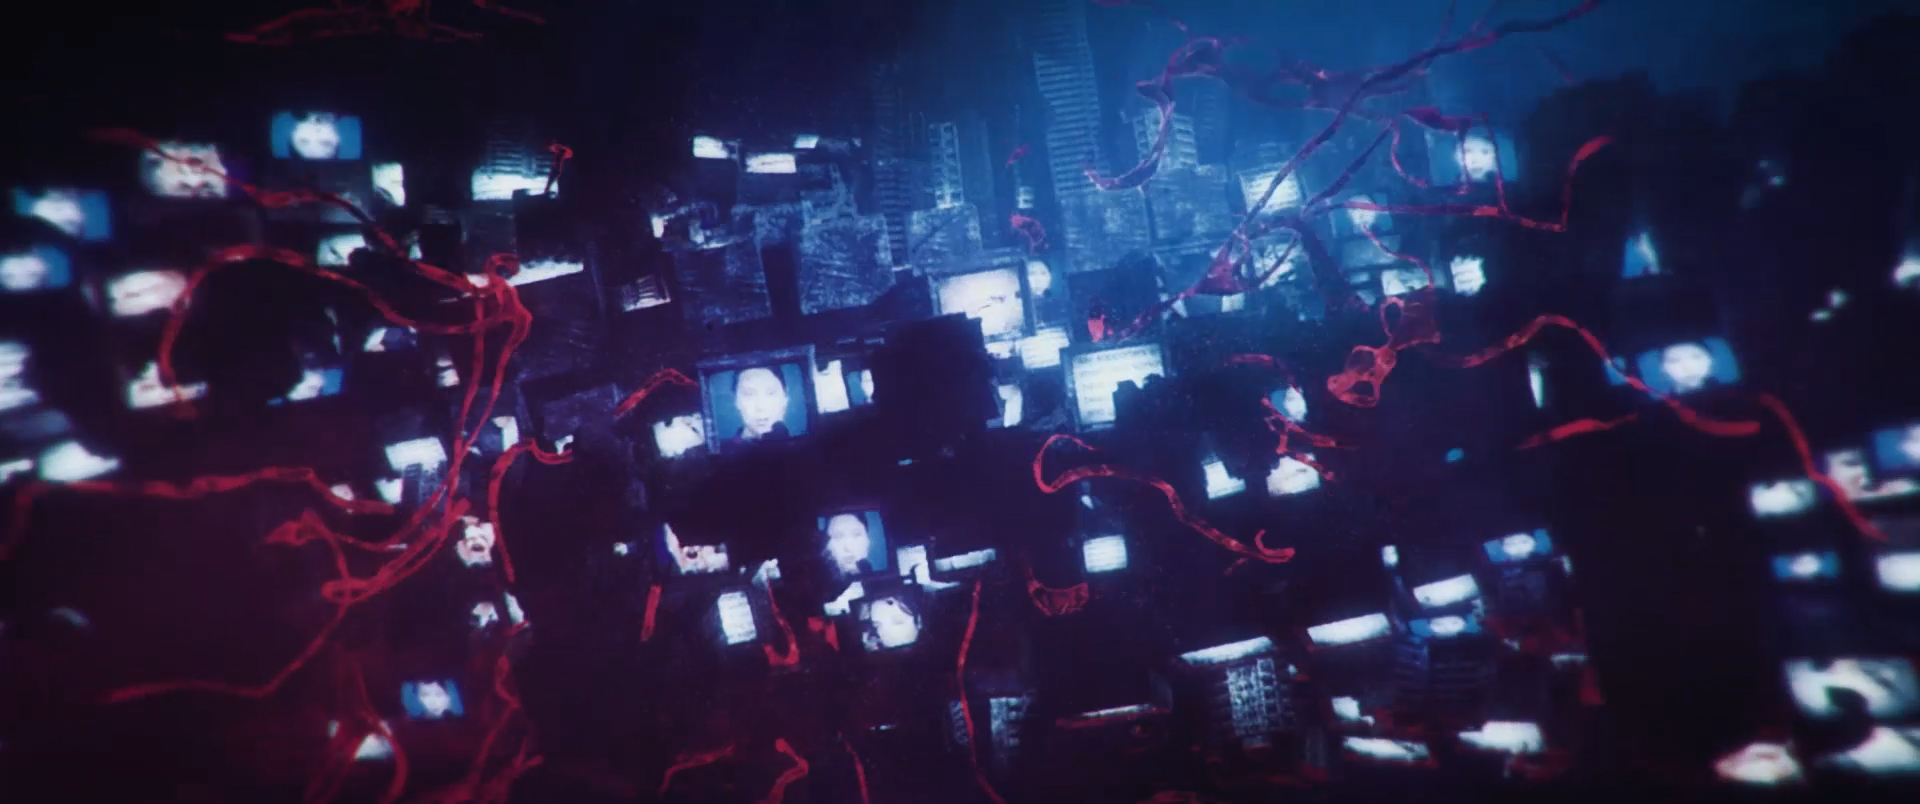
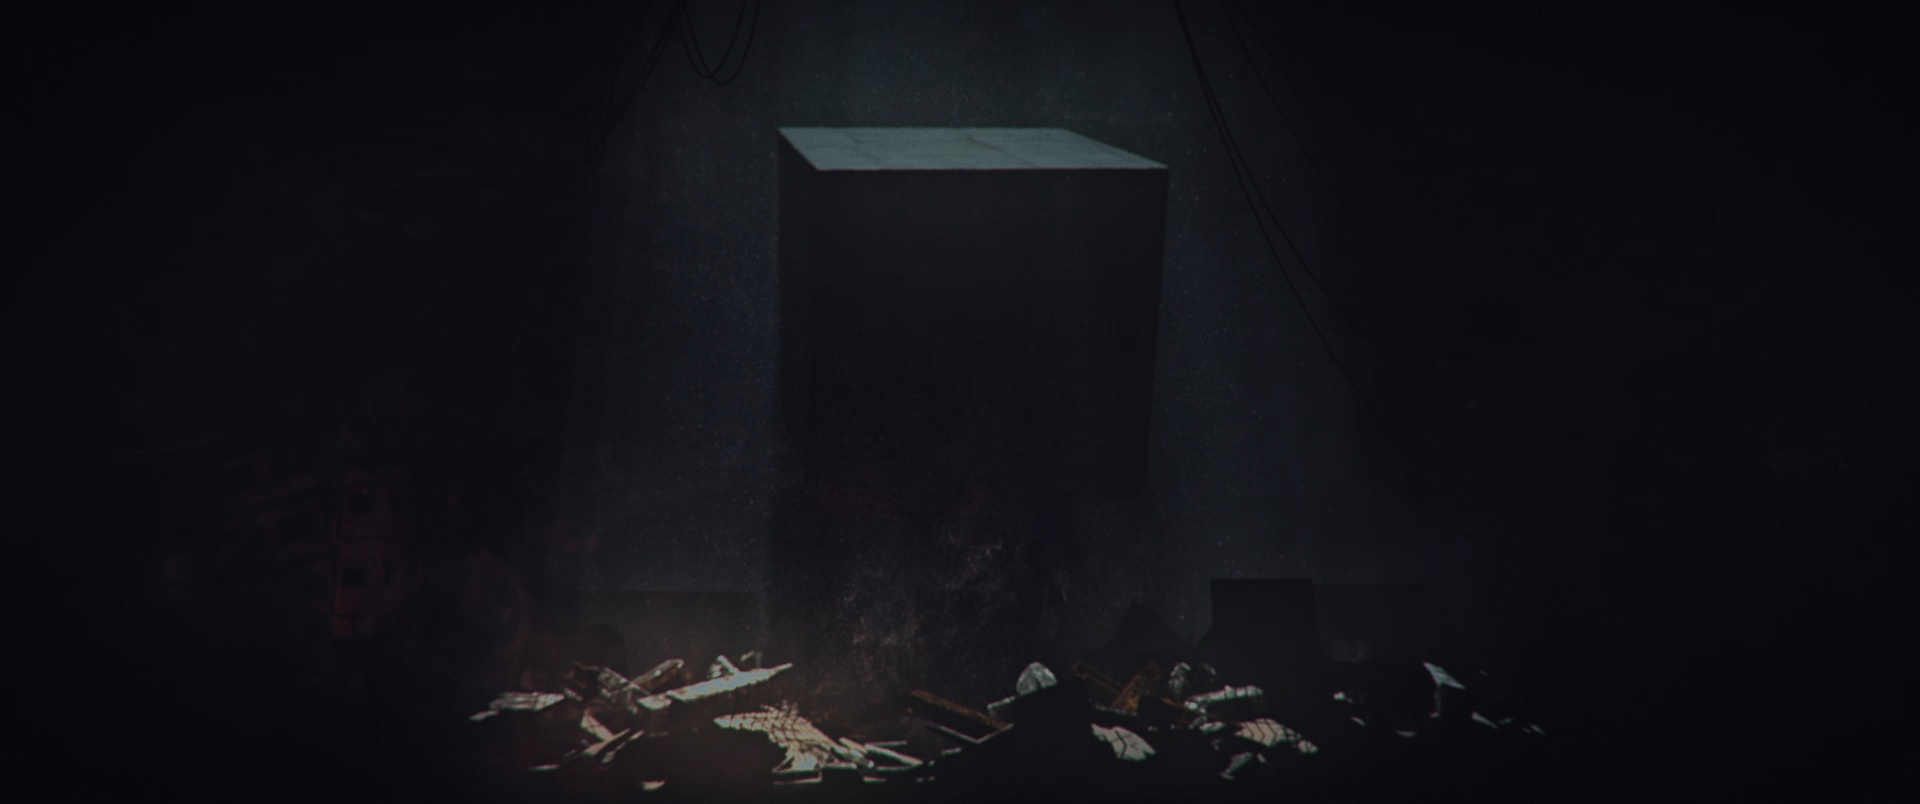
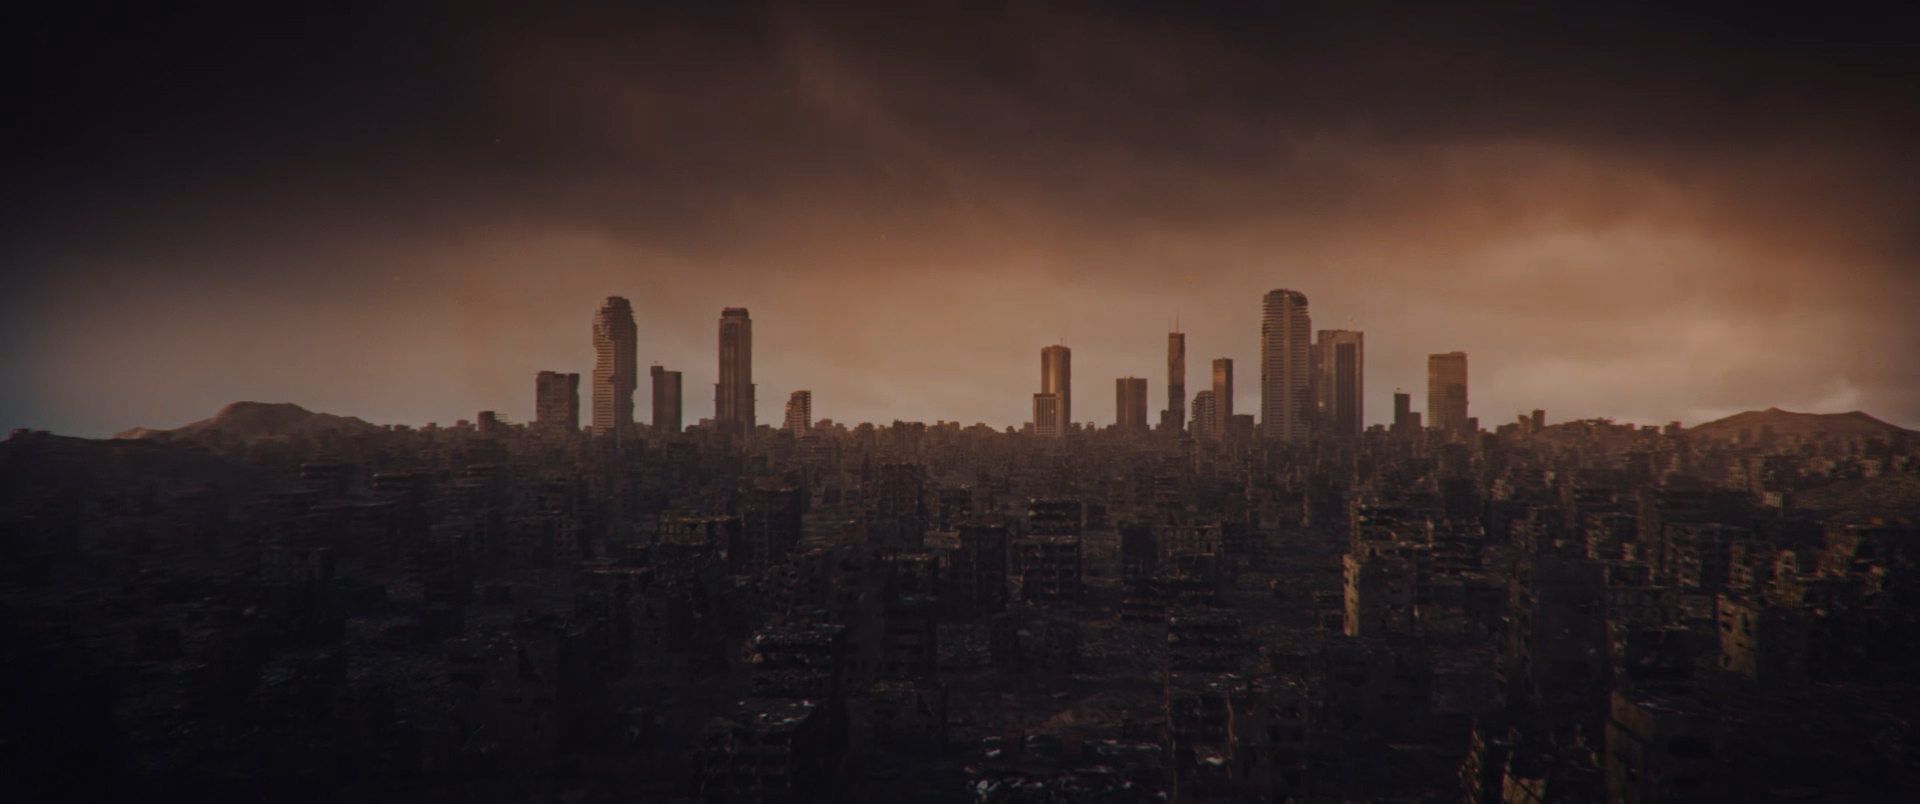
The Last Canticle is an audio and visual experiment. Using a handful of 3d models from Kitbash3d, I created this abstract narrative. How did this happen? How did we get here? What do we do know? What is… The Last Canticle?

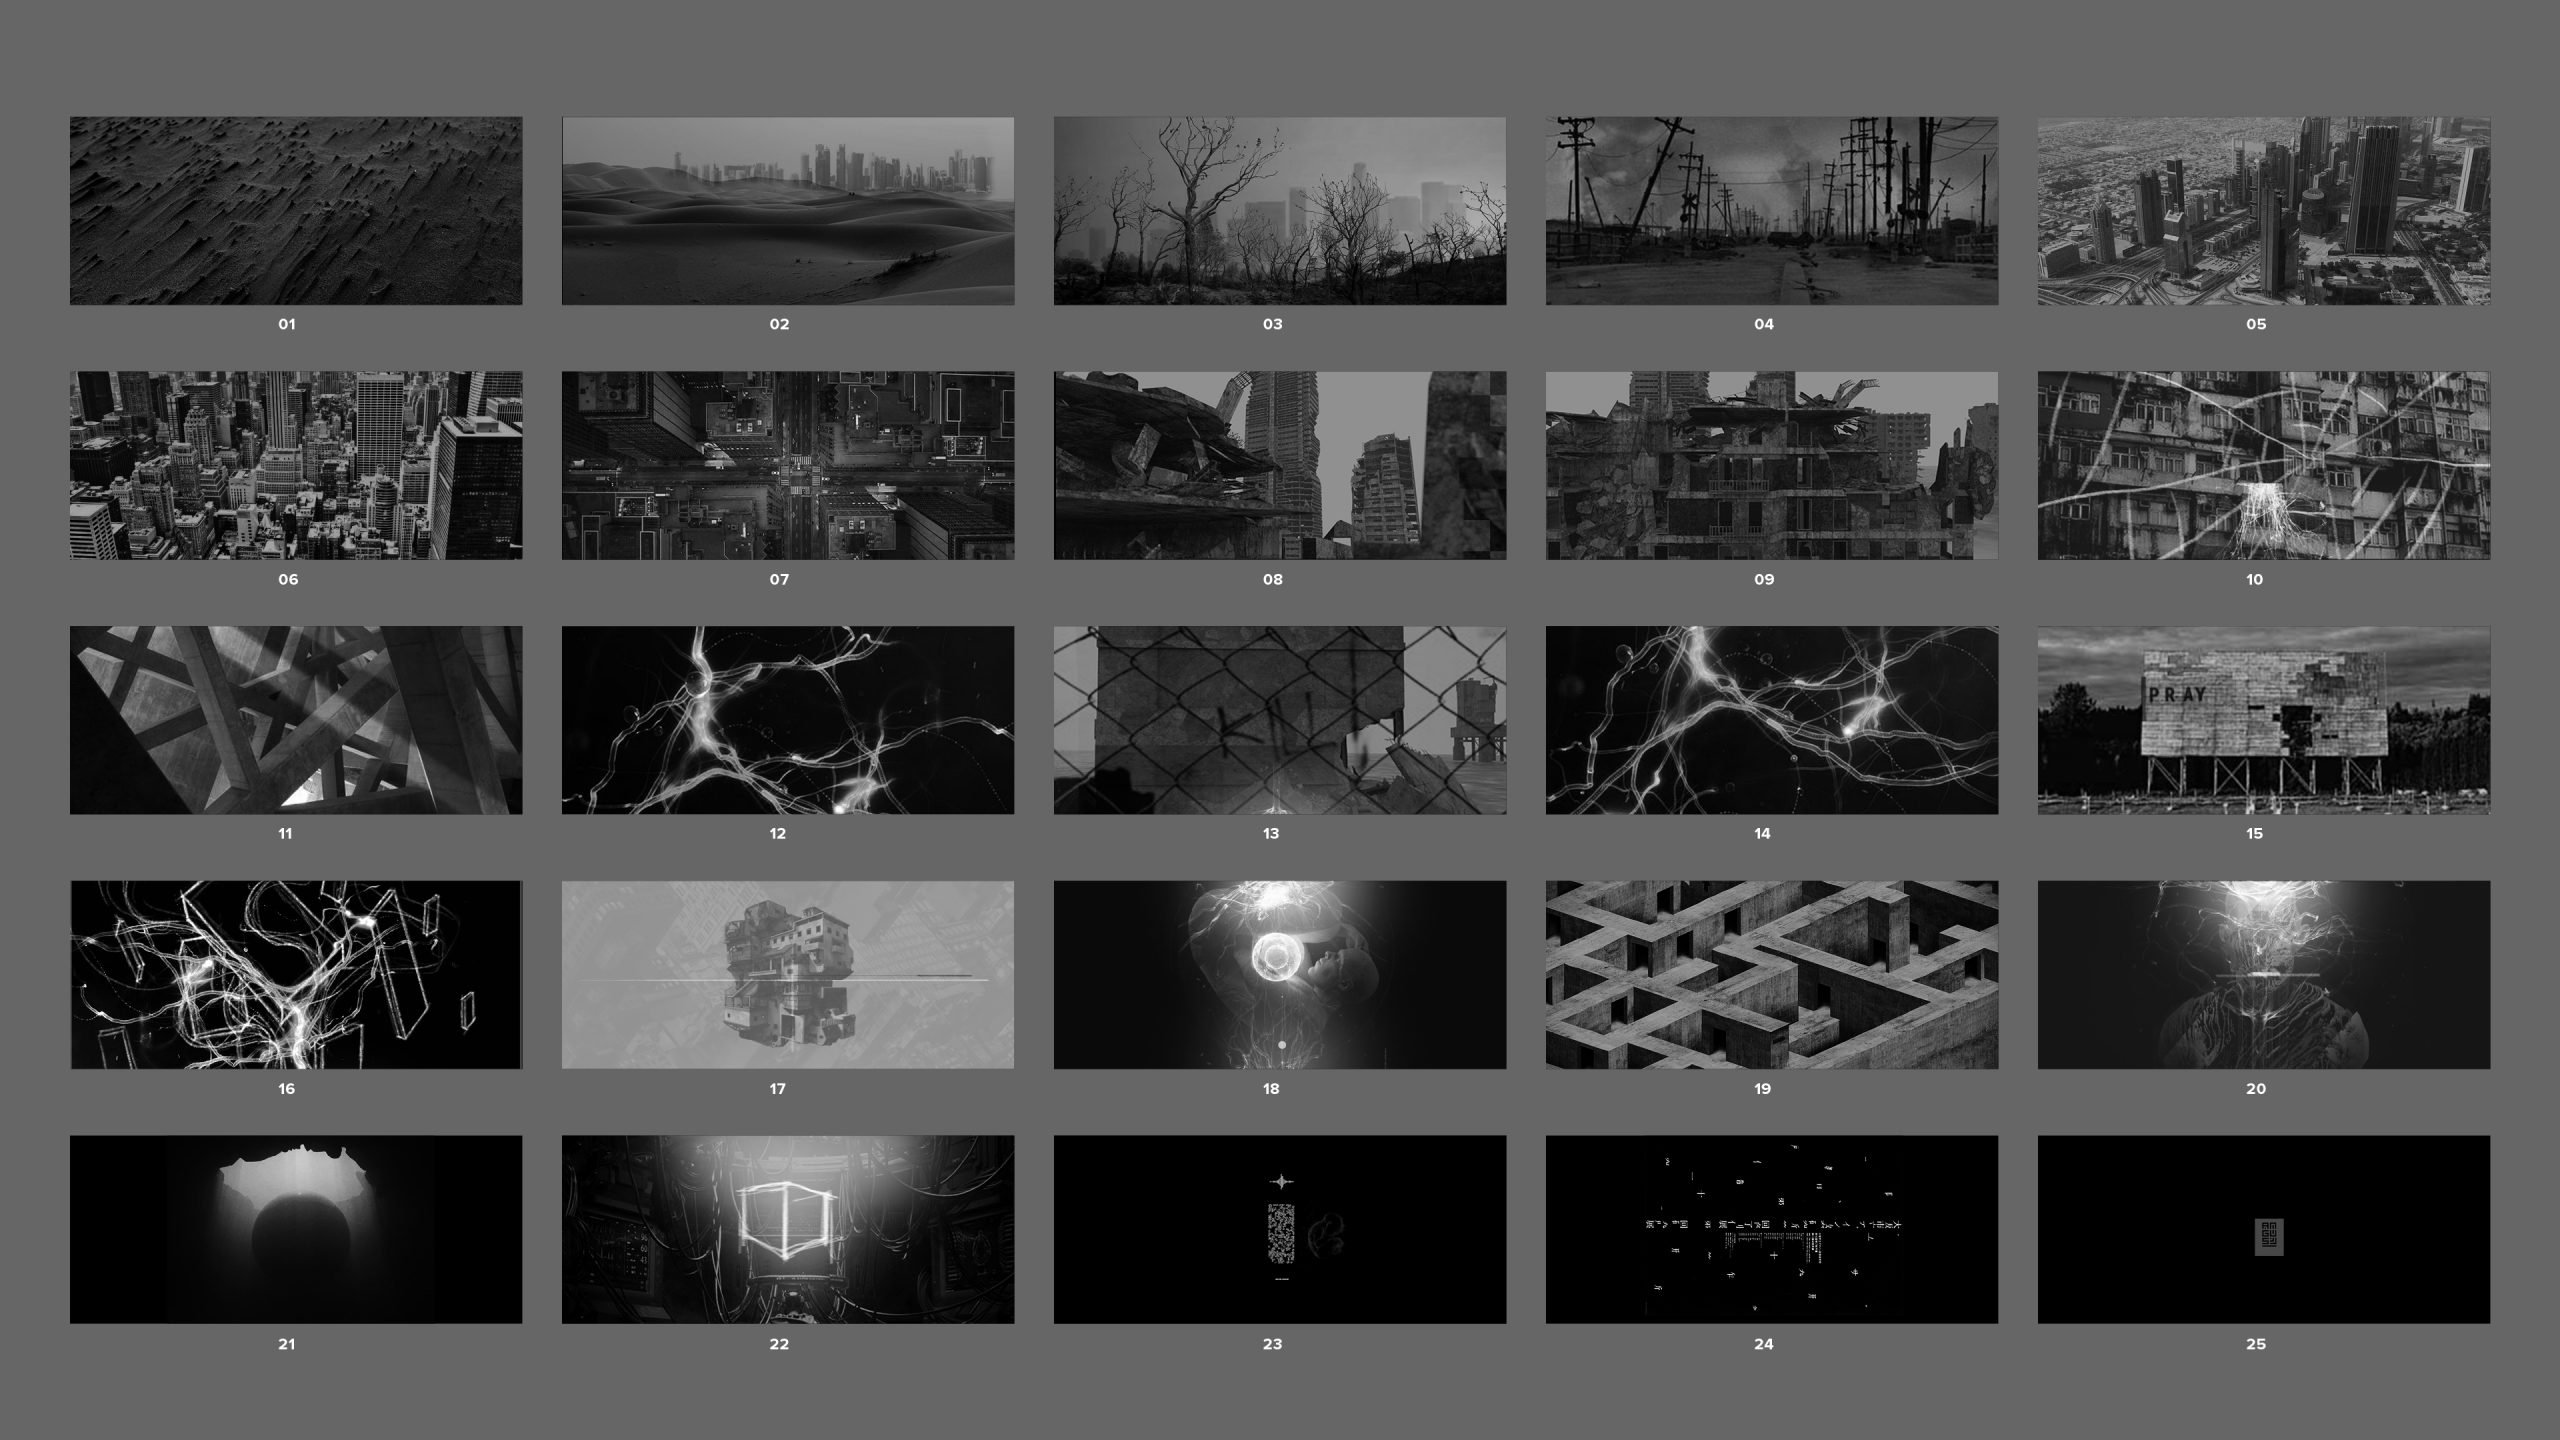
Animation Stills


Process
Ideation + Concept
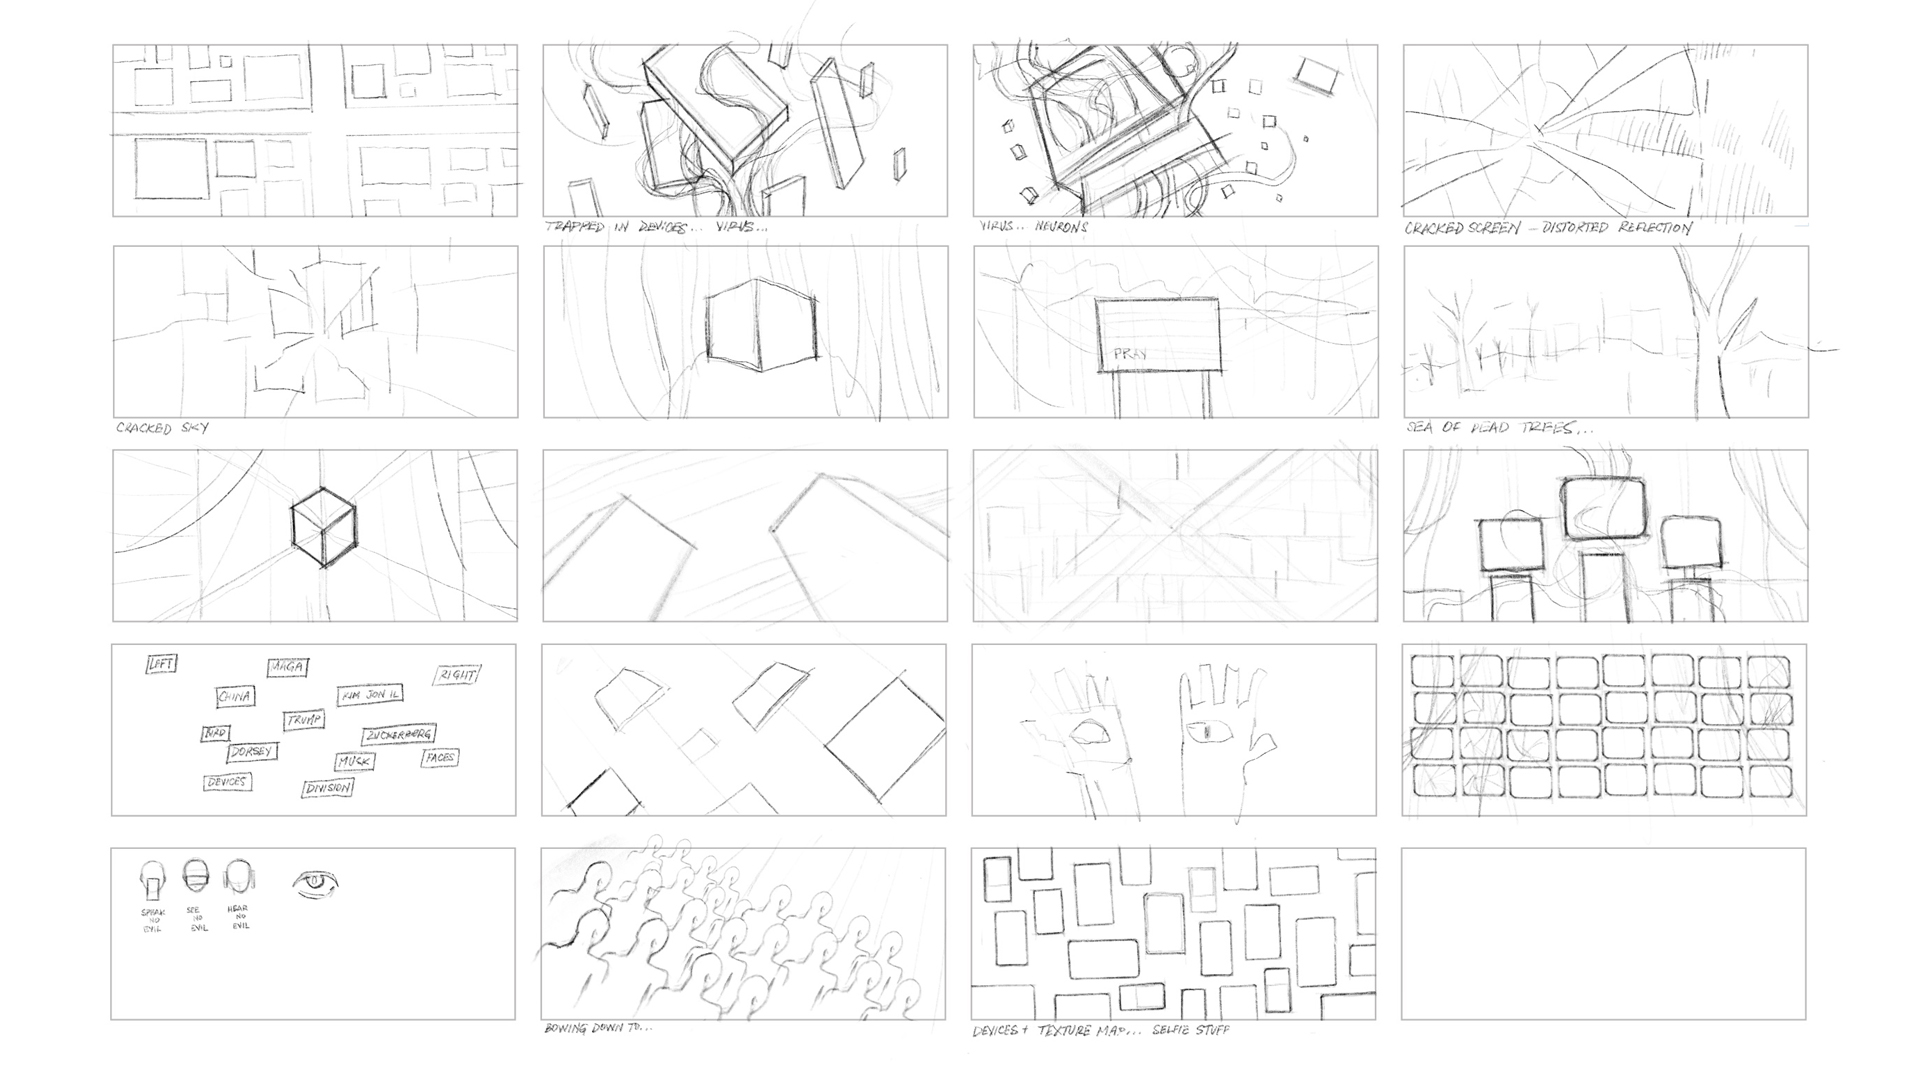
There’s nothing more daunting than blank page… the empty pixel. To get things kicked off, I used Scapple to map out some thoughts, keep track of concepts, and organize them into some semblance of a narrative.
I sketched out some rough thumbnails in tandem with the mind-mapping, often bouncing back and forth between the two methods.

Reference + Mood
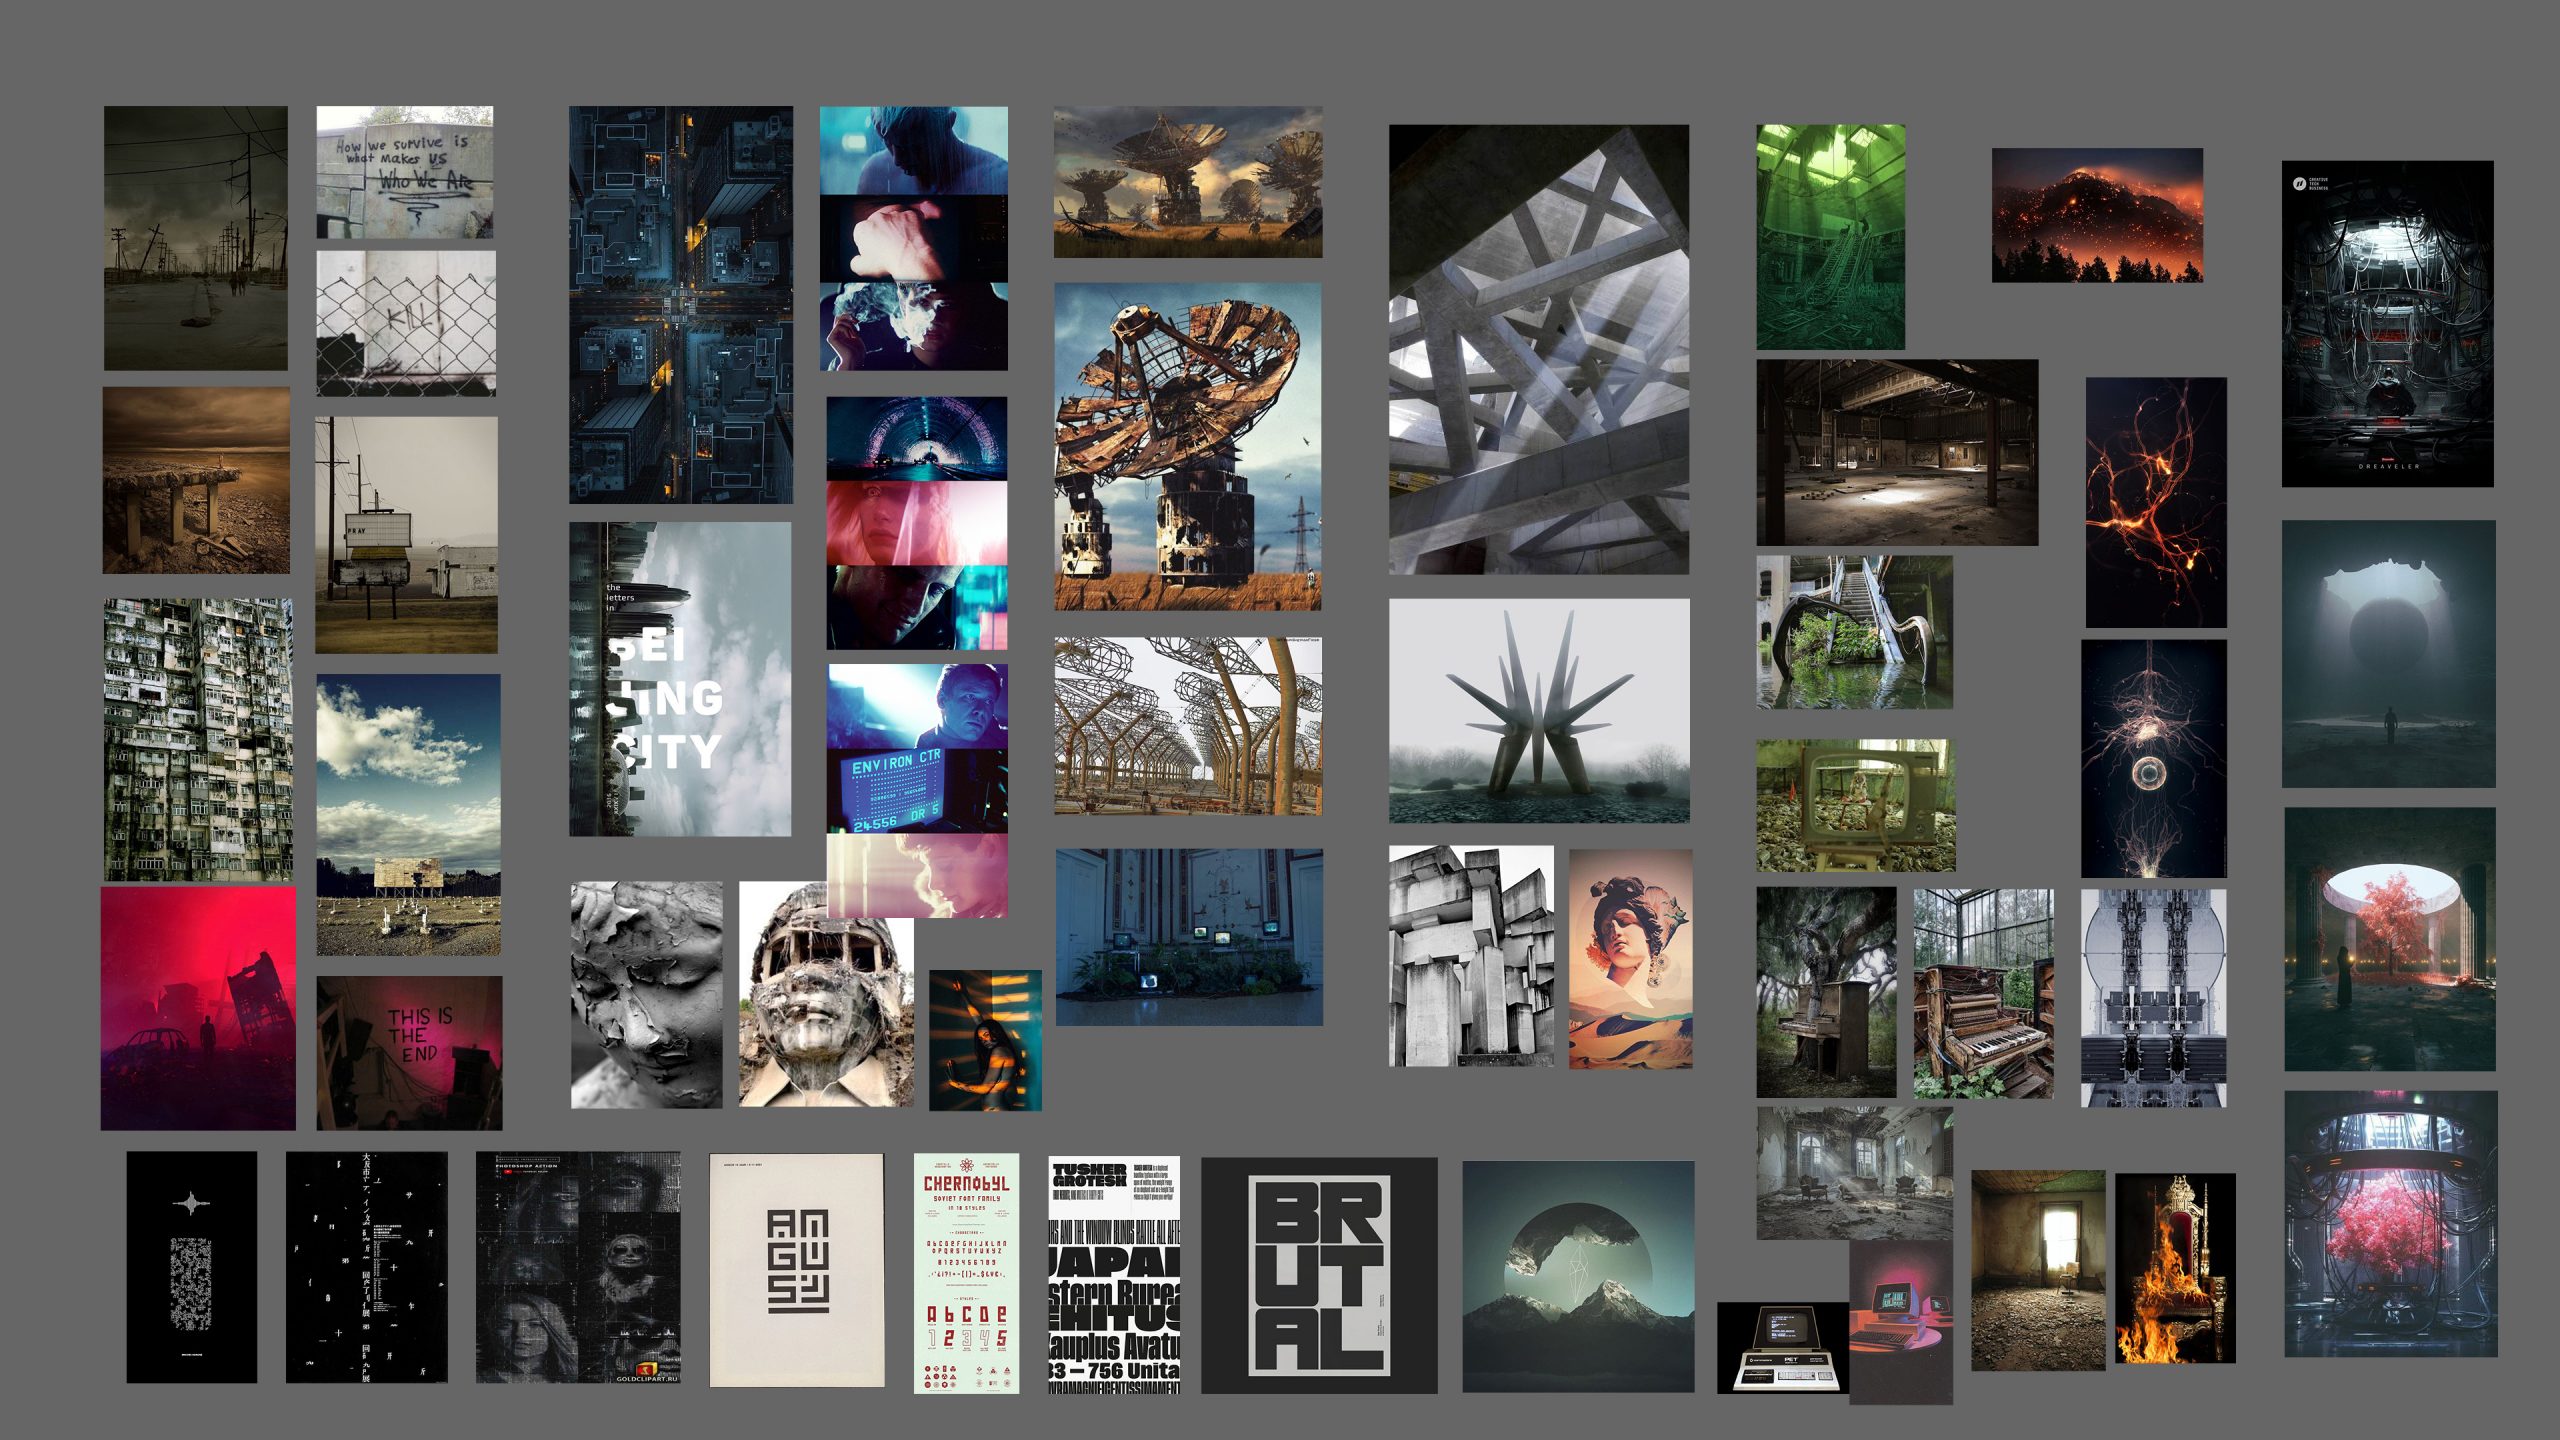
Gathering and curating some reference is crucial to my process for refining and clarifying the visual direction of the piece.
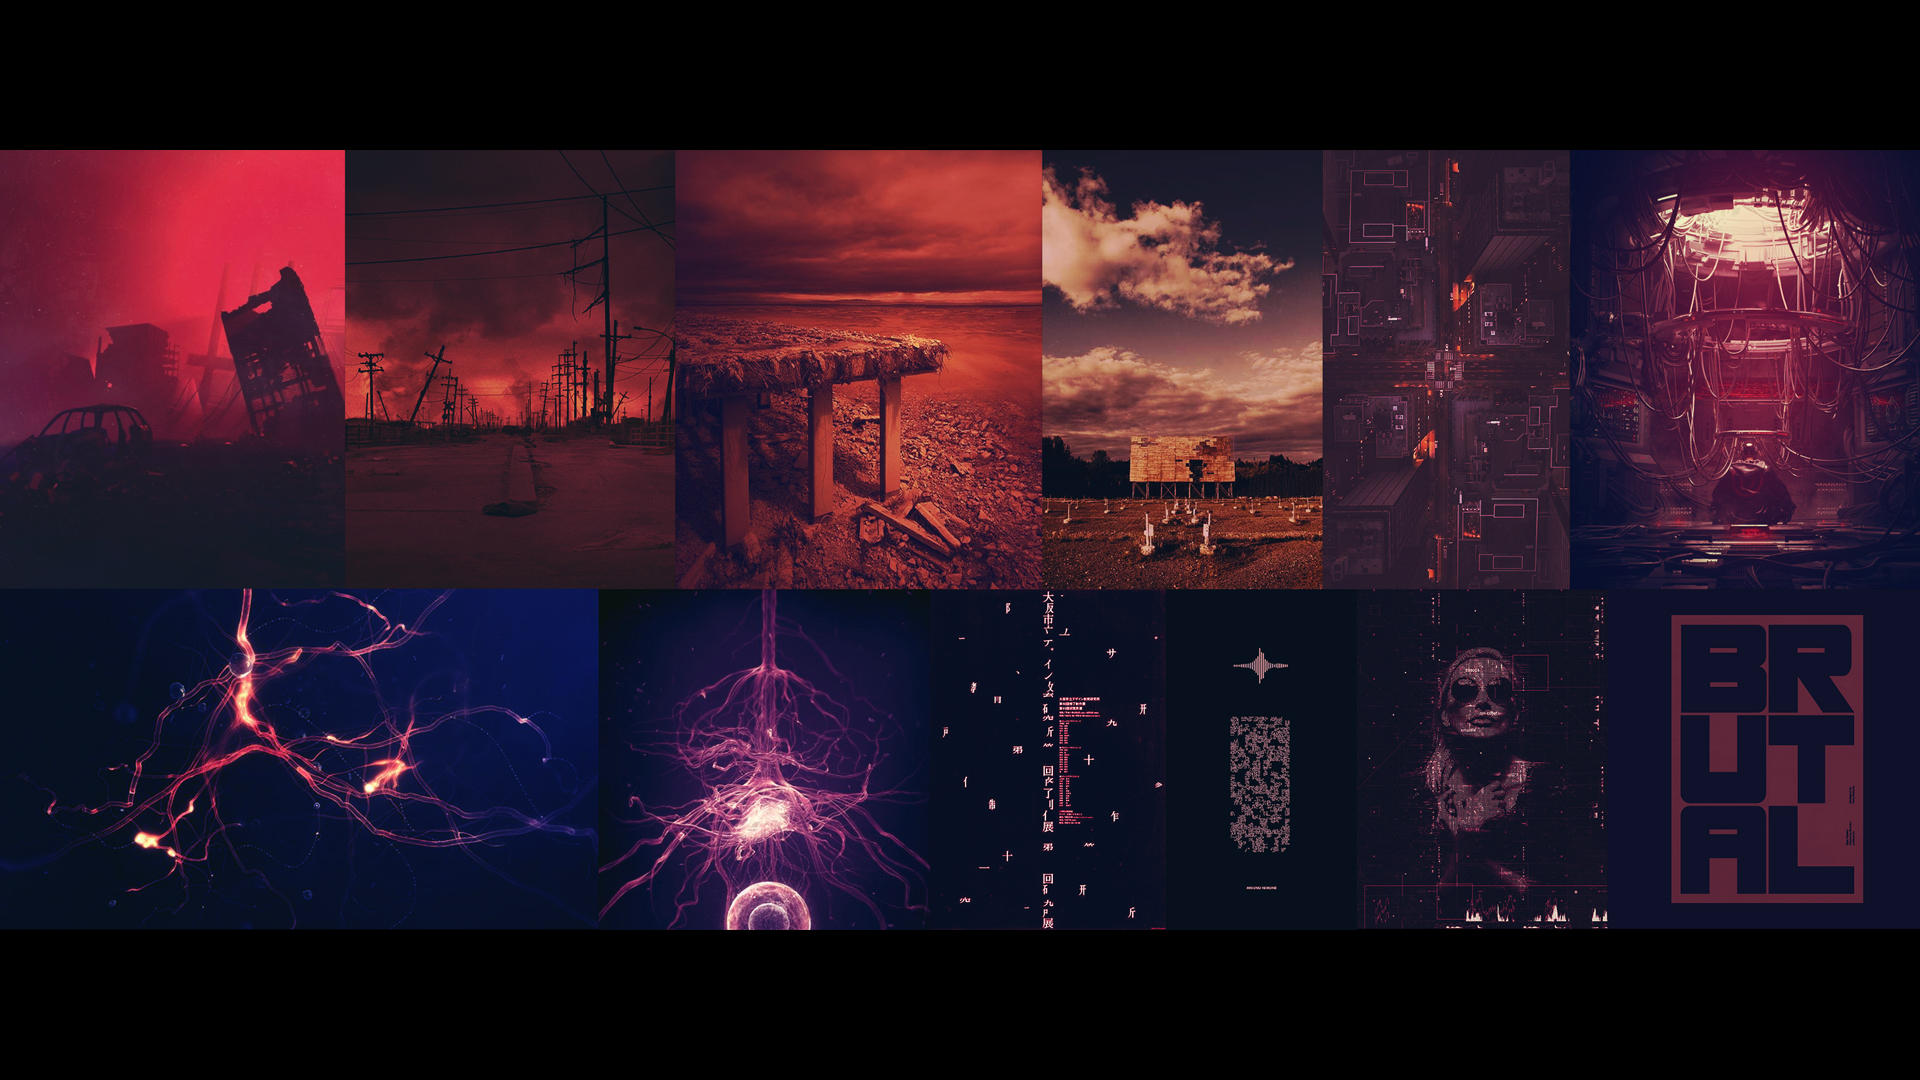
I further refined the visual vocabulary I was after by narrowing my reference down to a single mood board. Here you can see I was originally leaning towards a very dark, saturated look (which I eventually eased up on…)
Music
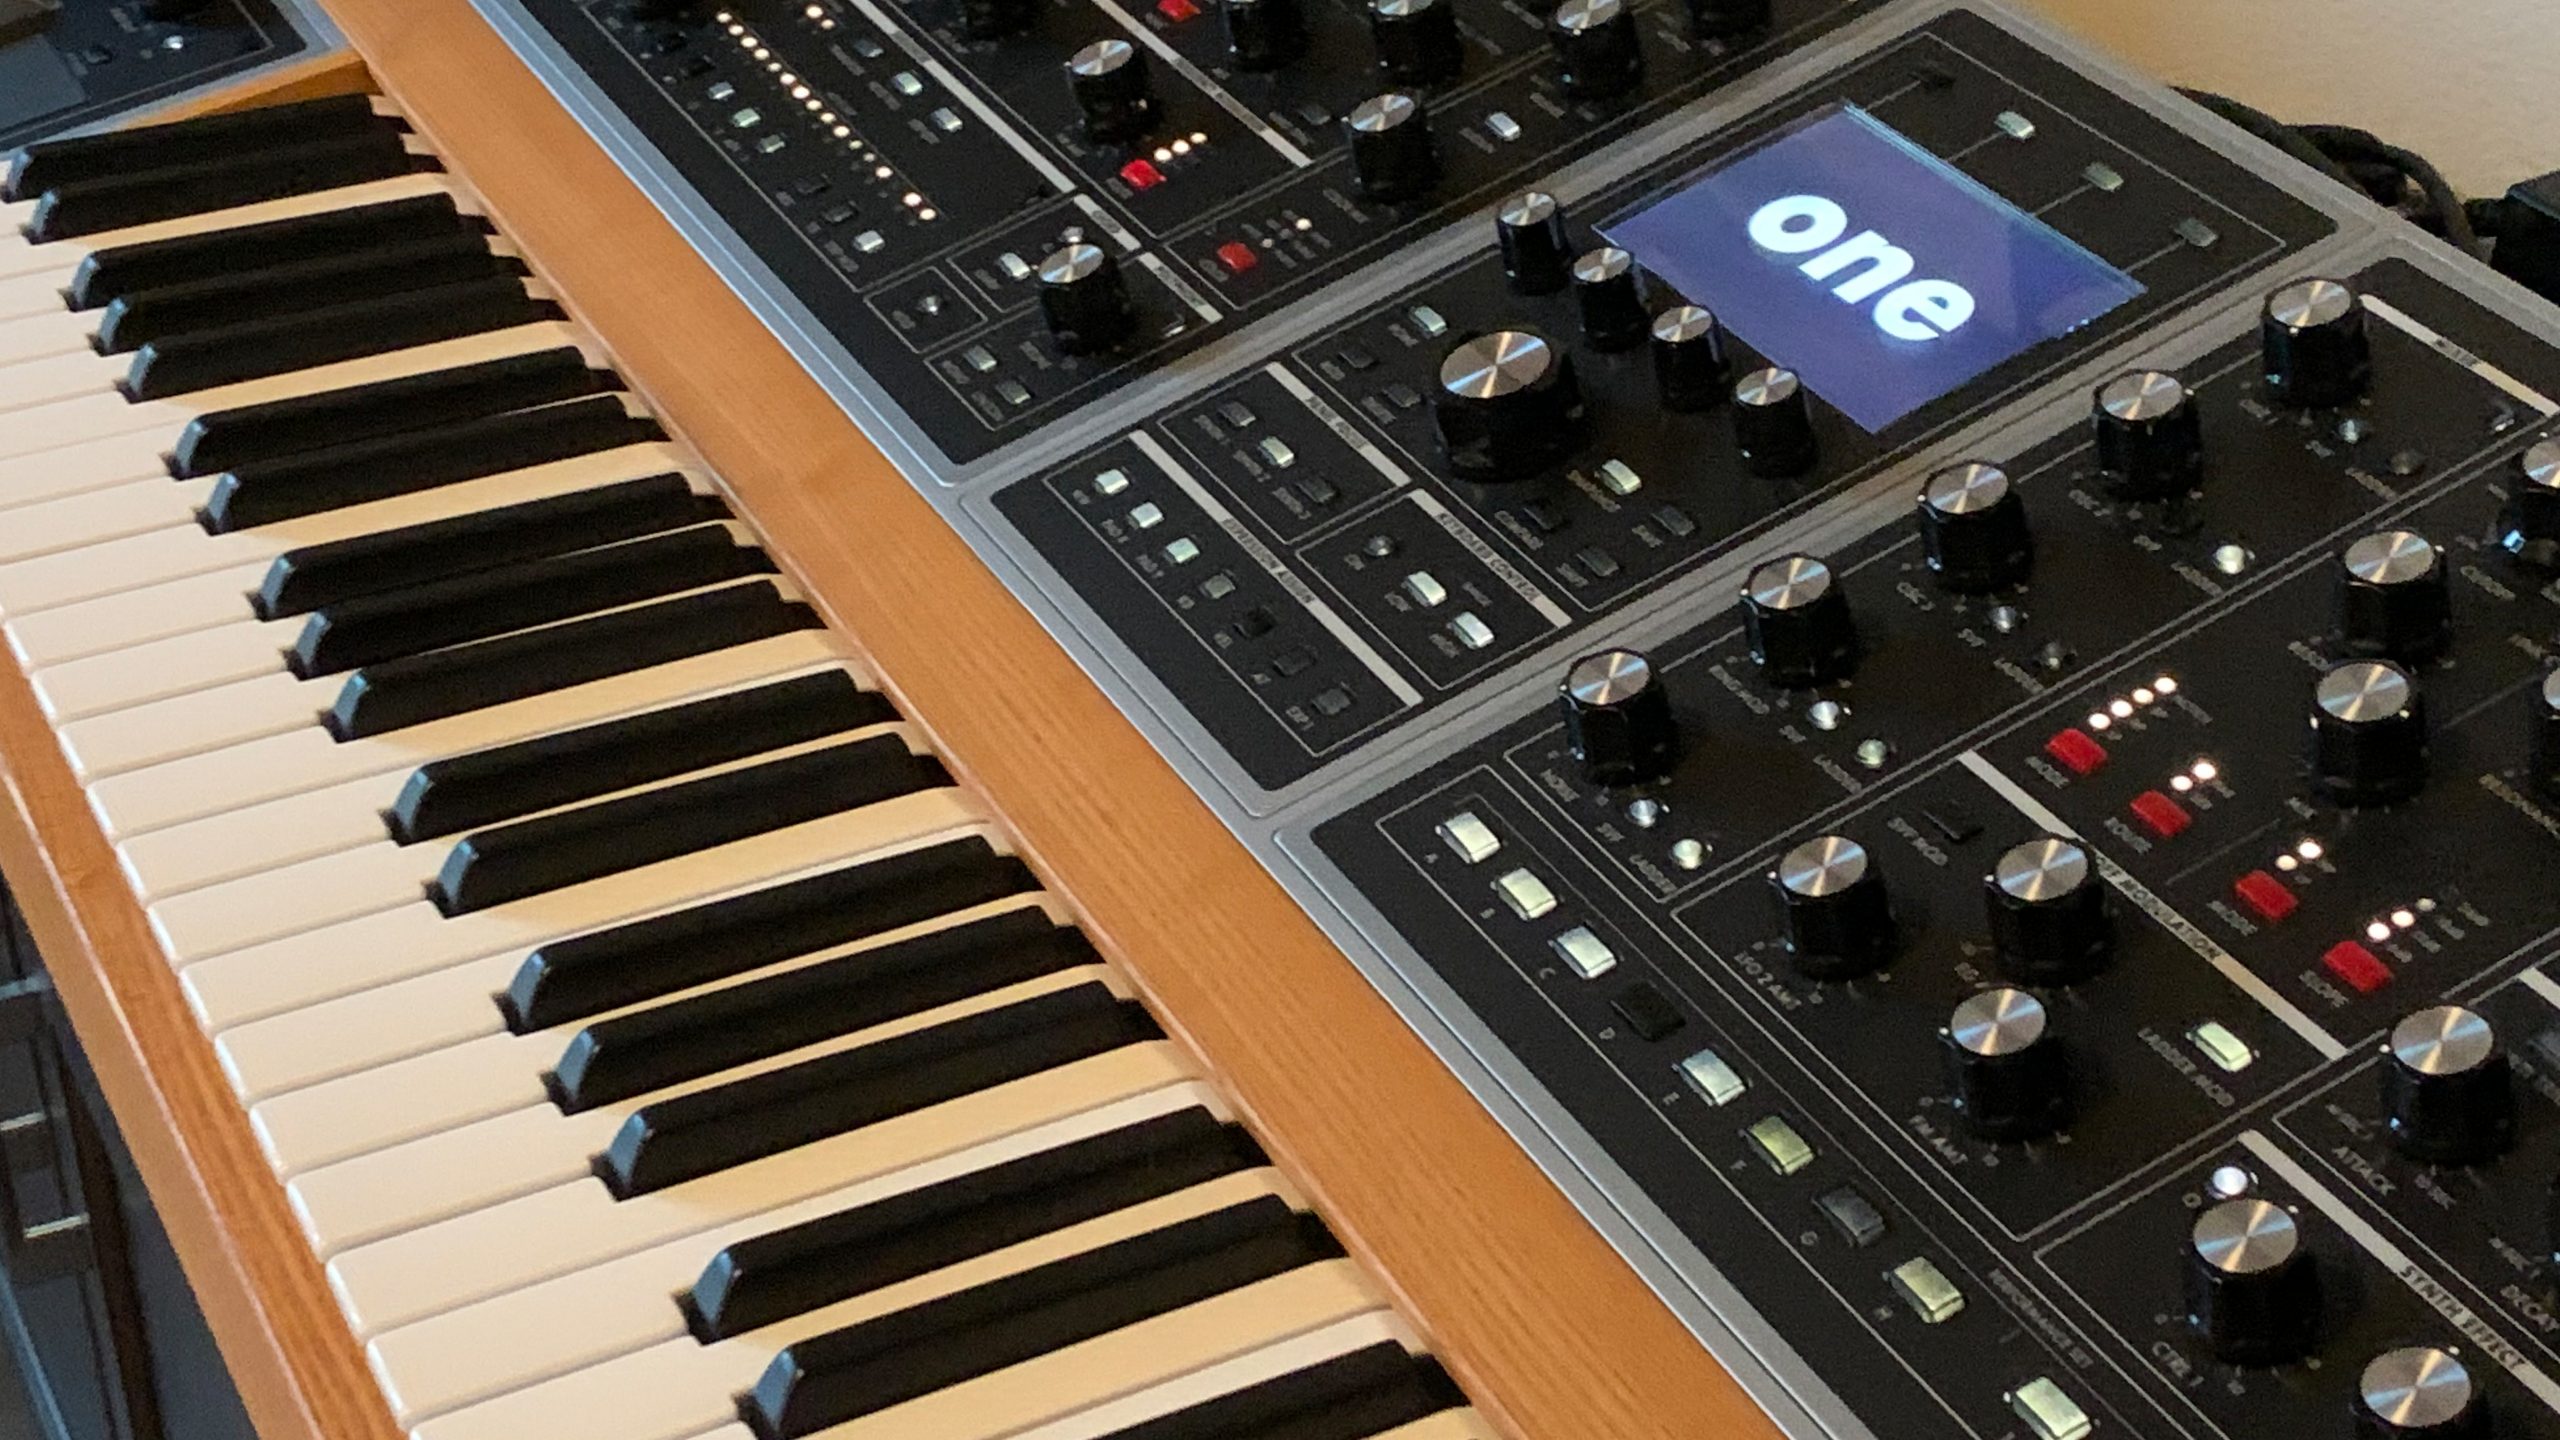
Music is such a huge portion of the overall experience, so I knew I wanted to sketch out a rough framework to use as a foundation. The mighty Moog One ended up being the perfect instrument to lay this foundation.
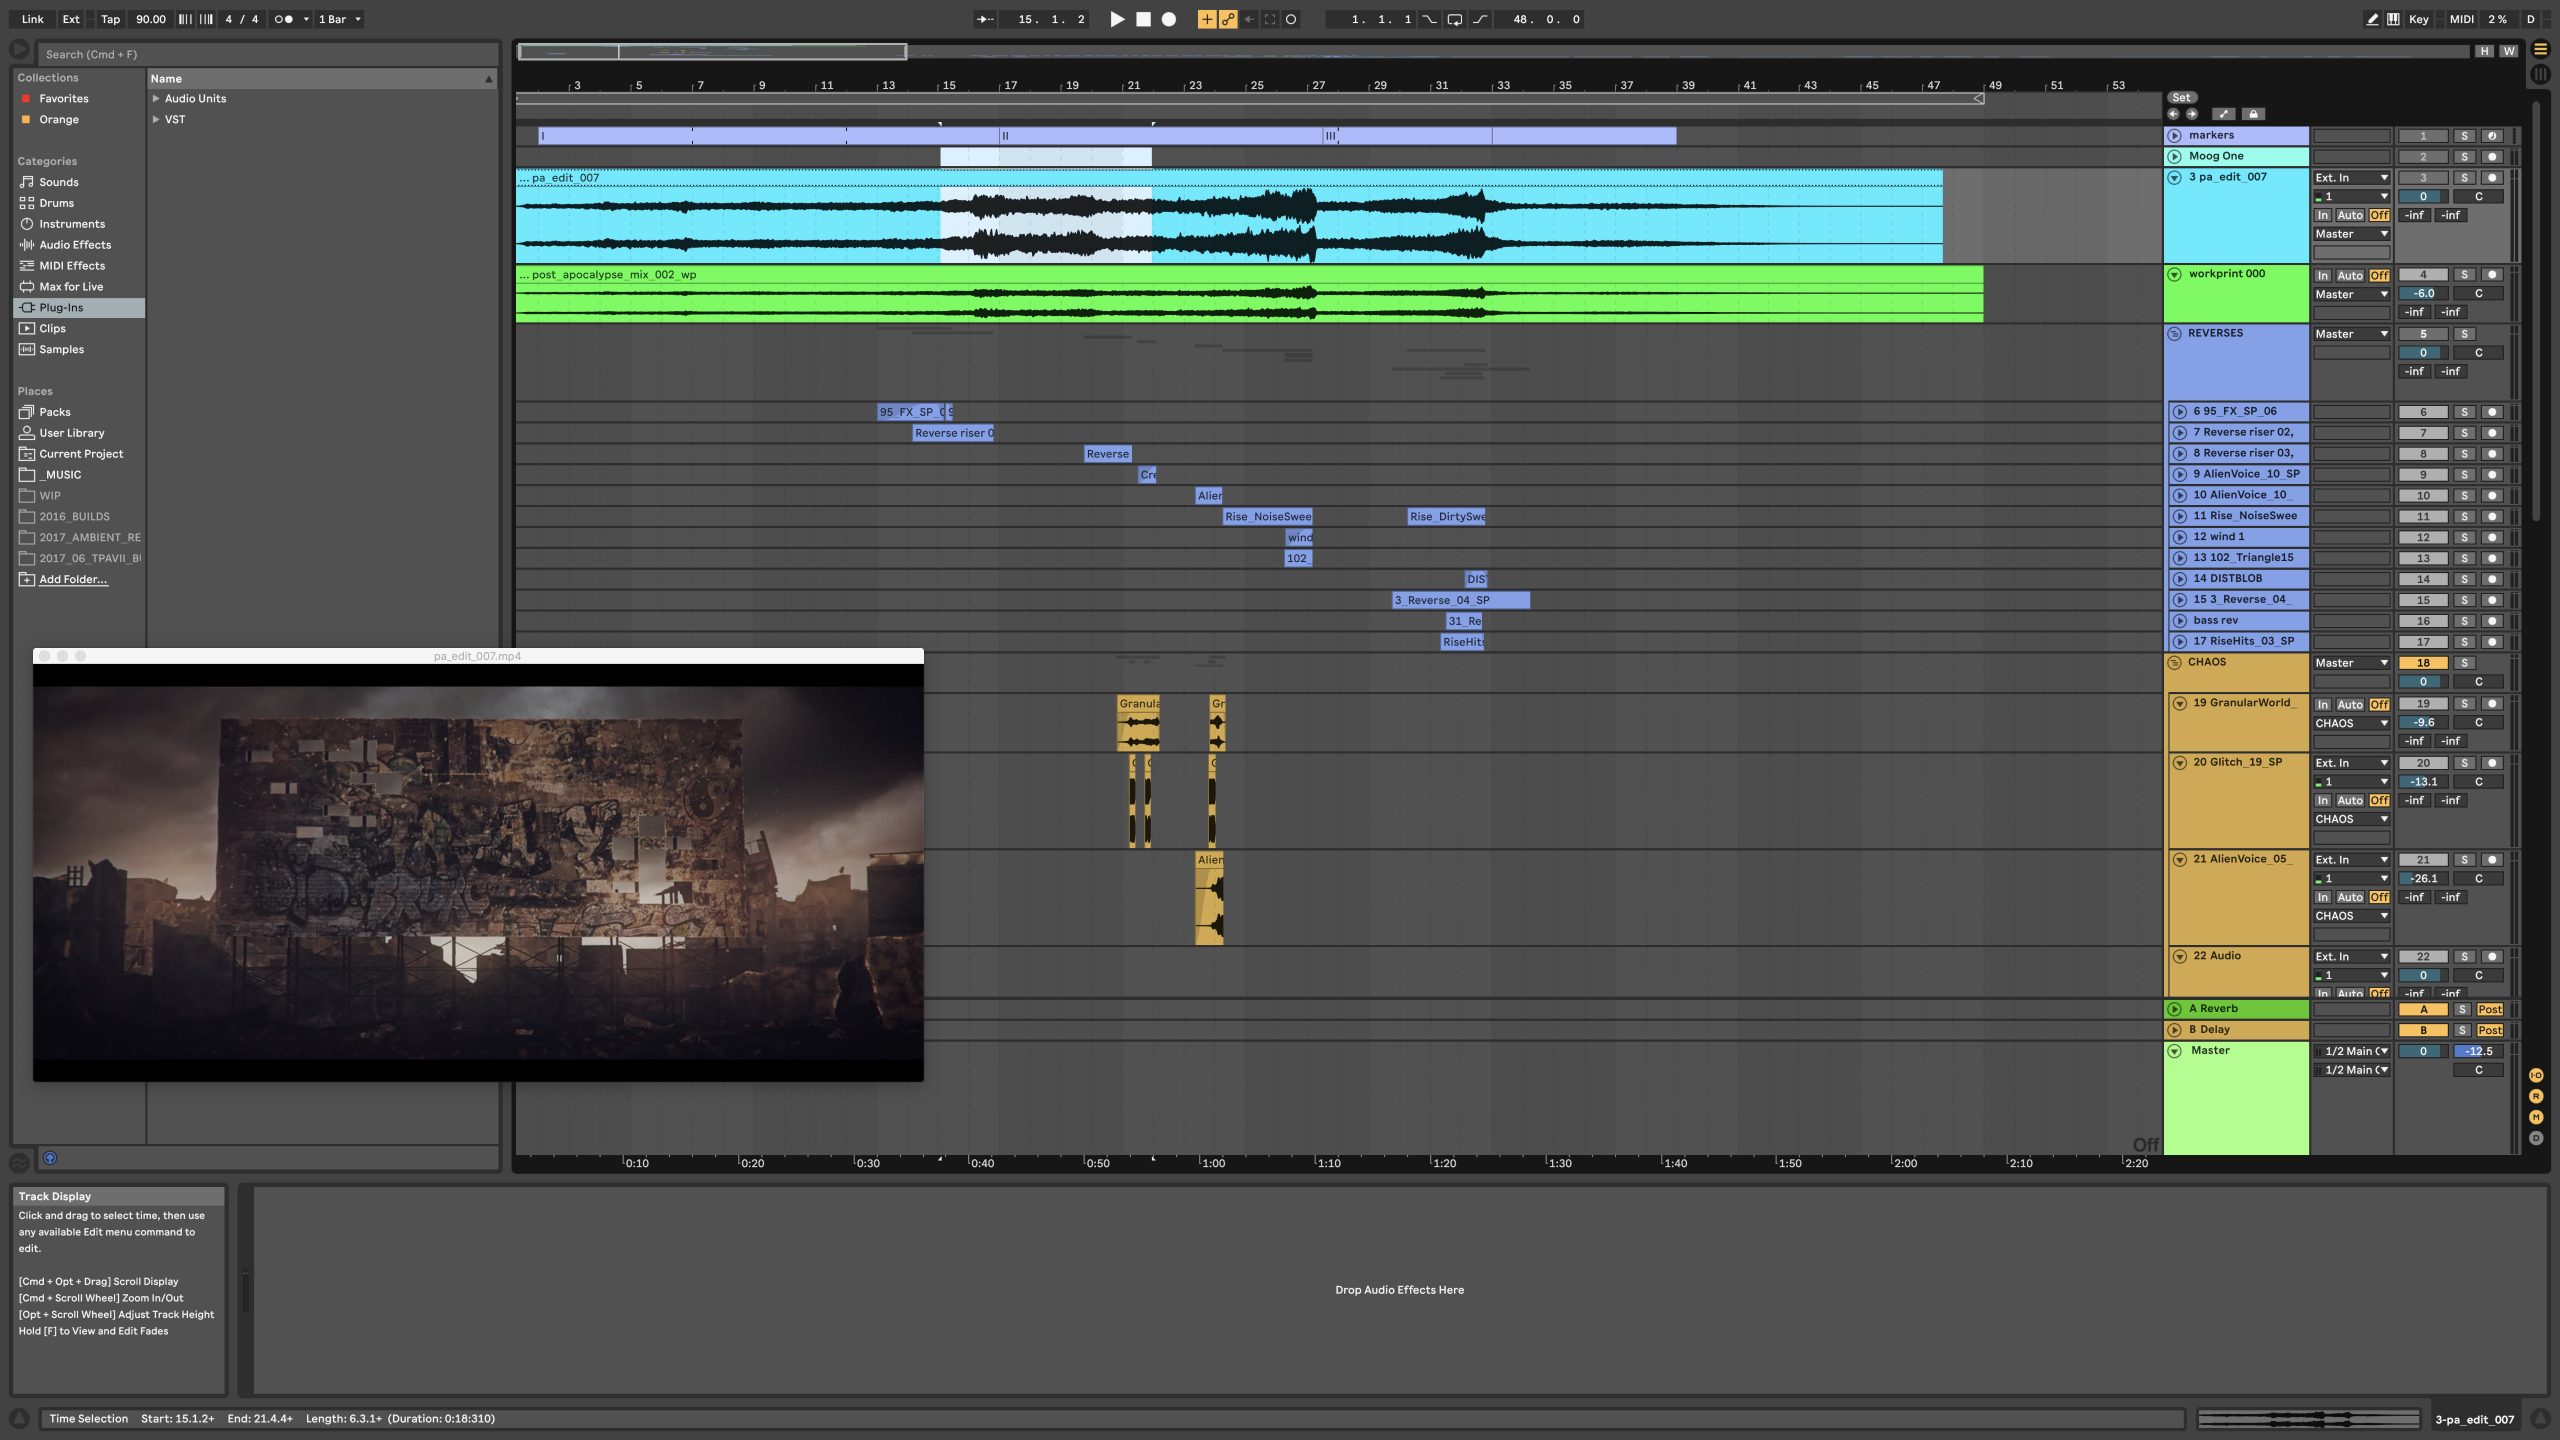
I created the base underscore by layering several tracks of synthesizer improvisations in Abelton Live. I augmented this over several iterations with sound effects, found sounds, and other instrumentation.
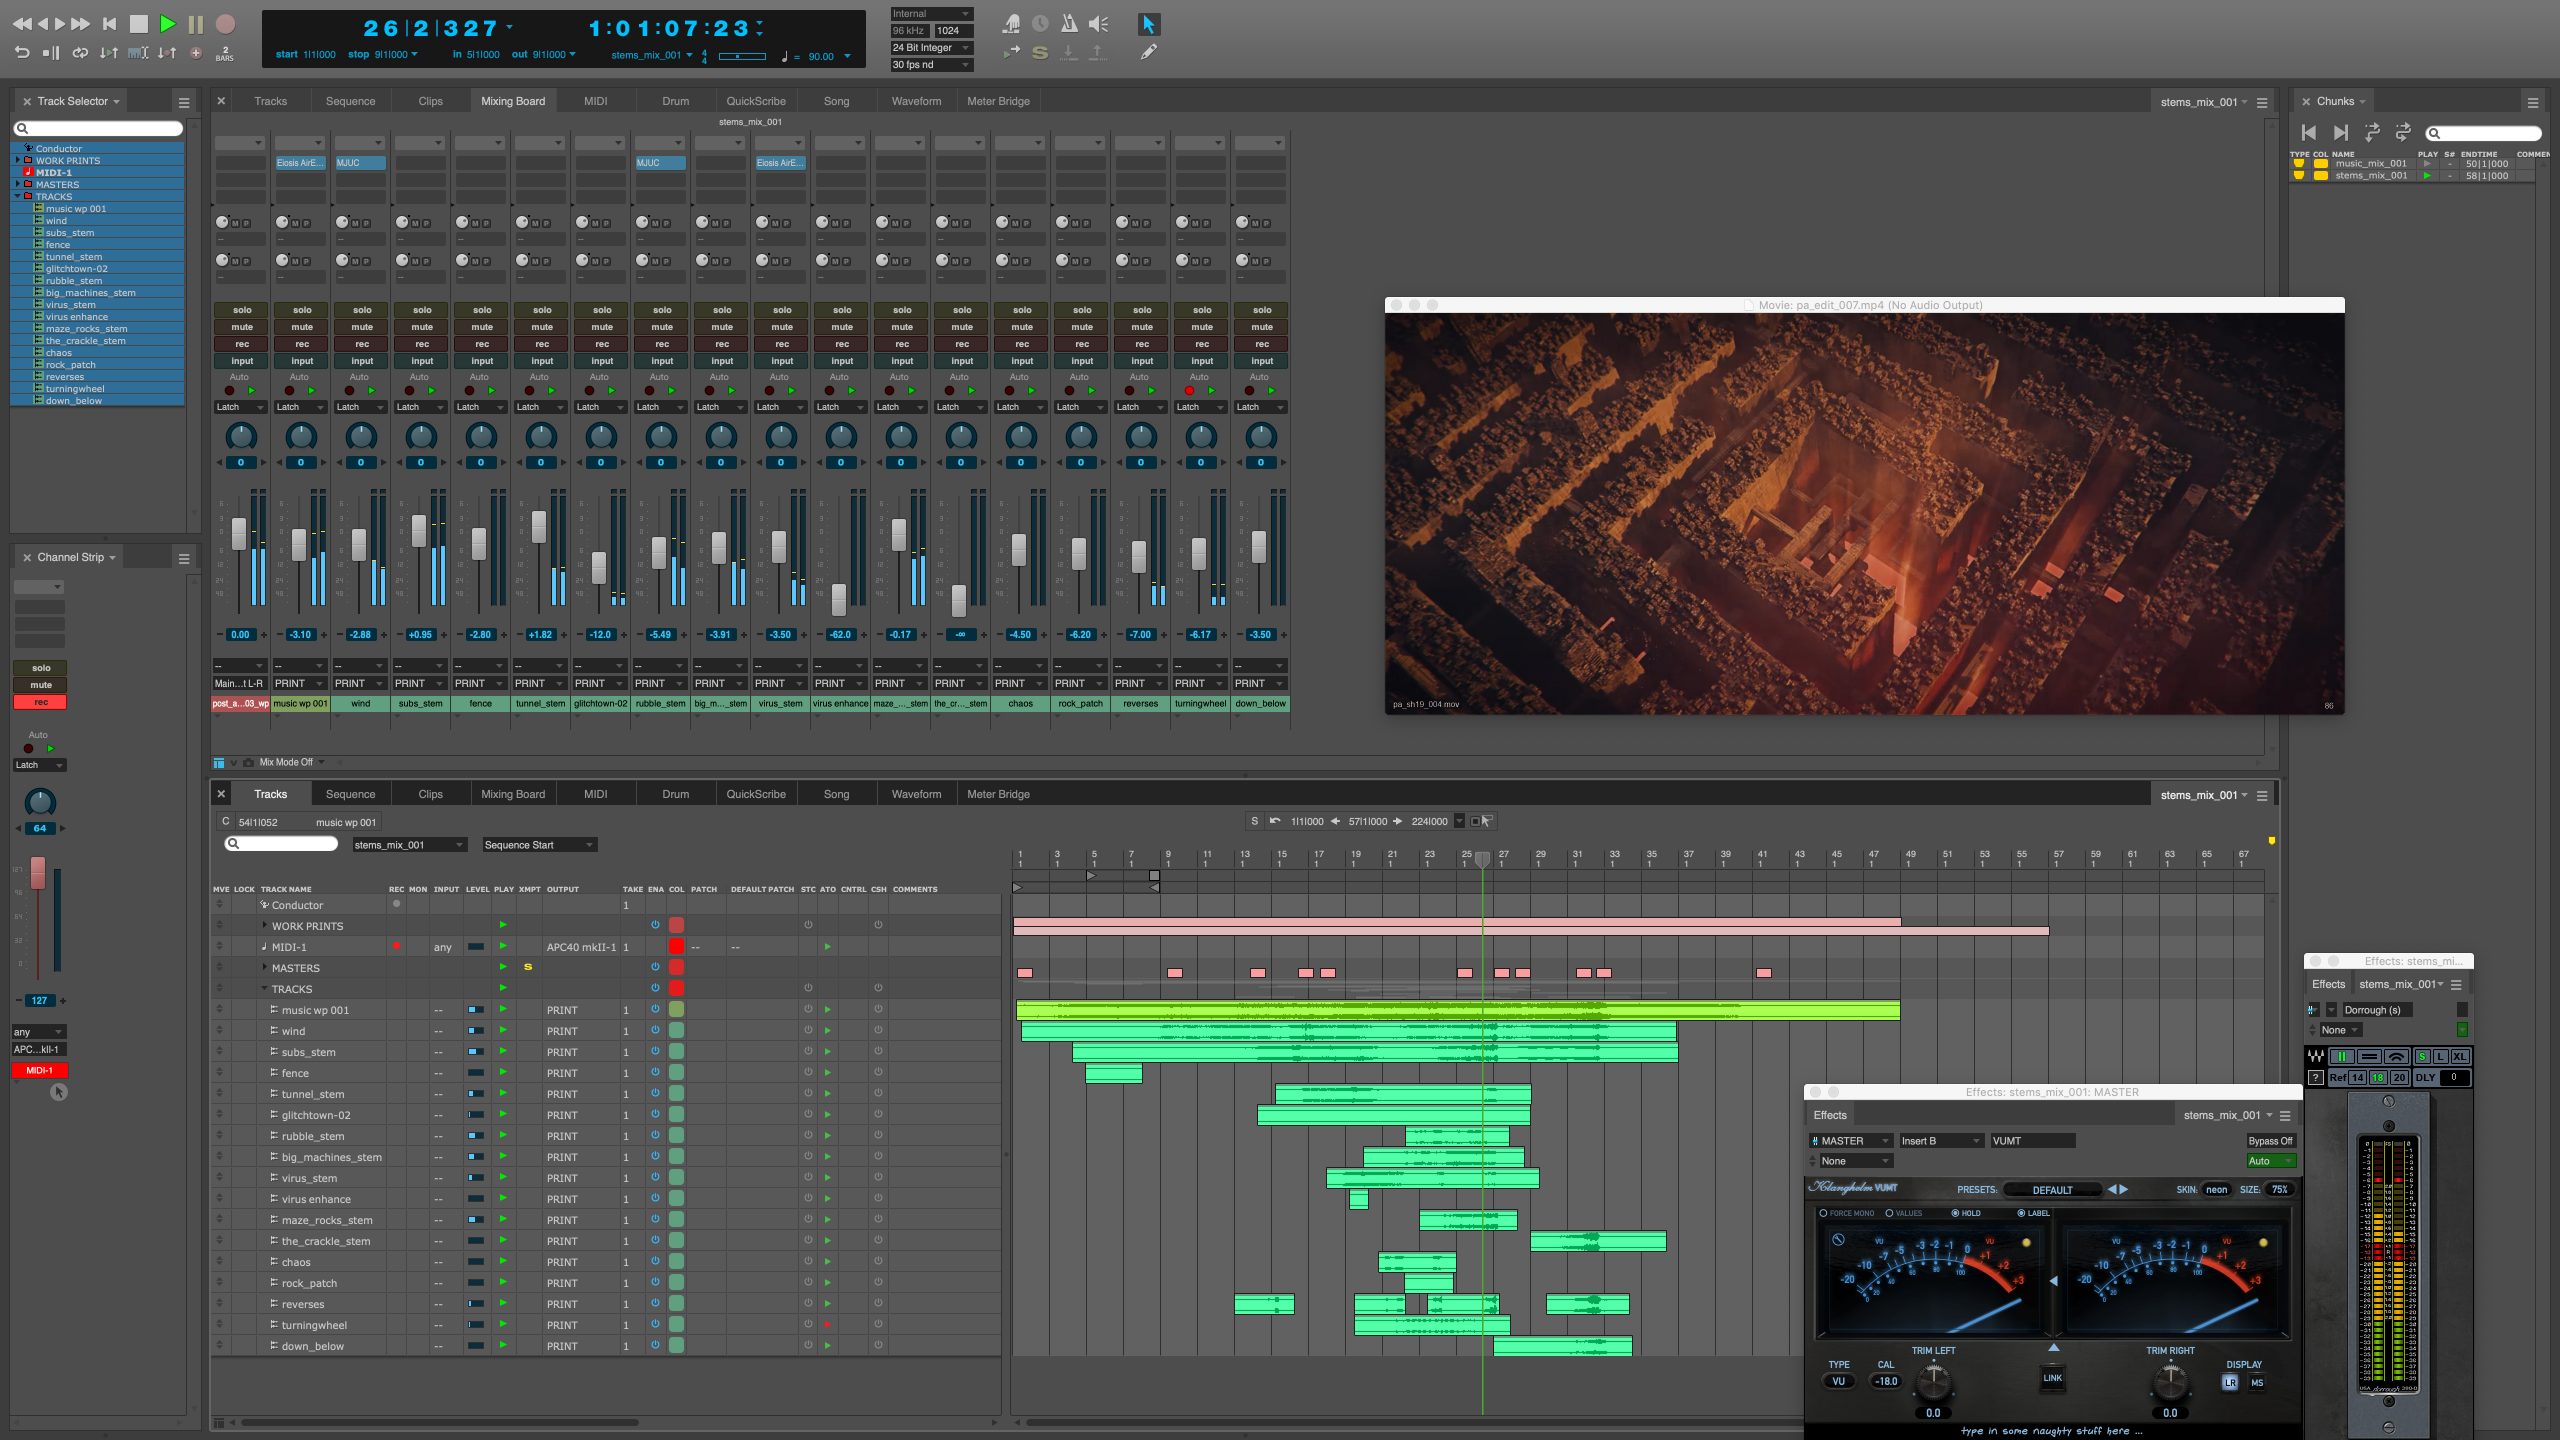
I exported combinations of tracks and stems, combining everything in Digital Performer for final mixing.
Story + Animatic + Edit
It took a while to find the story I wanted to tell. As this was a Kitbash3D contest, I began with the building models. Here I’m just exploring and iterating… experimenting to see what kind of interactions I can create.
I continued this iterative process by “sketching” with some of my reference images… Here I’m just putting sequences together to test out visual narrative threads.
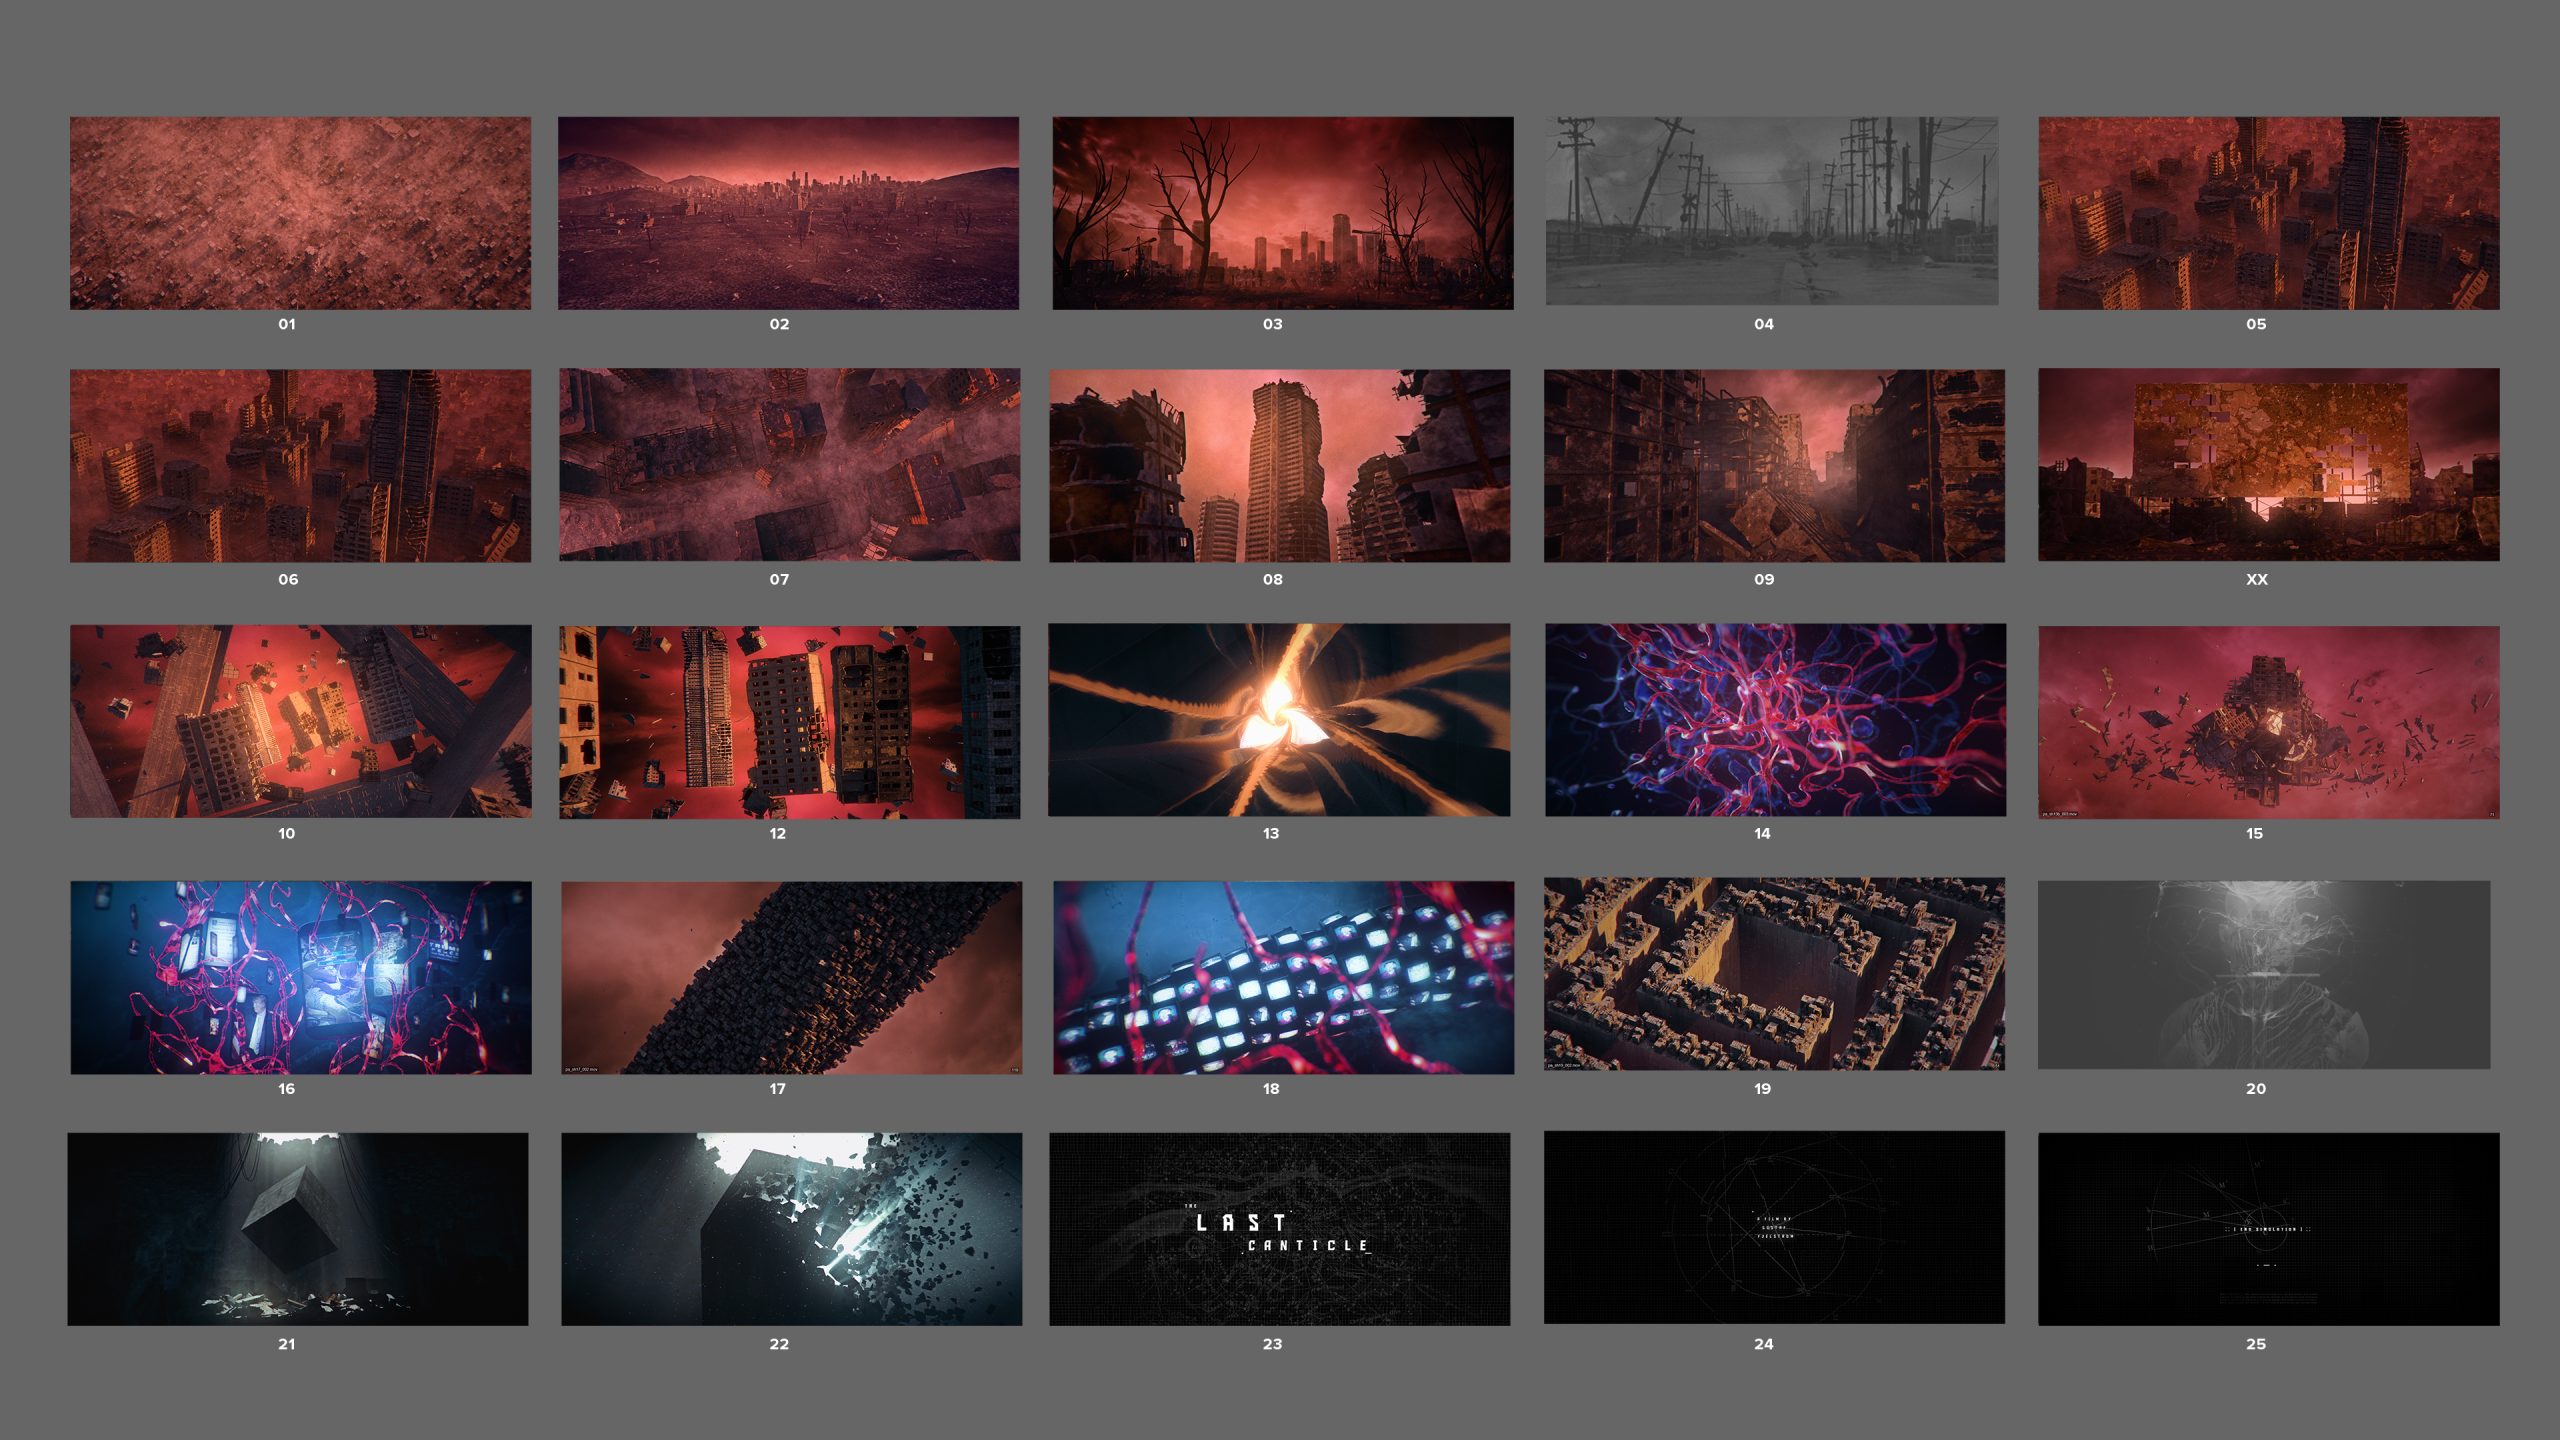
This process continued throughout the various stages of production, progressively updating the storyboard with renders and tests as I completed them.
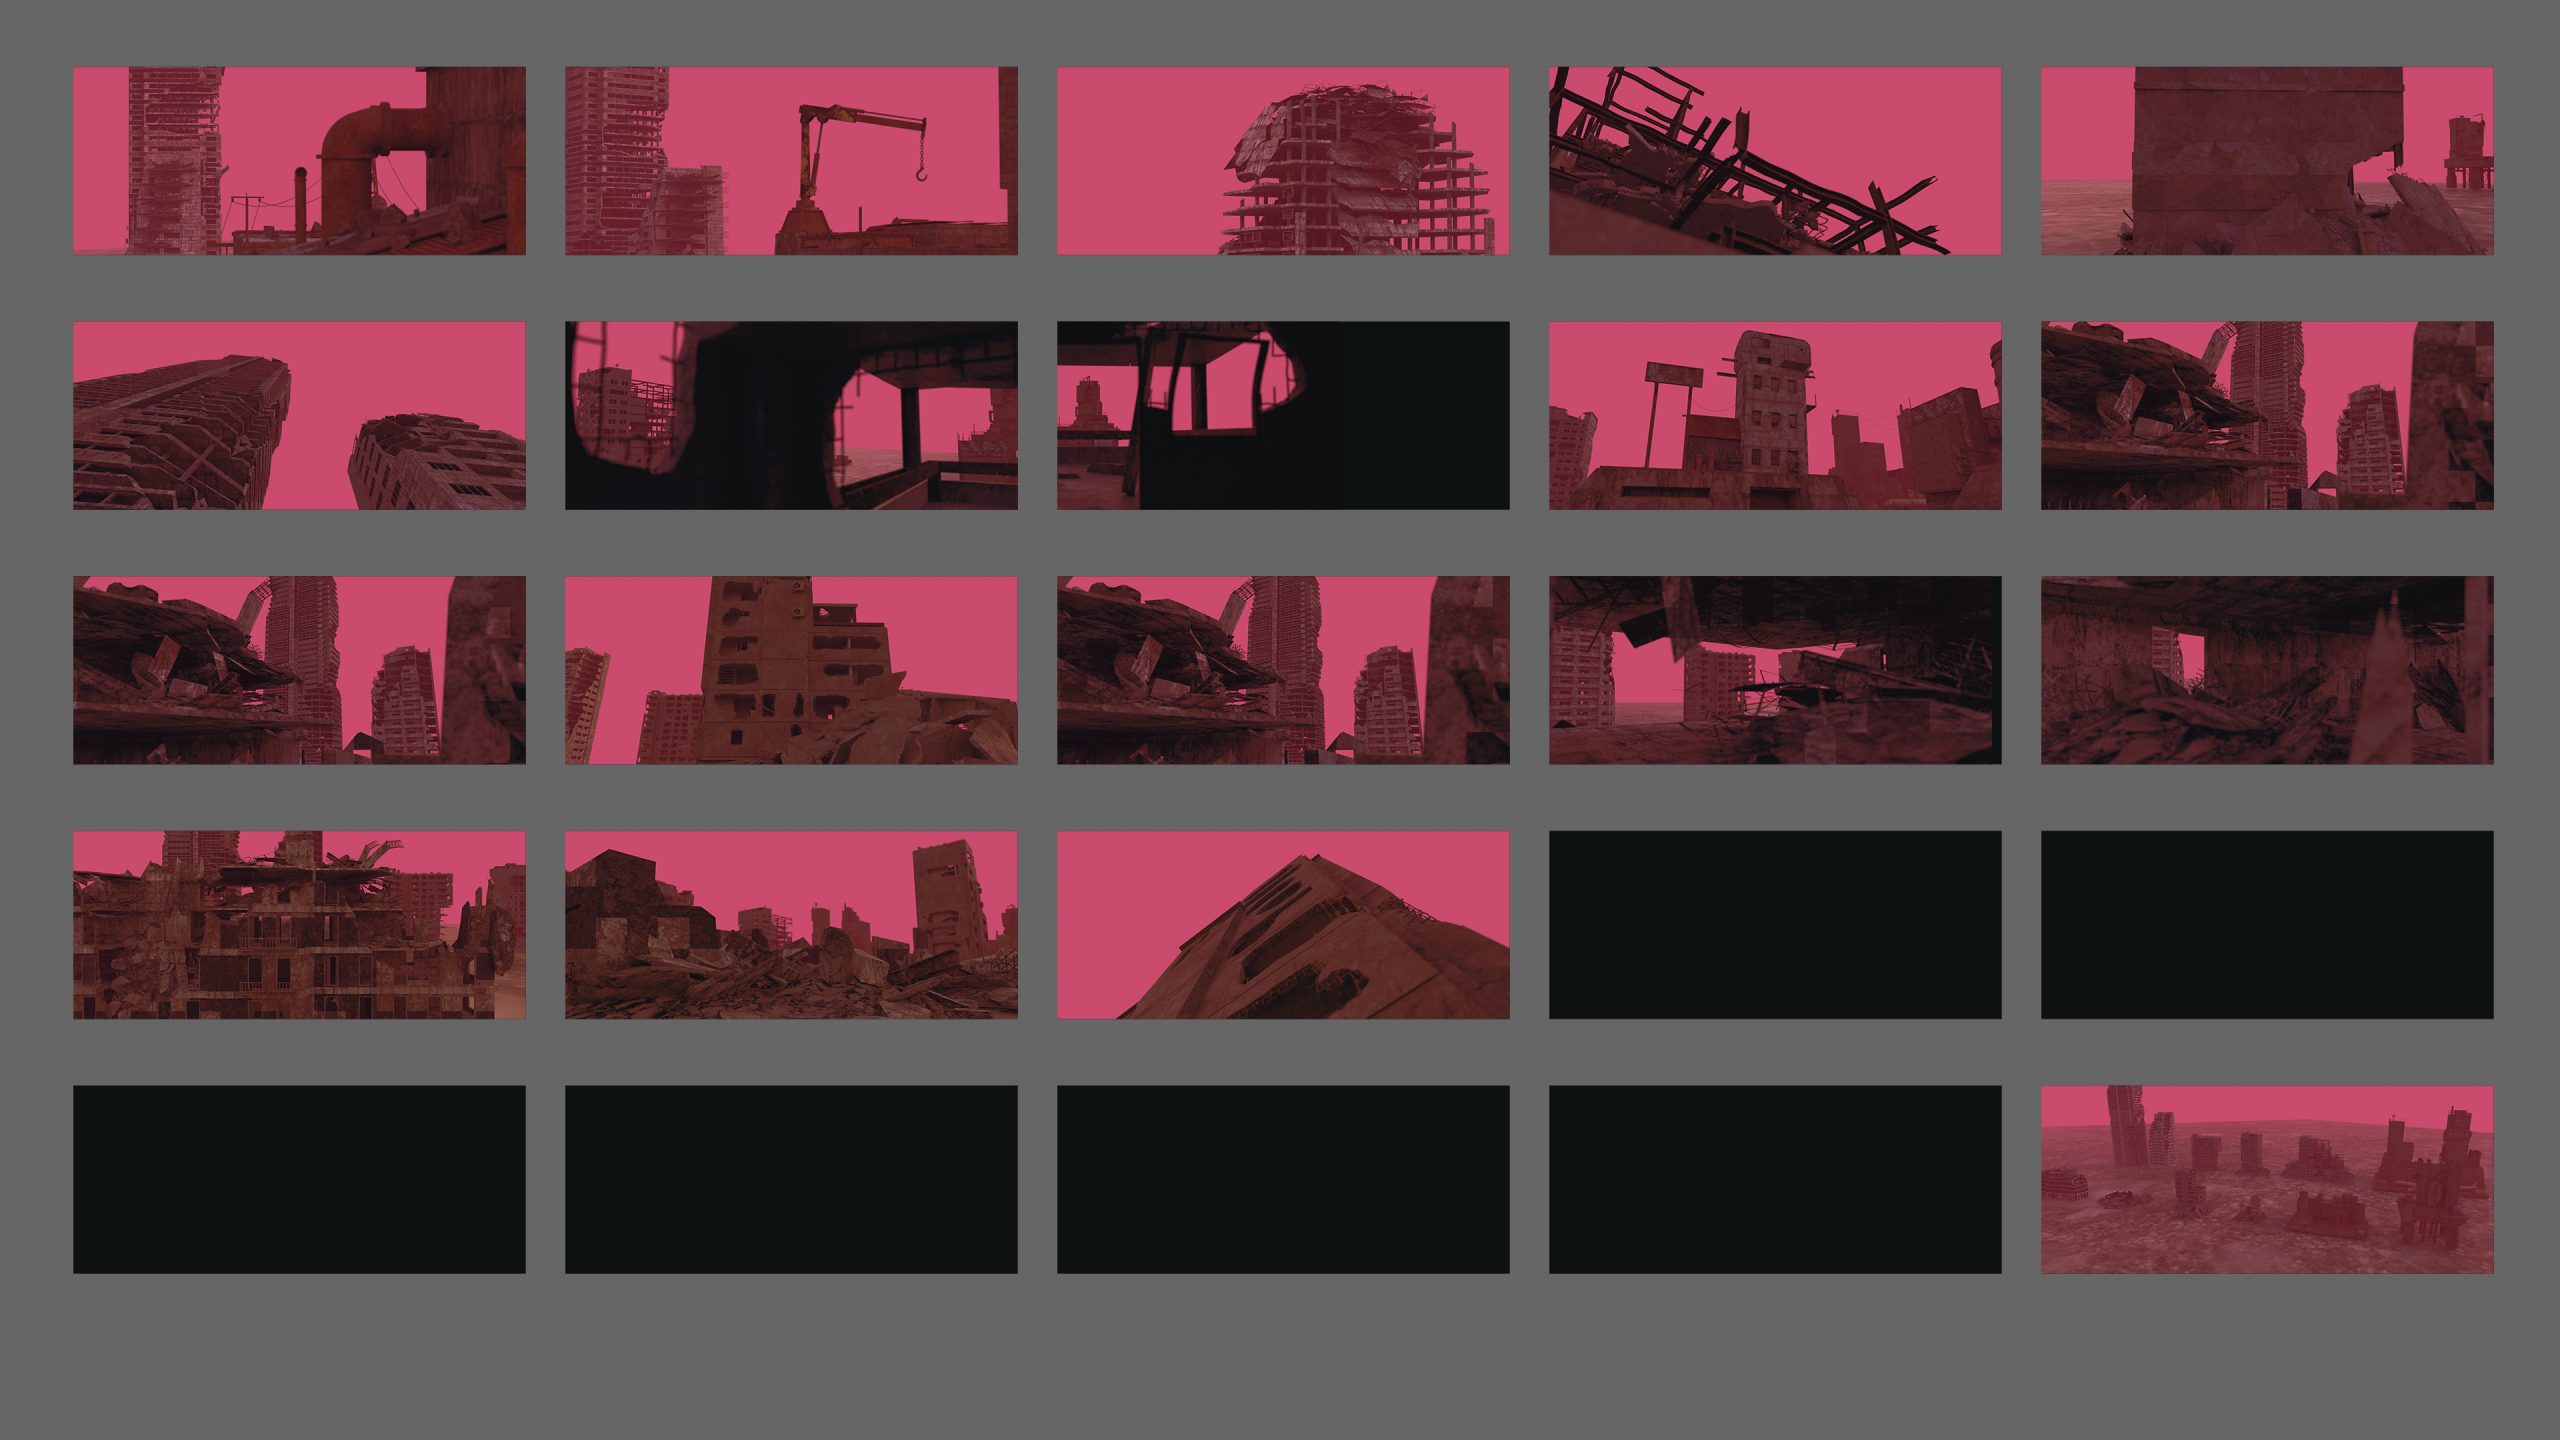
The editing process actually began before anything was animated. I first put together a rough board-o-matic using my rough thumbnails… testing the pacing and feel against the sound track.
As the process continued, the editing timeline slowly evolved as more and more shots were fleshed out.
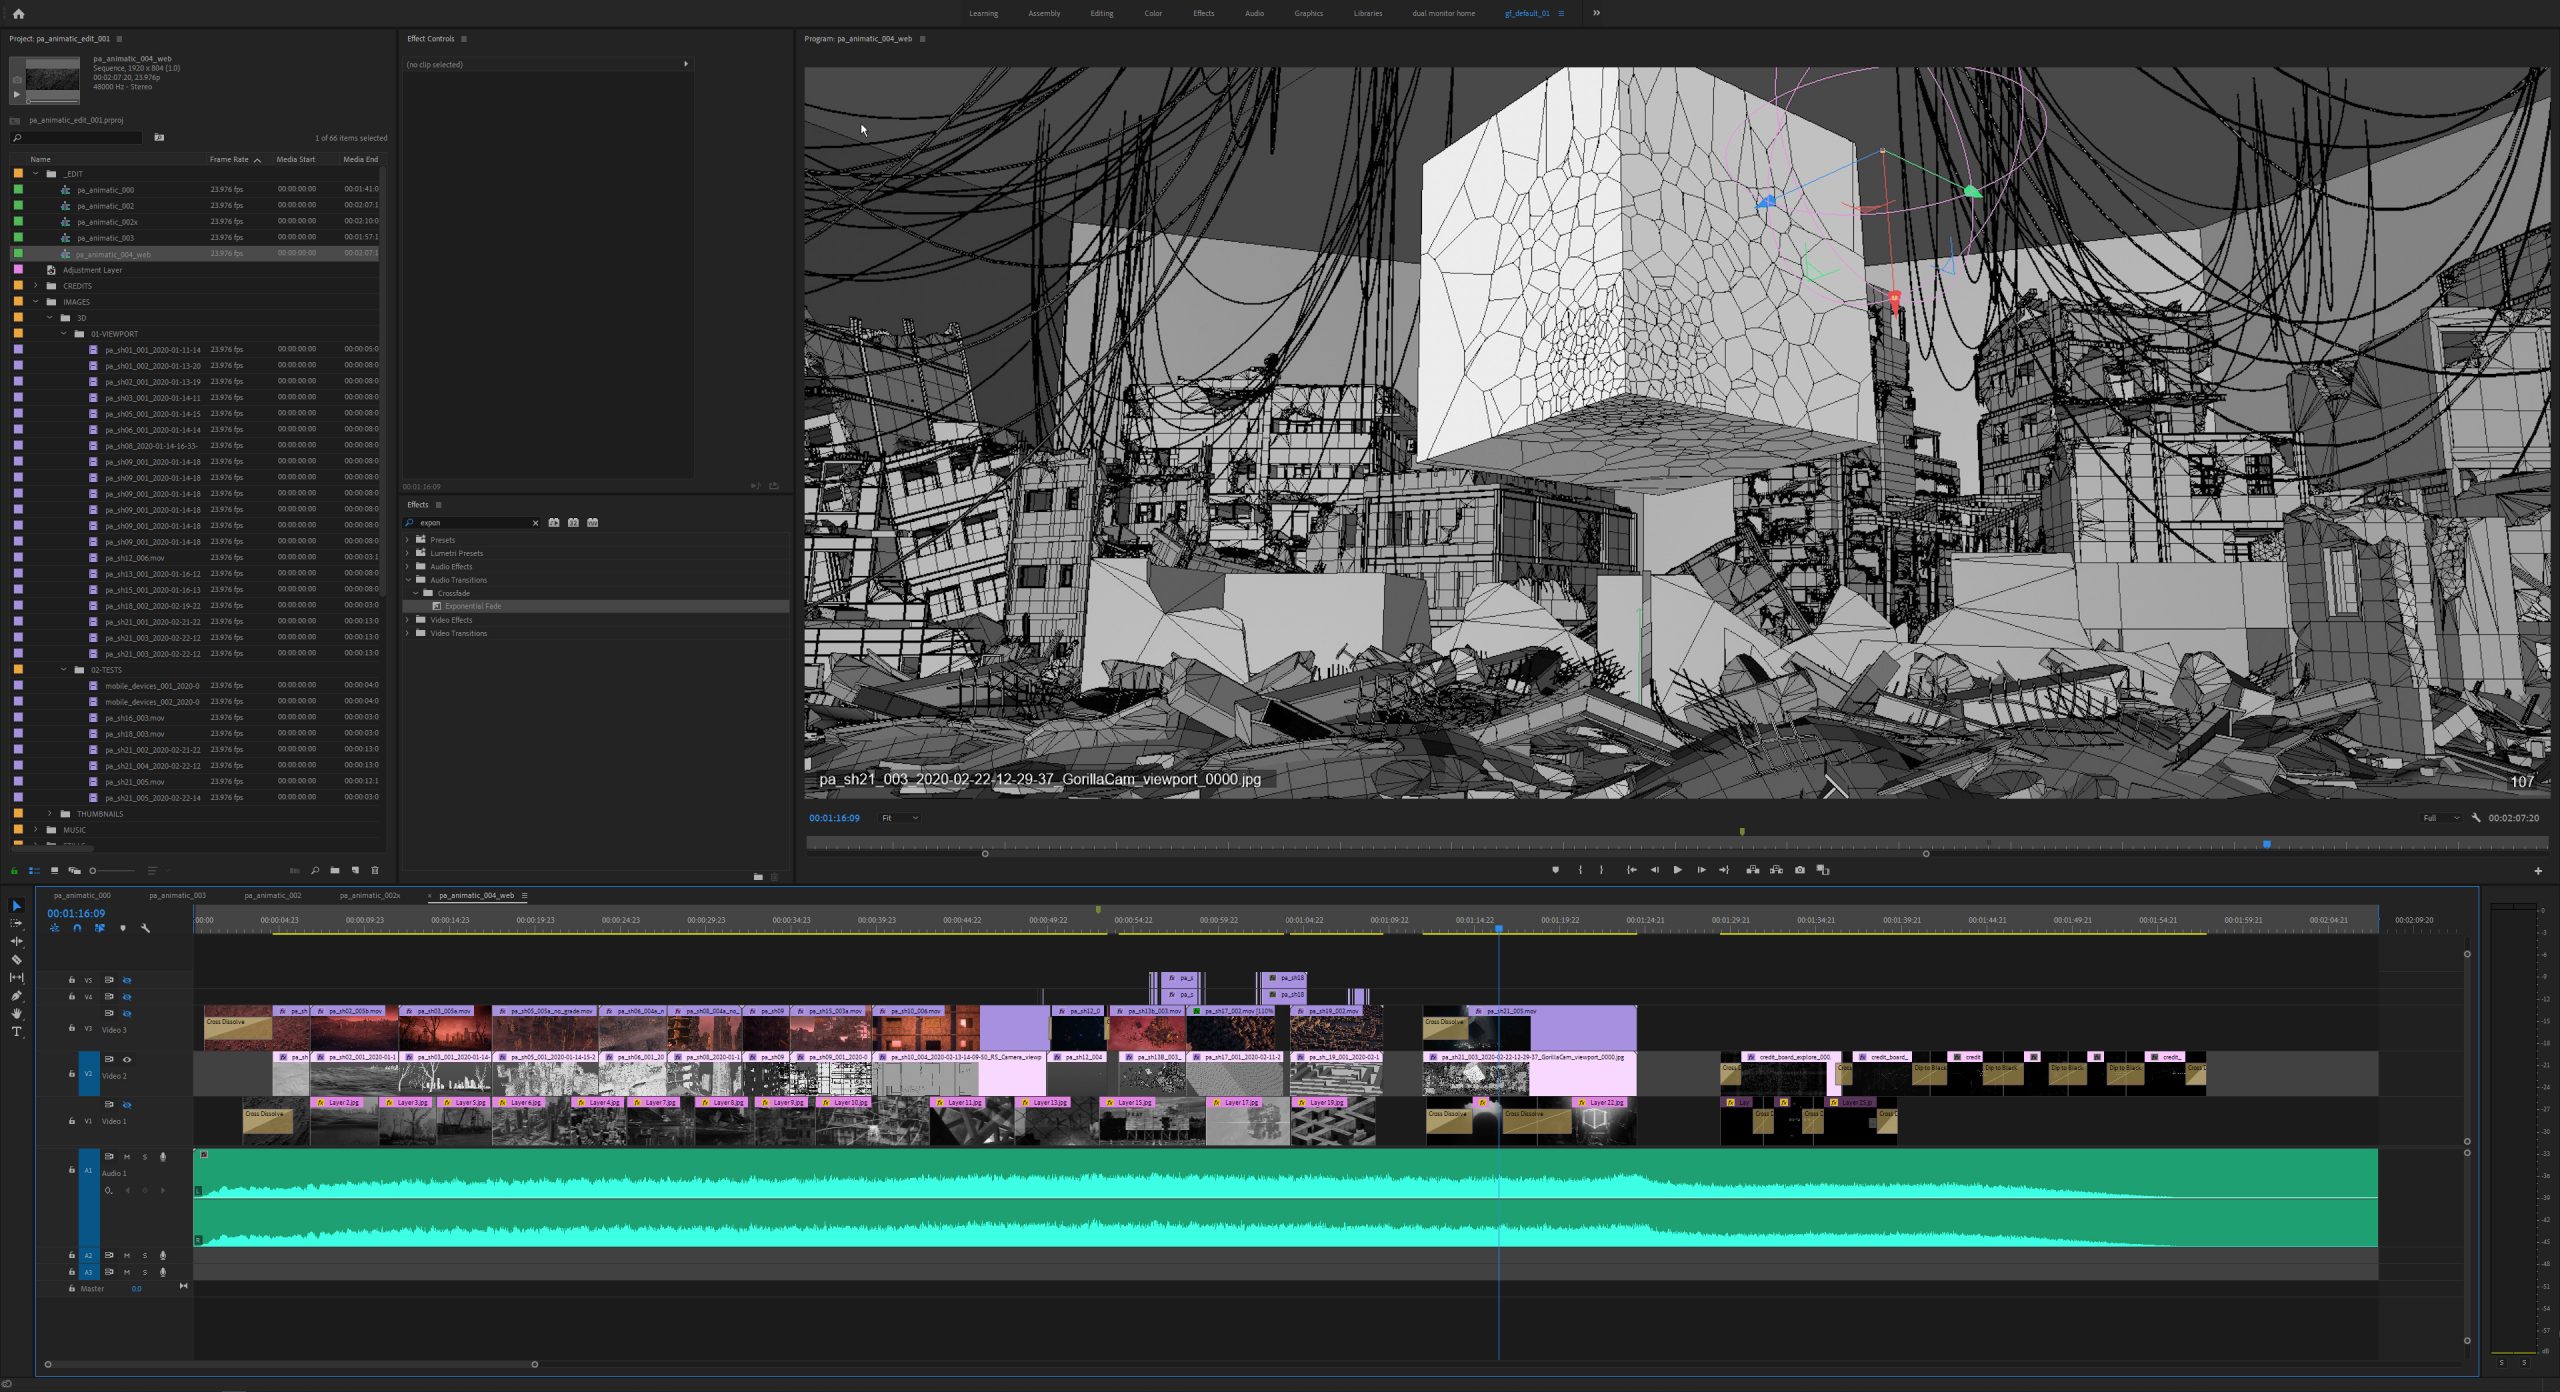
A key milestone in the project is the viewport motion test. This is where I test all the camera movements and animation, evaluating what works and what doesn’t.
Production : 3D
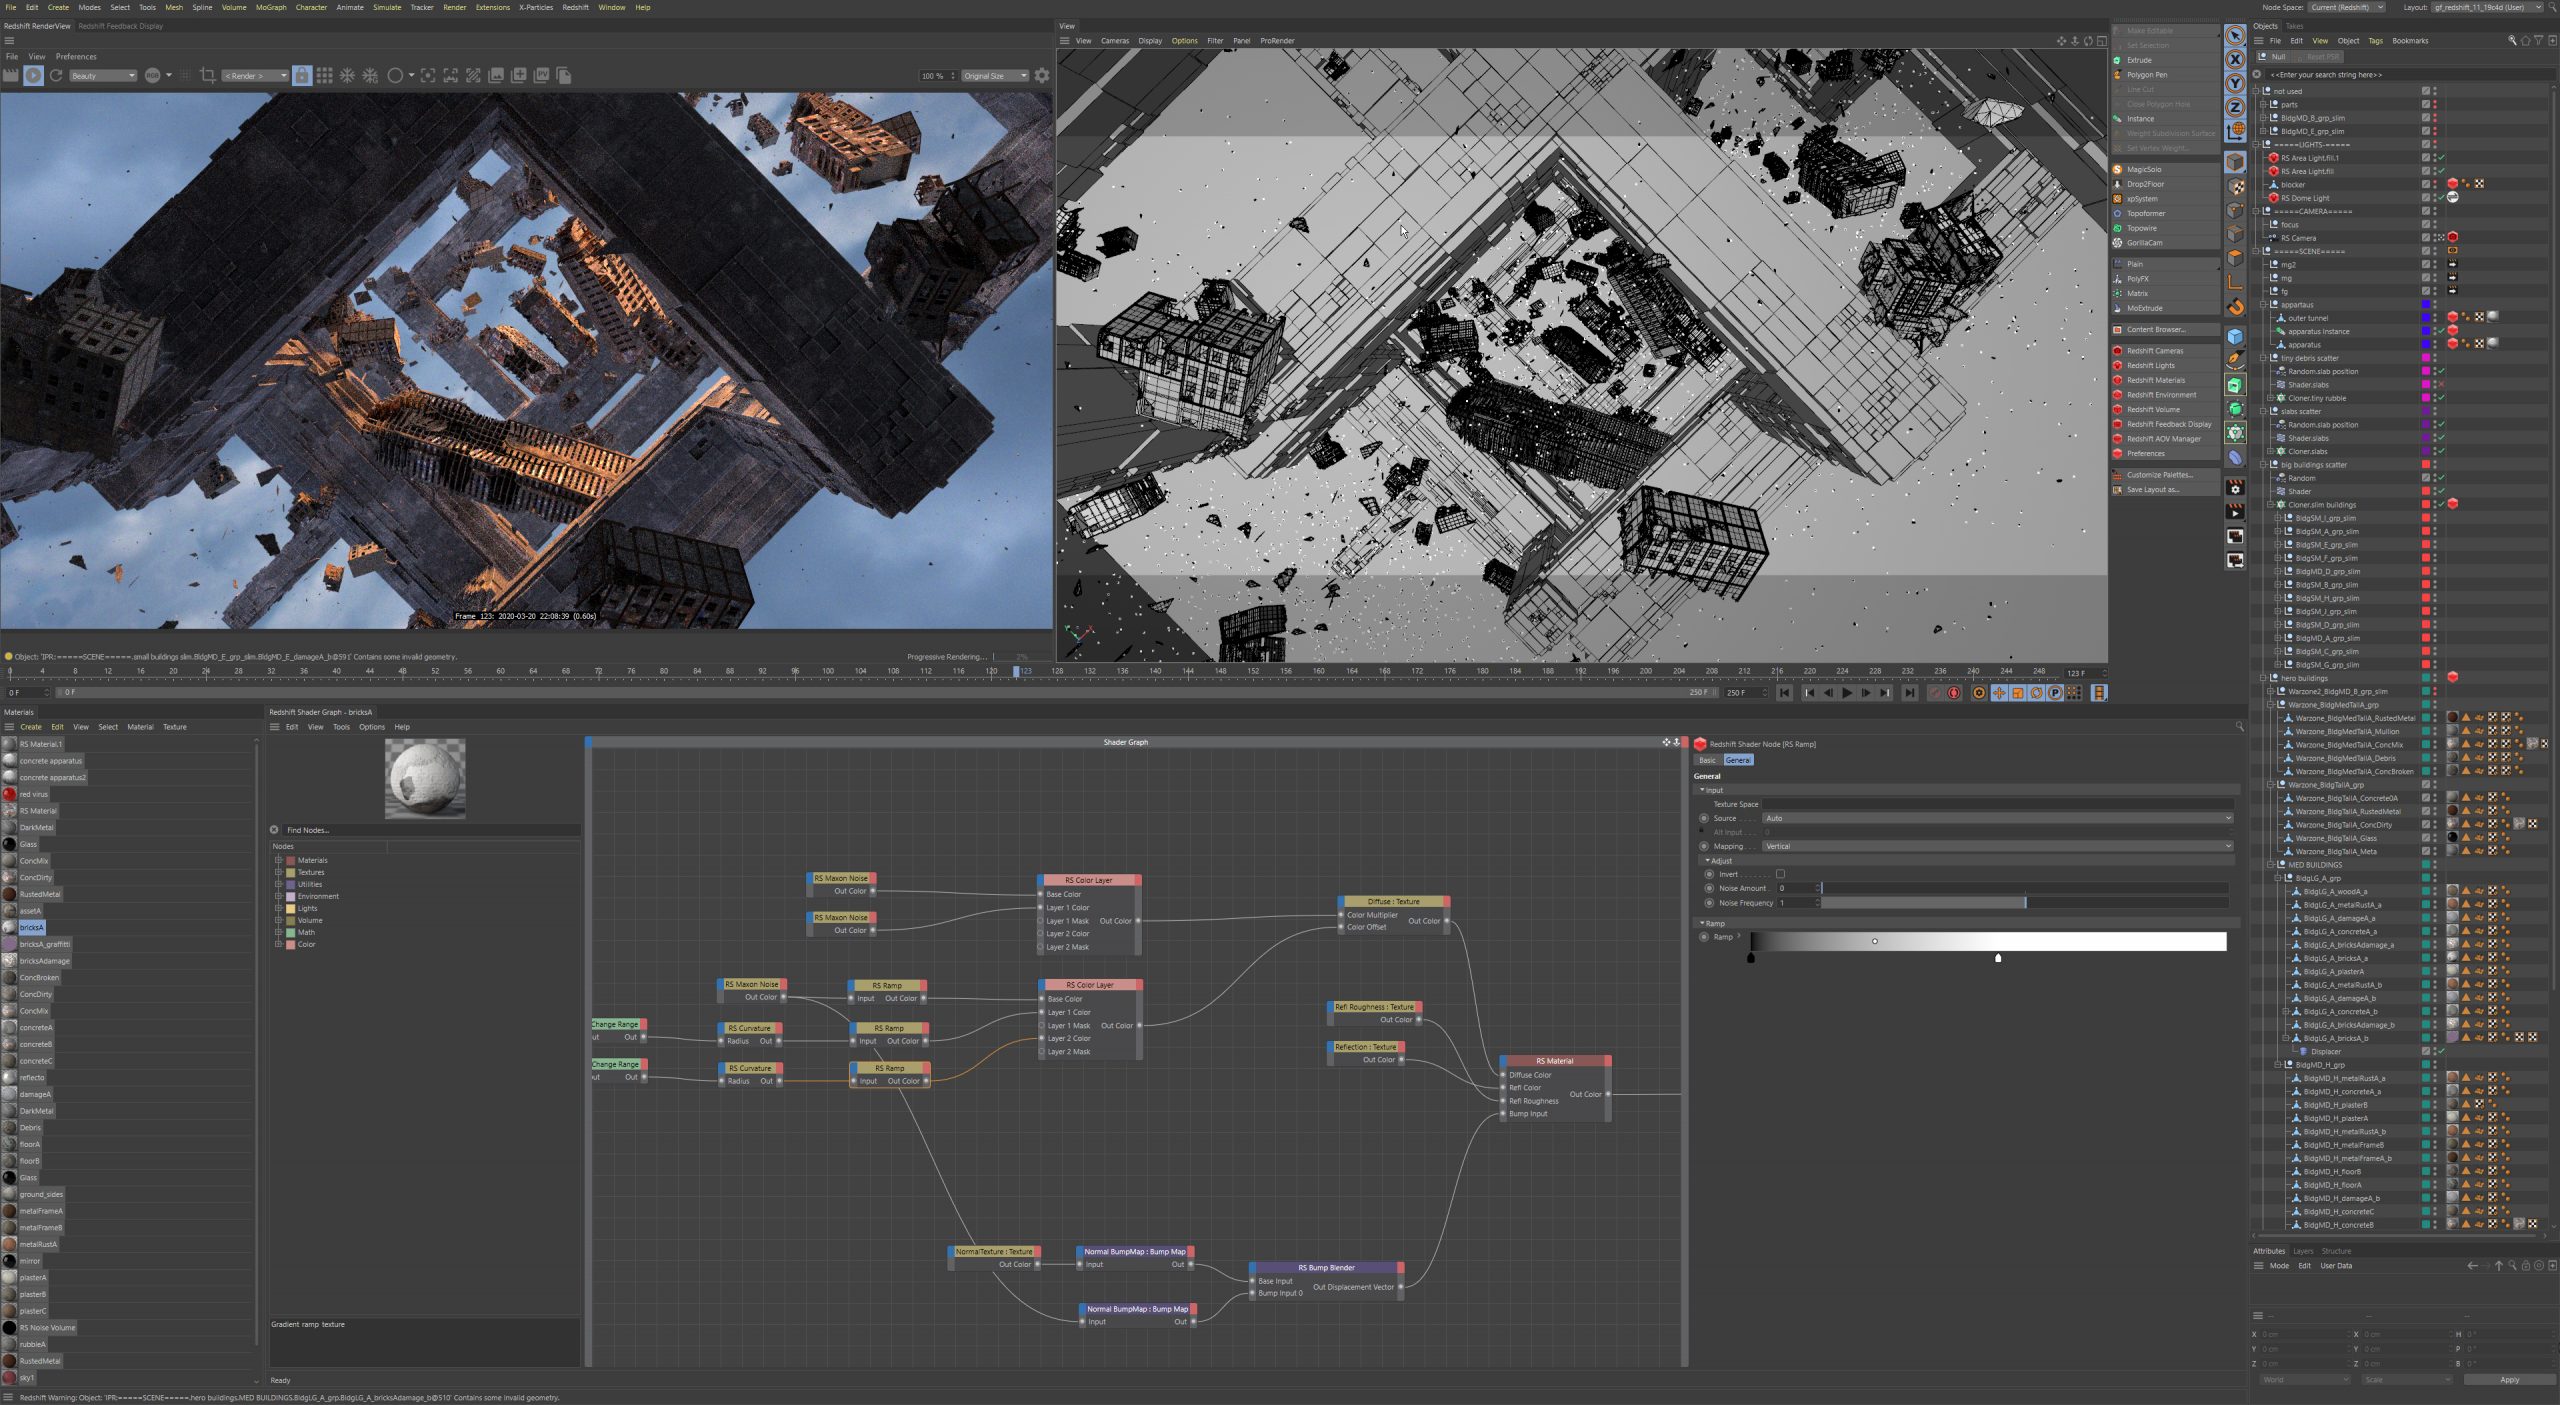
Now the real heavy work begins. The piece was created in Cinema 4D and rendered with Redshift. Each scene required texturing the buildings and objects, lighting the environment, and setting up the movement and animations required to move the story along.

This continued to be an extremely iterative process. I’d get the scene to a ready state, render out some tests, evaluate, tweak, then repeat as necessary. Along the way I’d import these test renders into the editing timeline, keeping a perpetual eye on the big picture.
Production : Comp
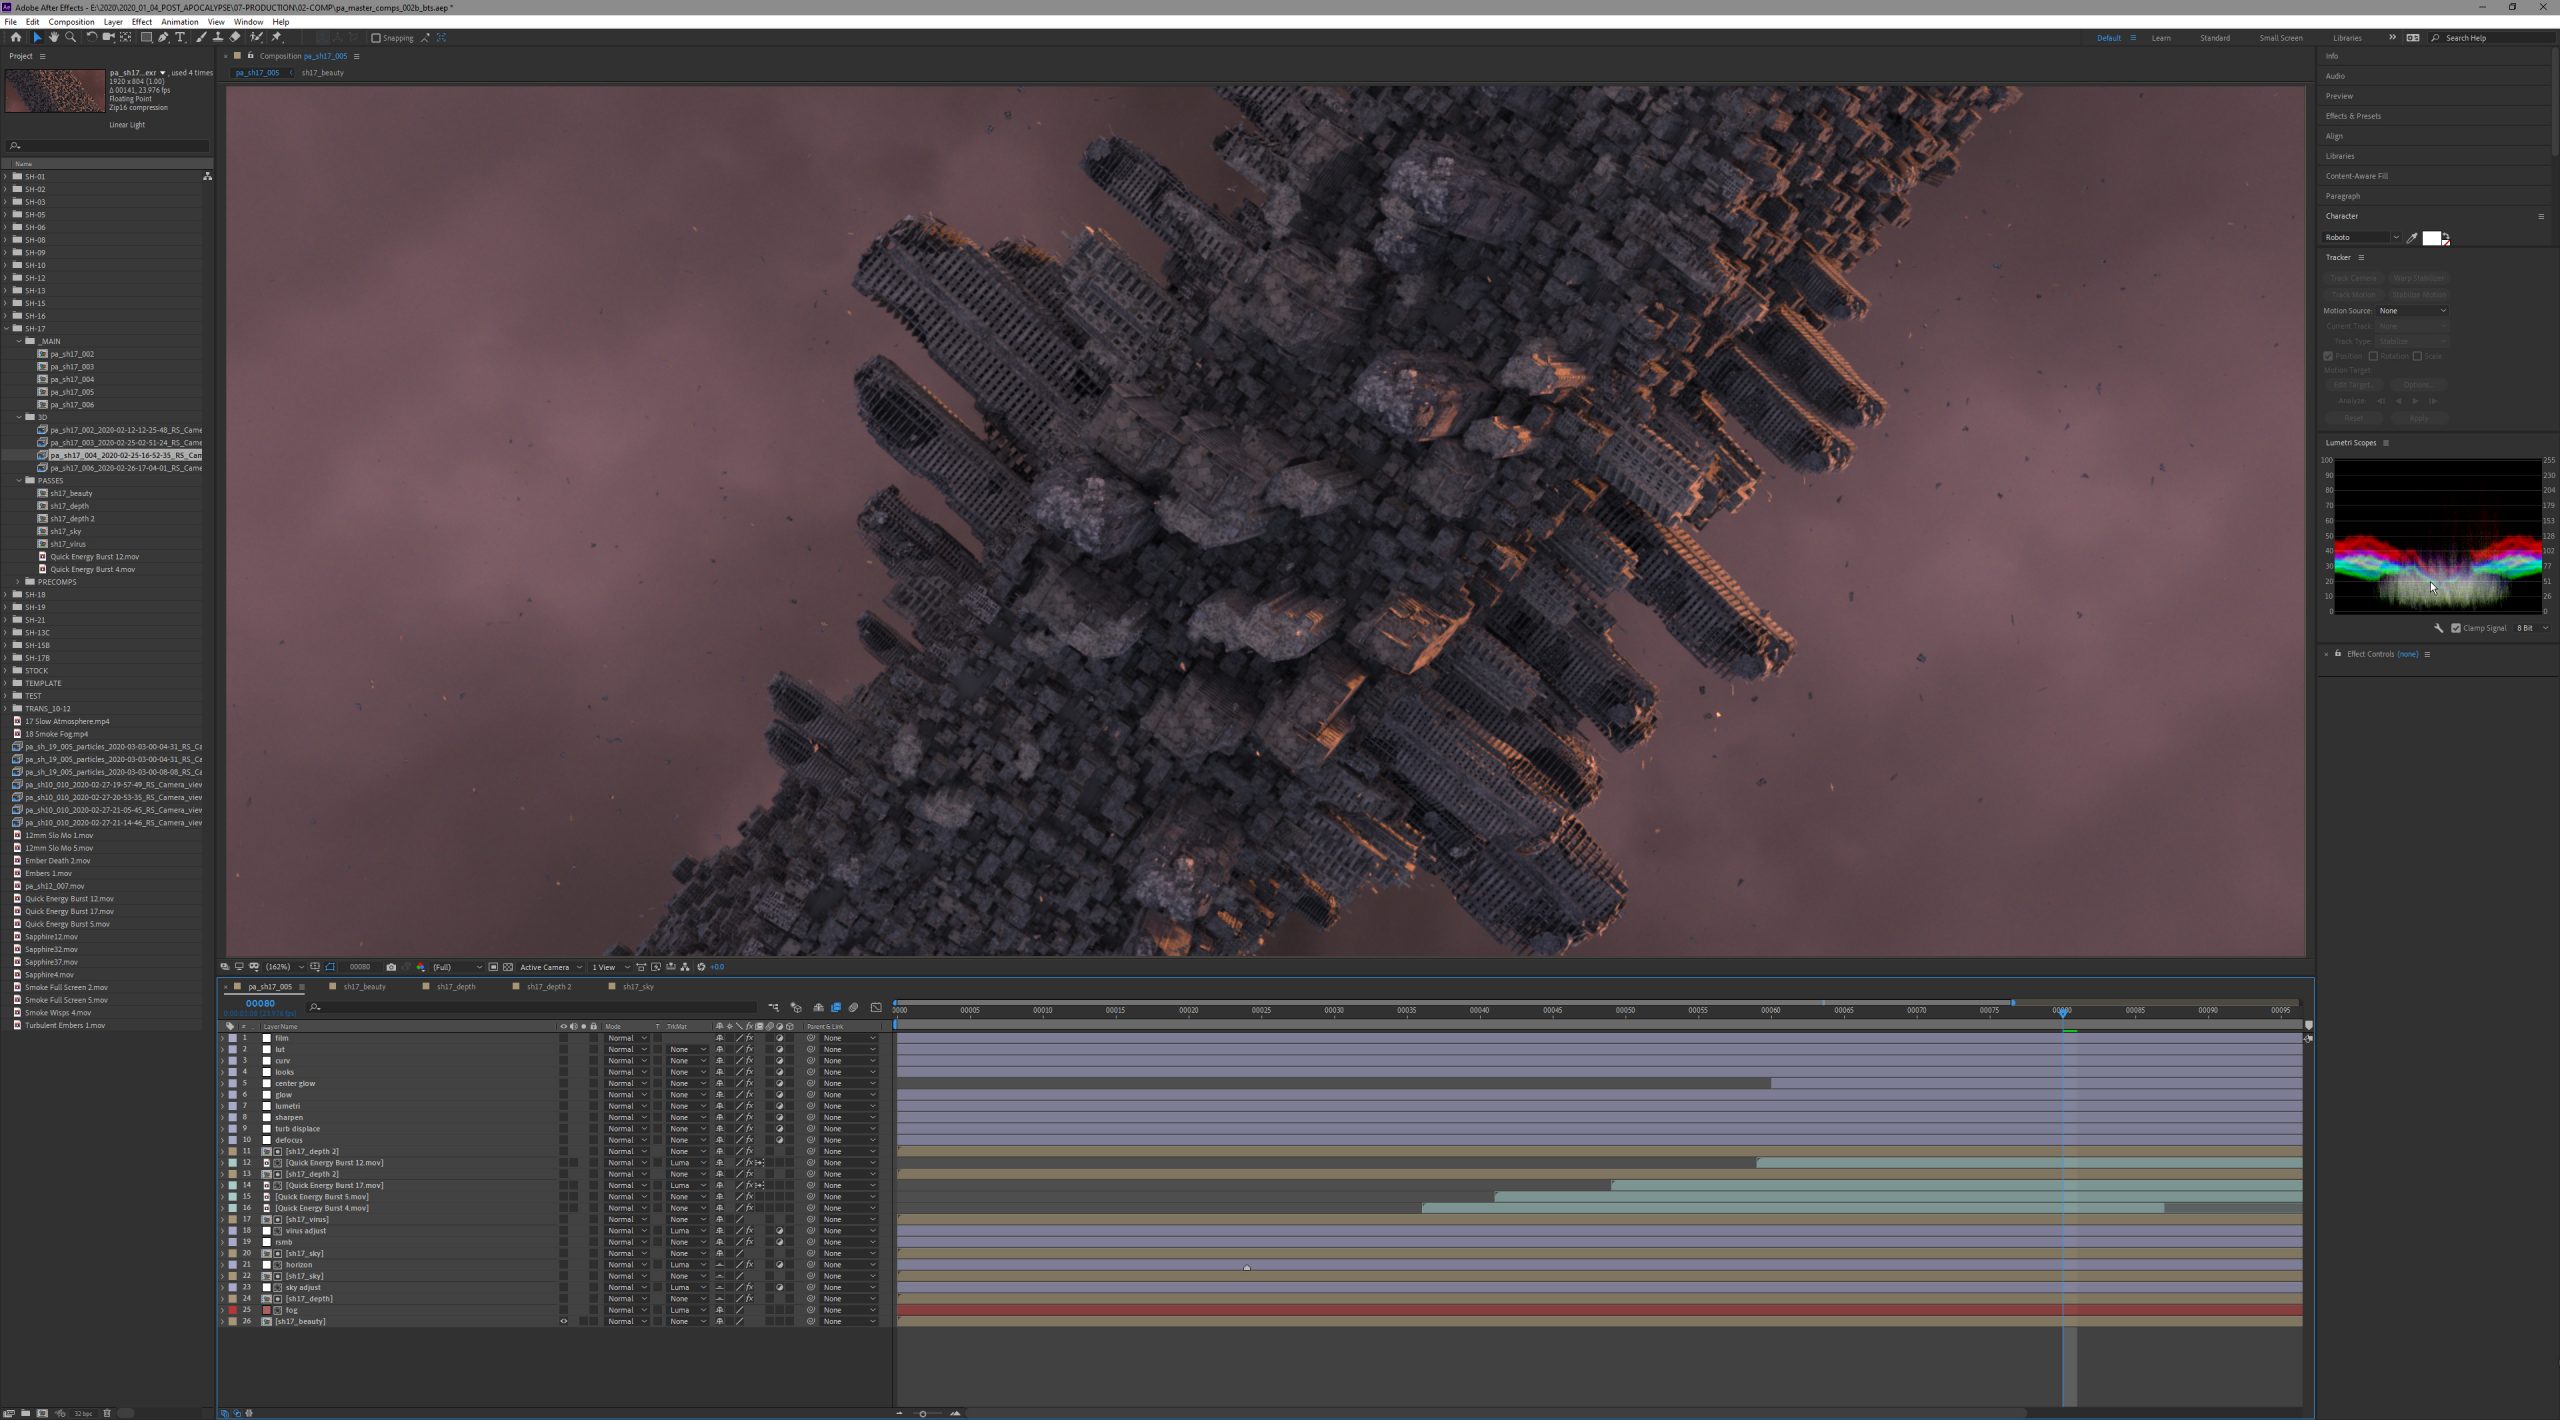
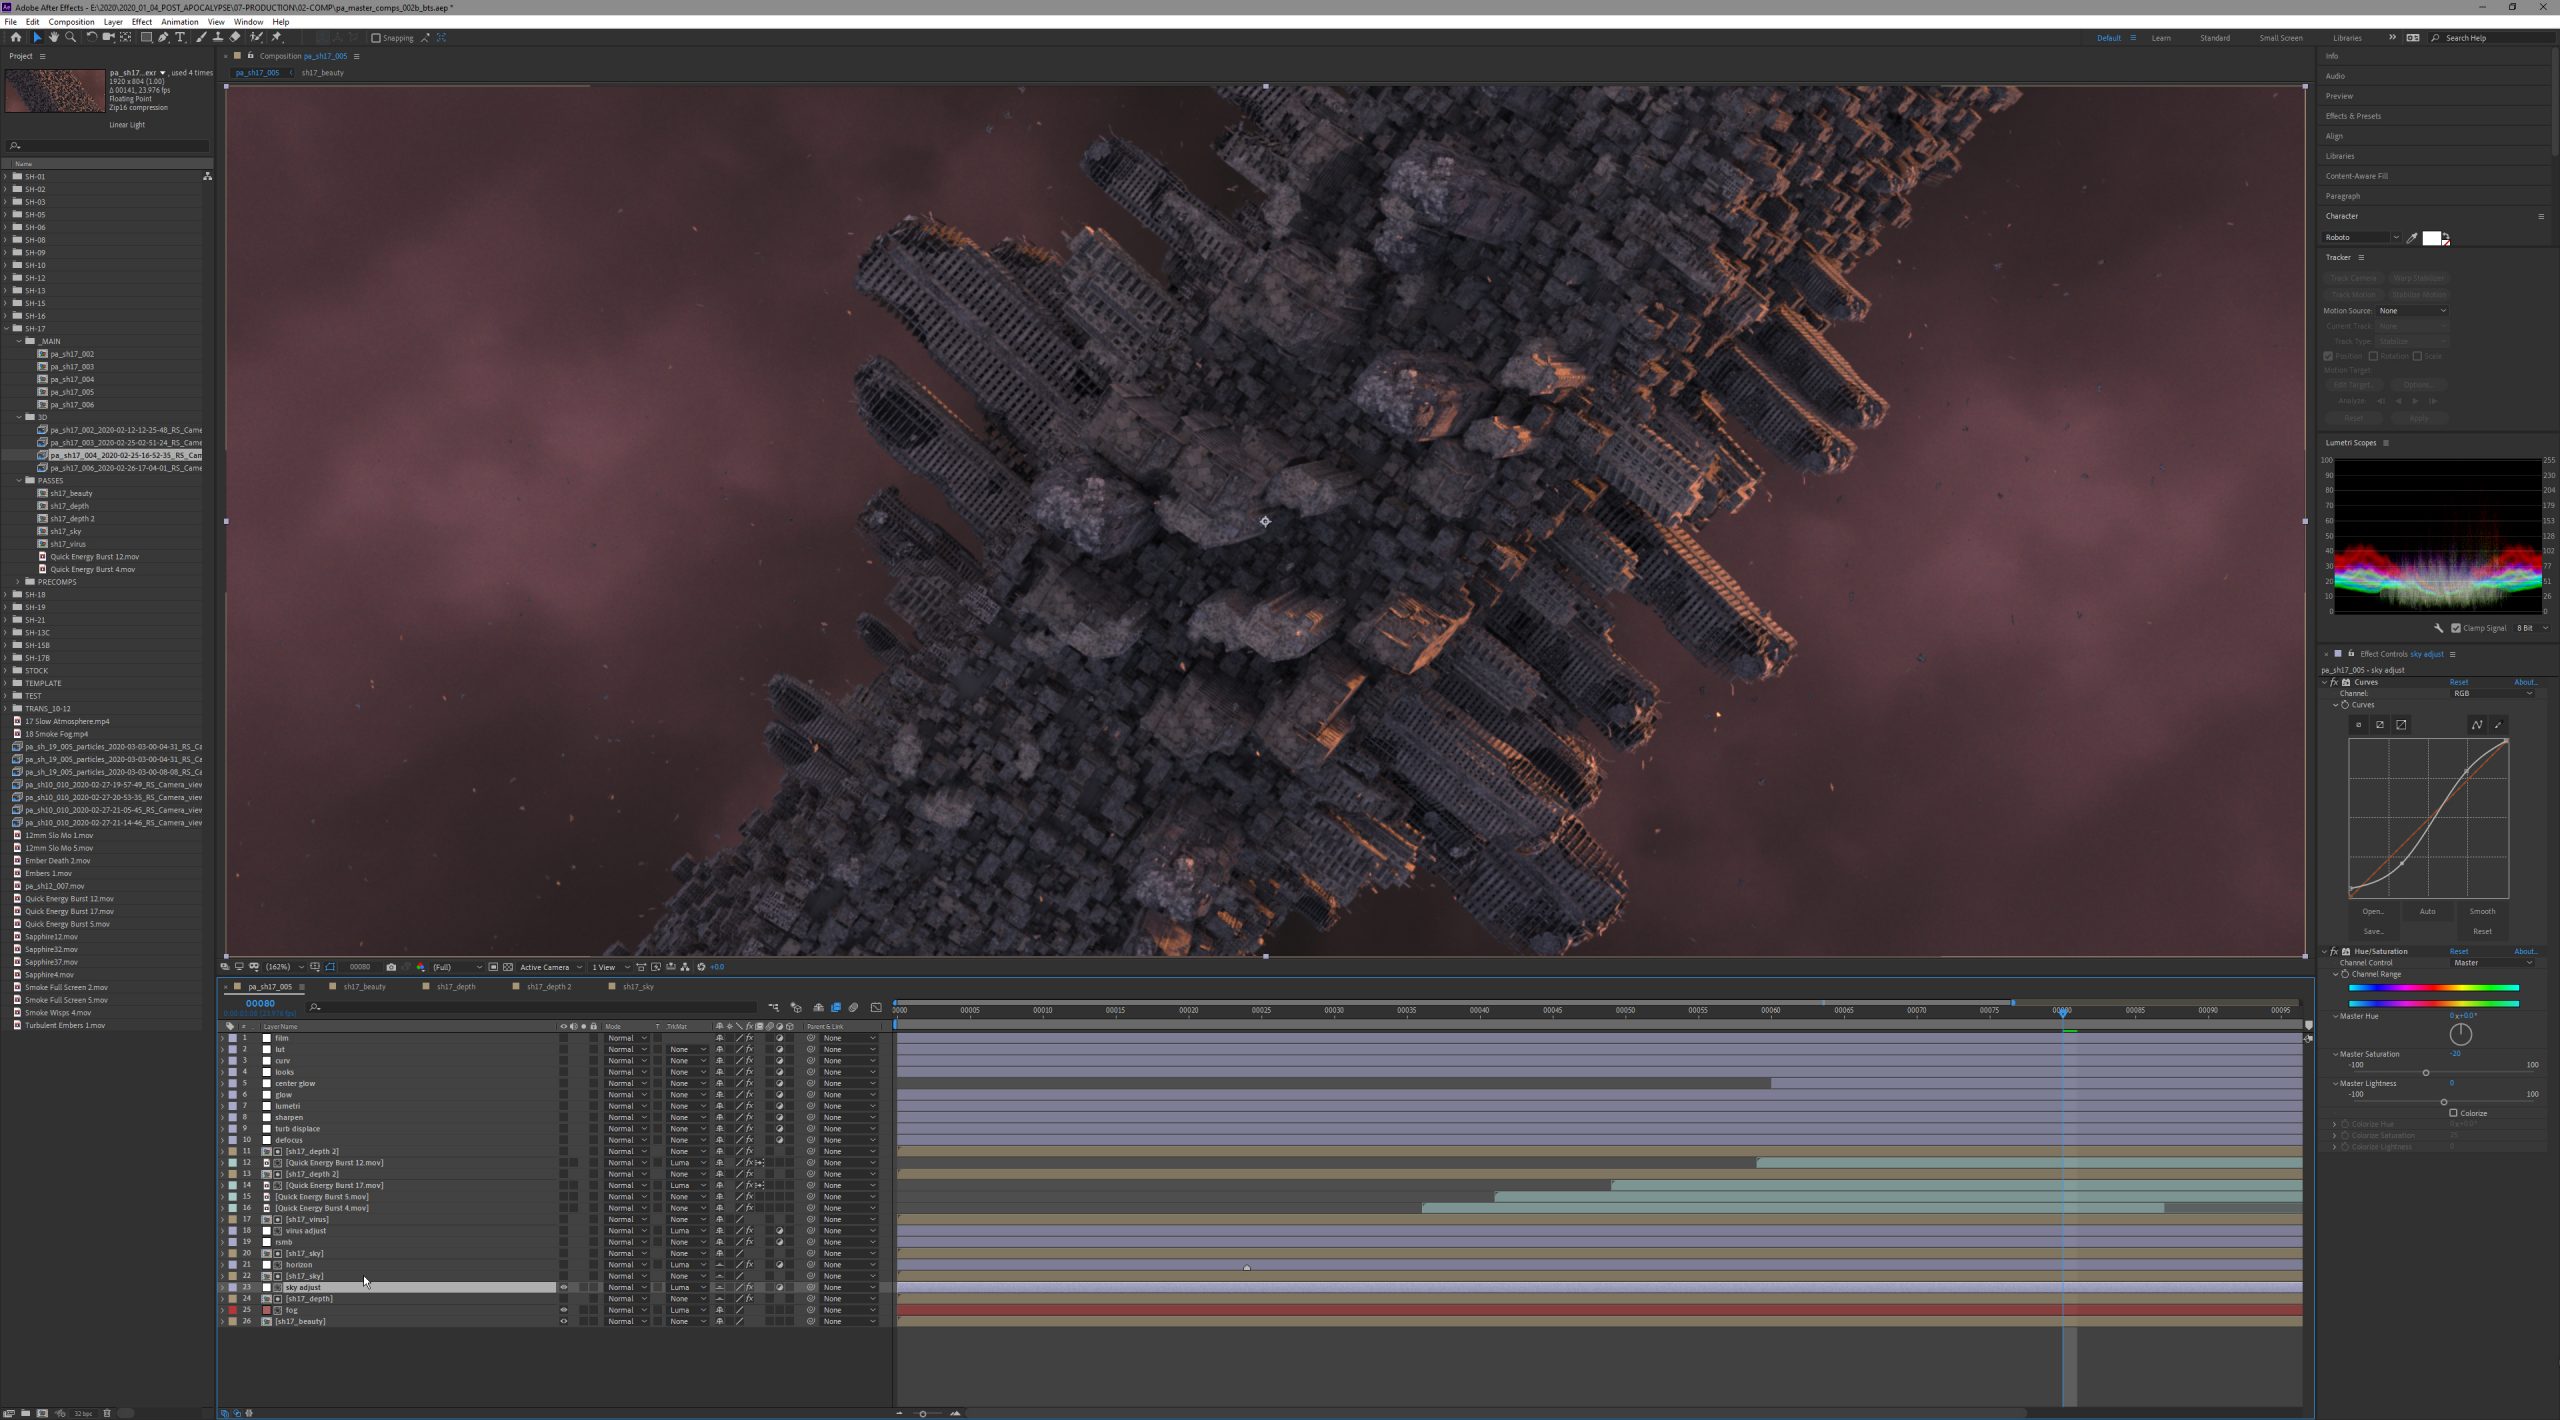

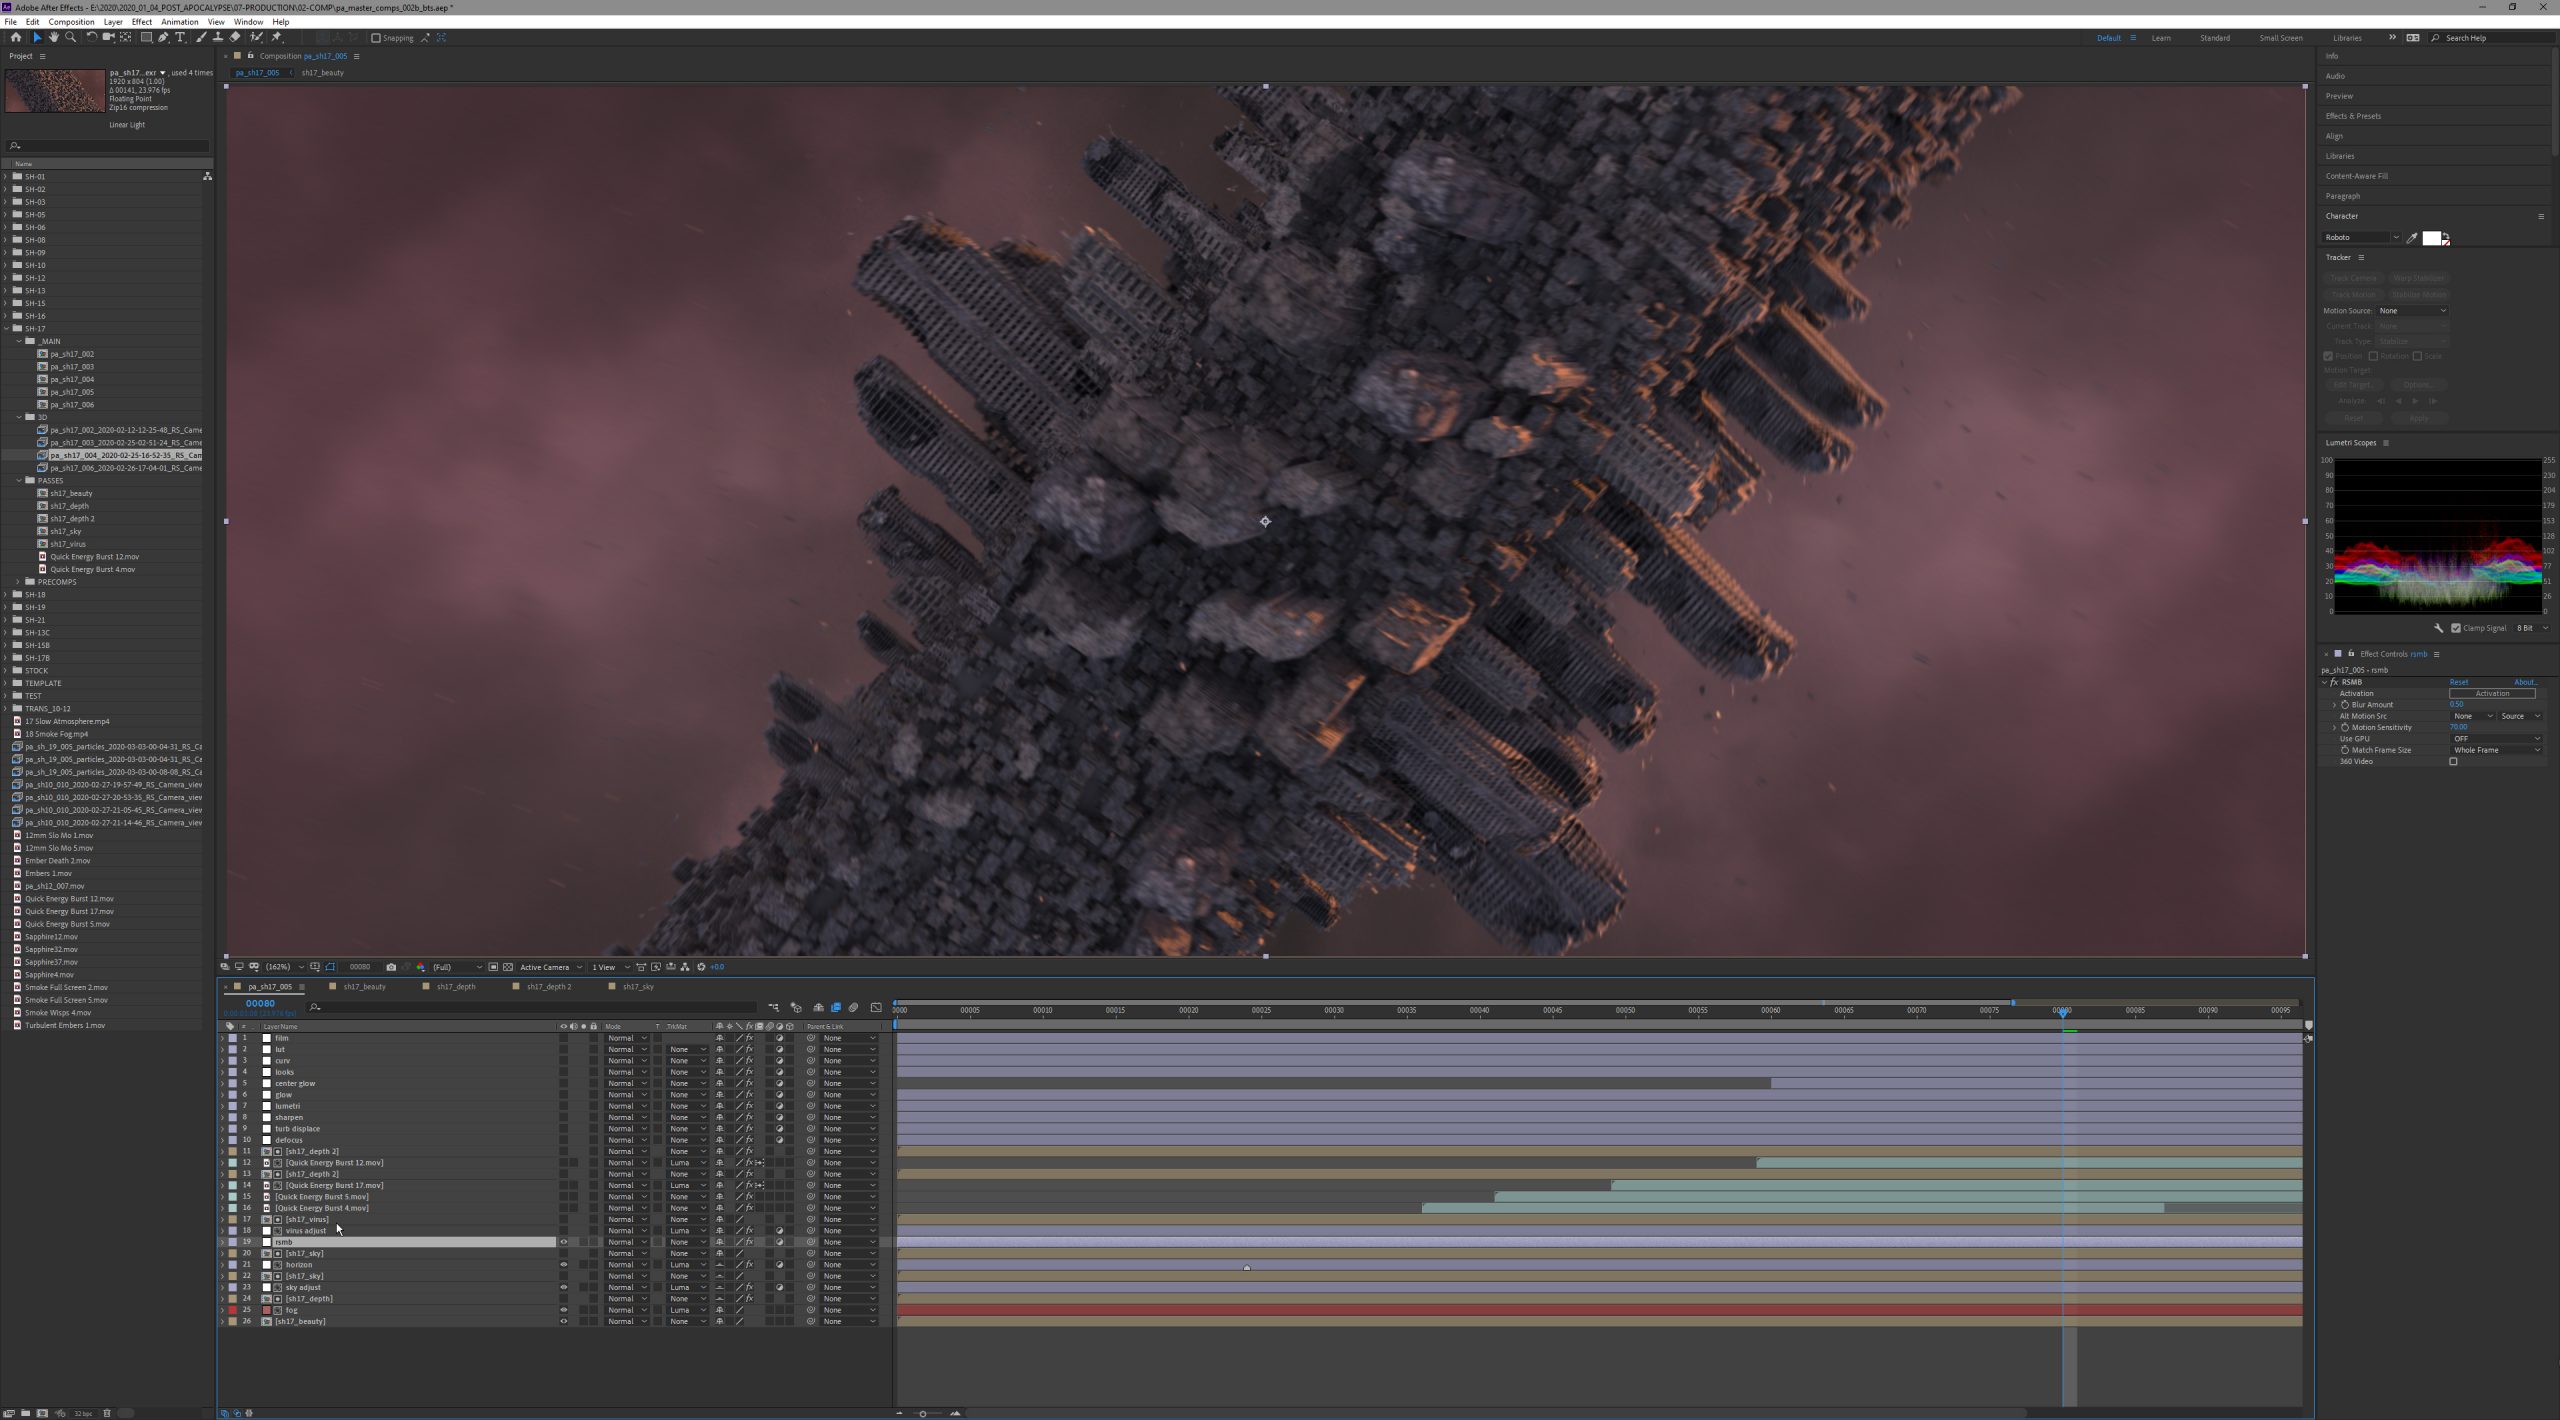
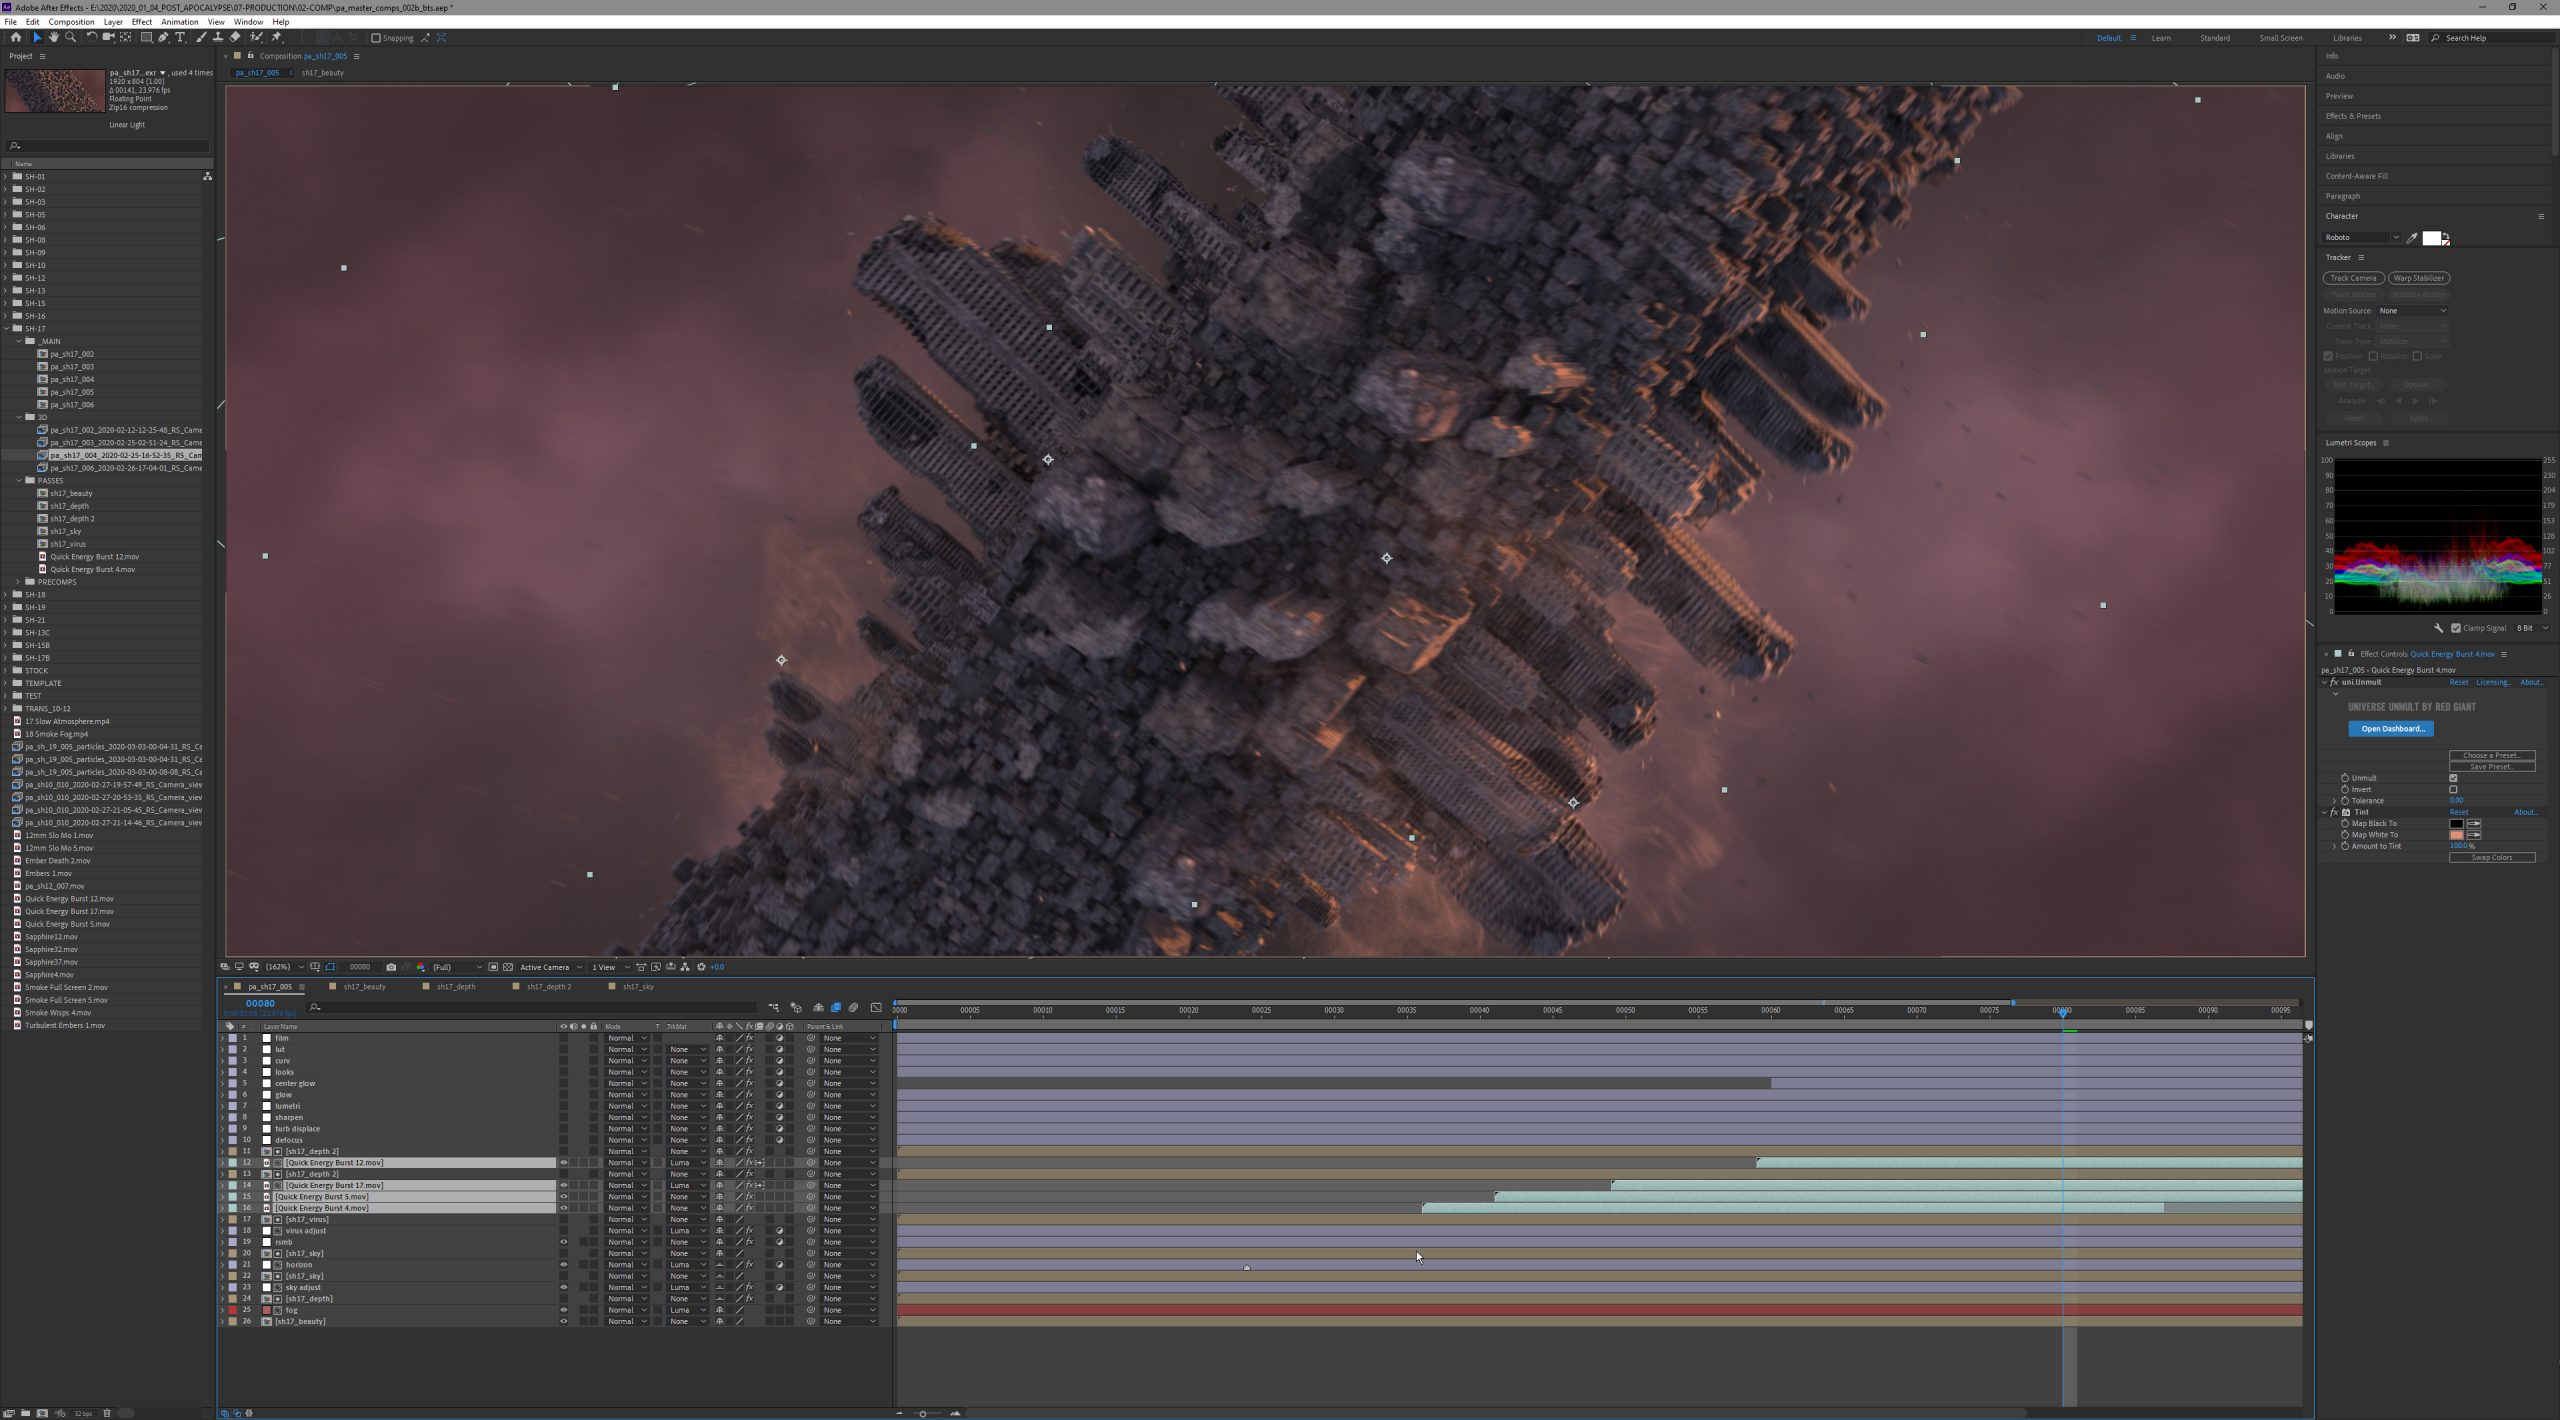
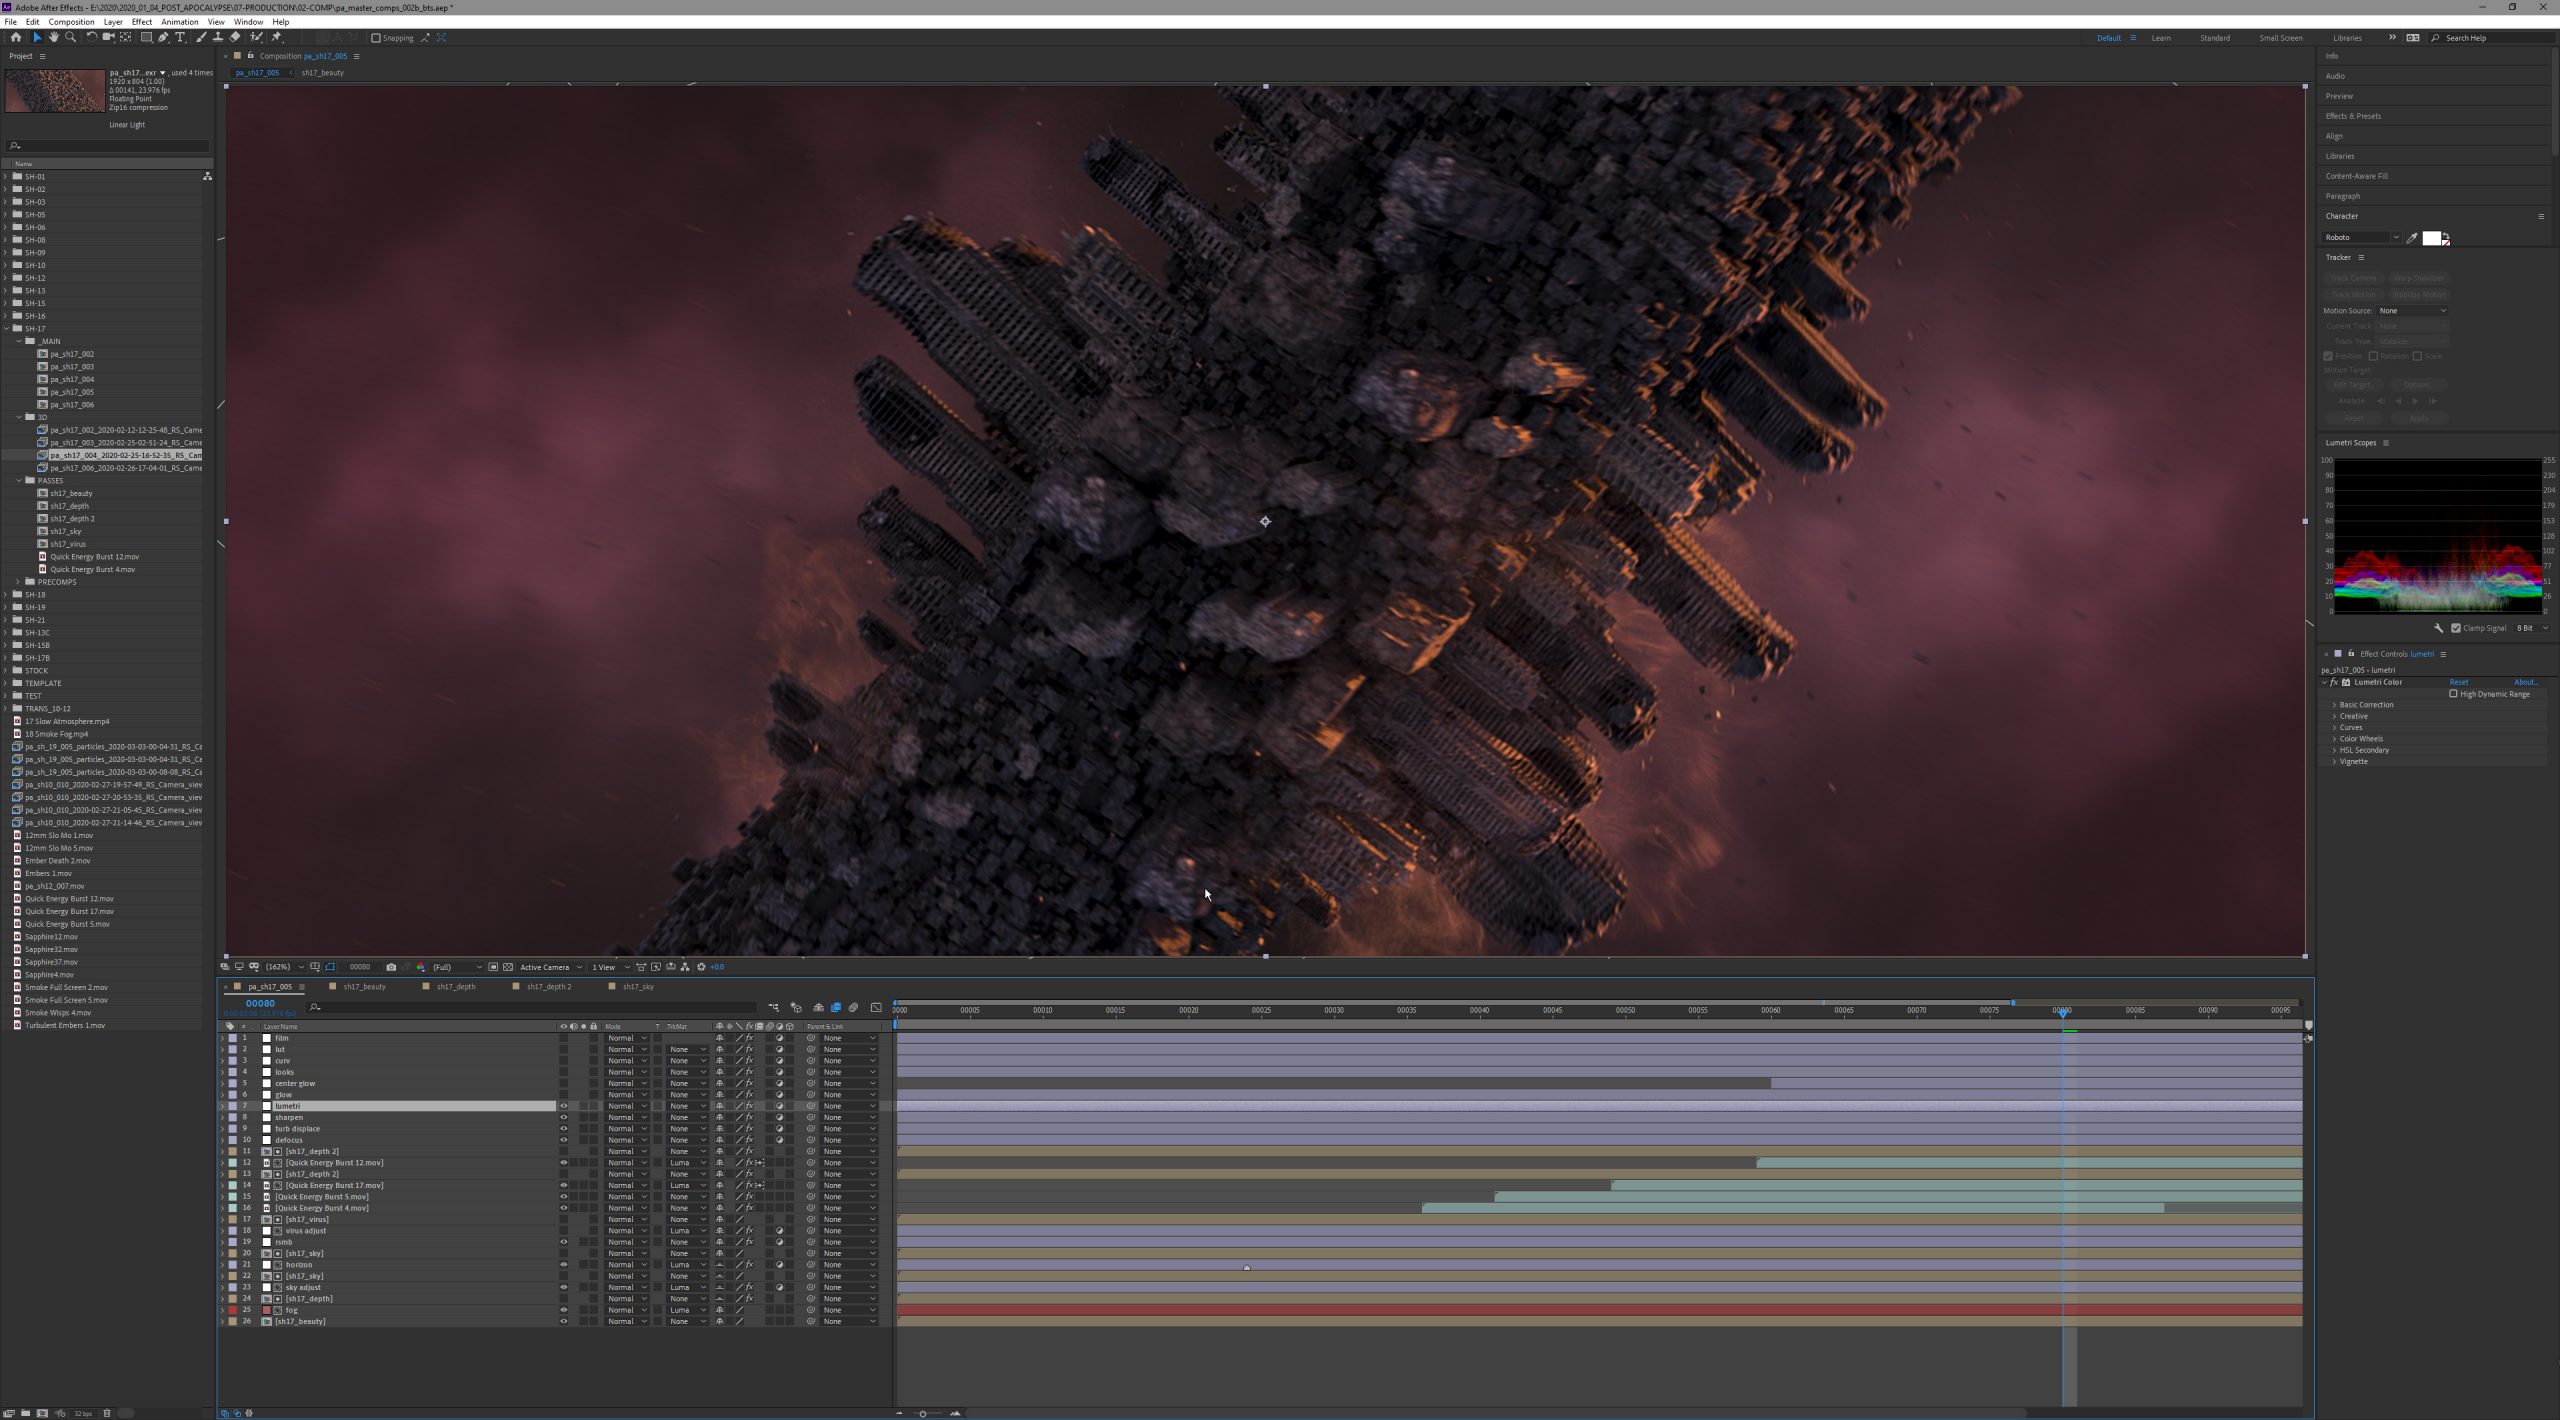
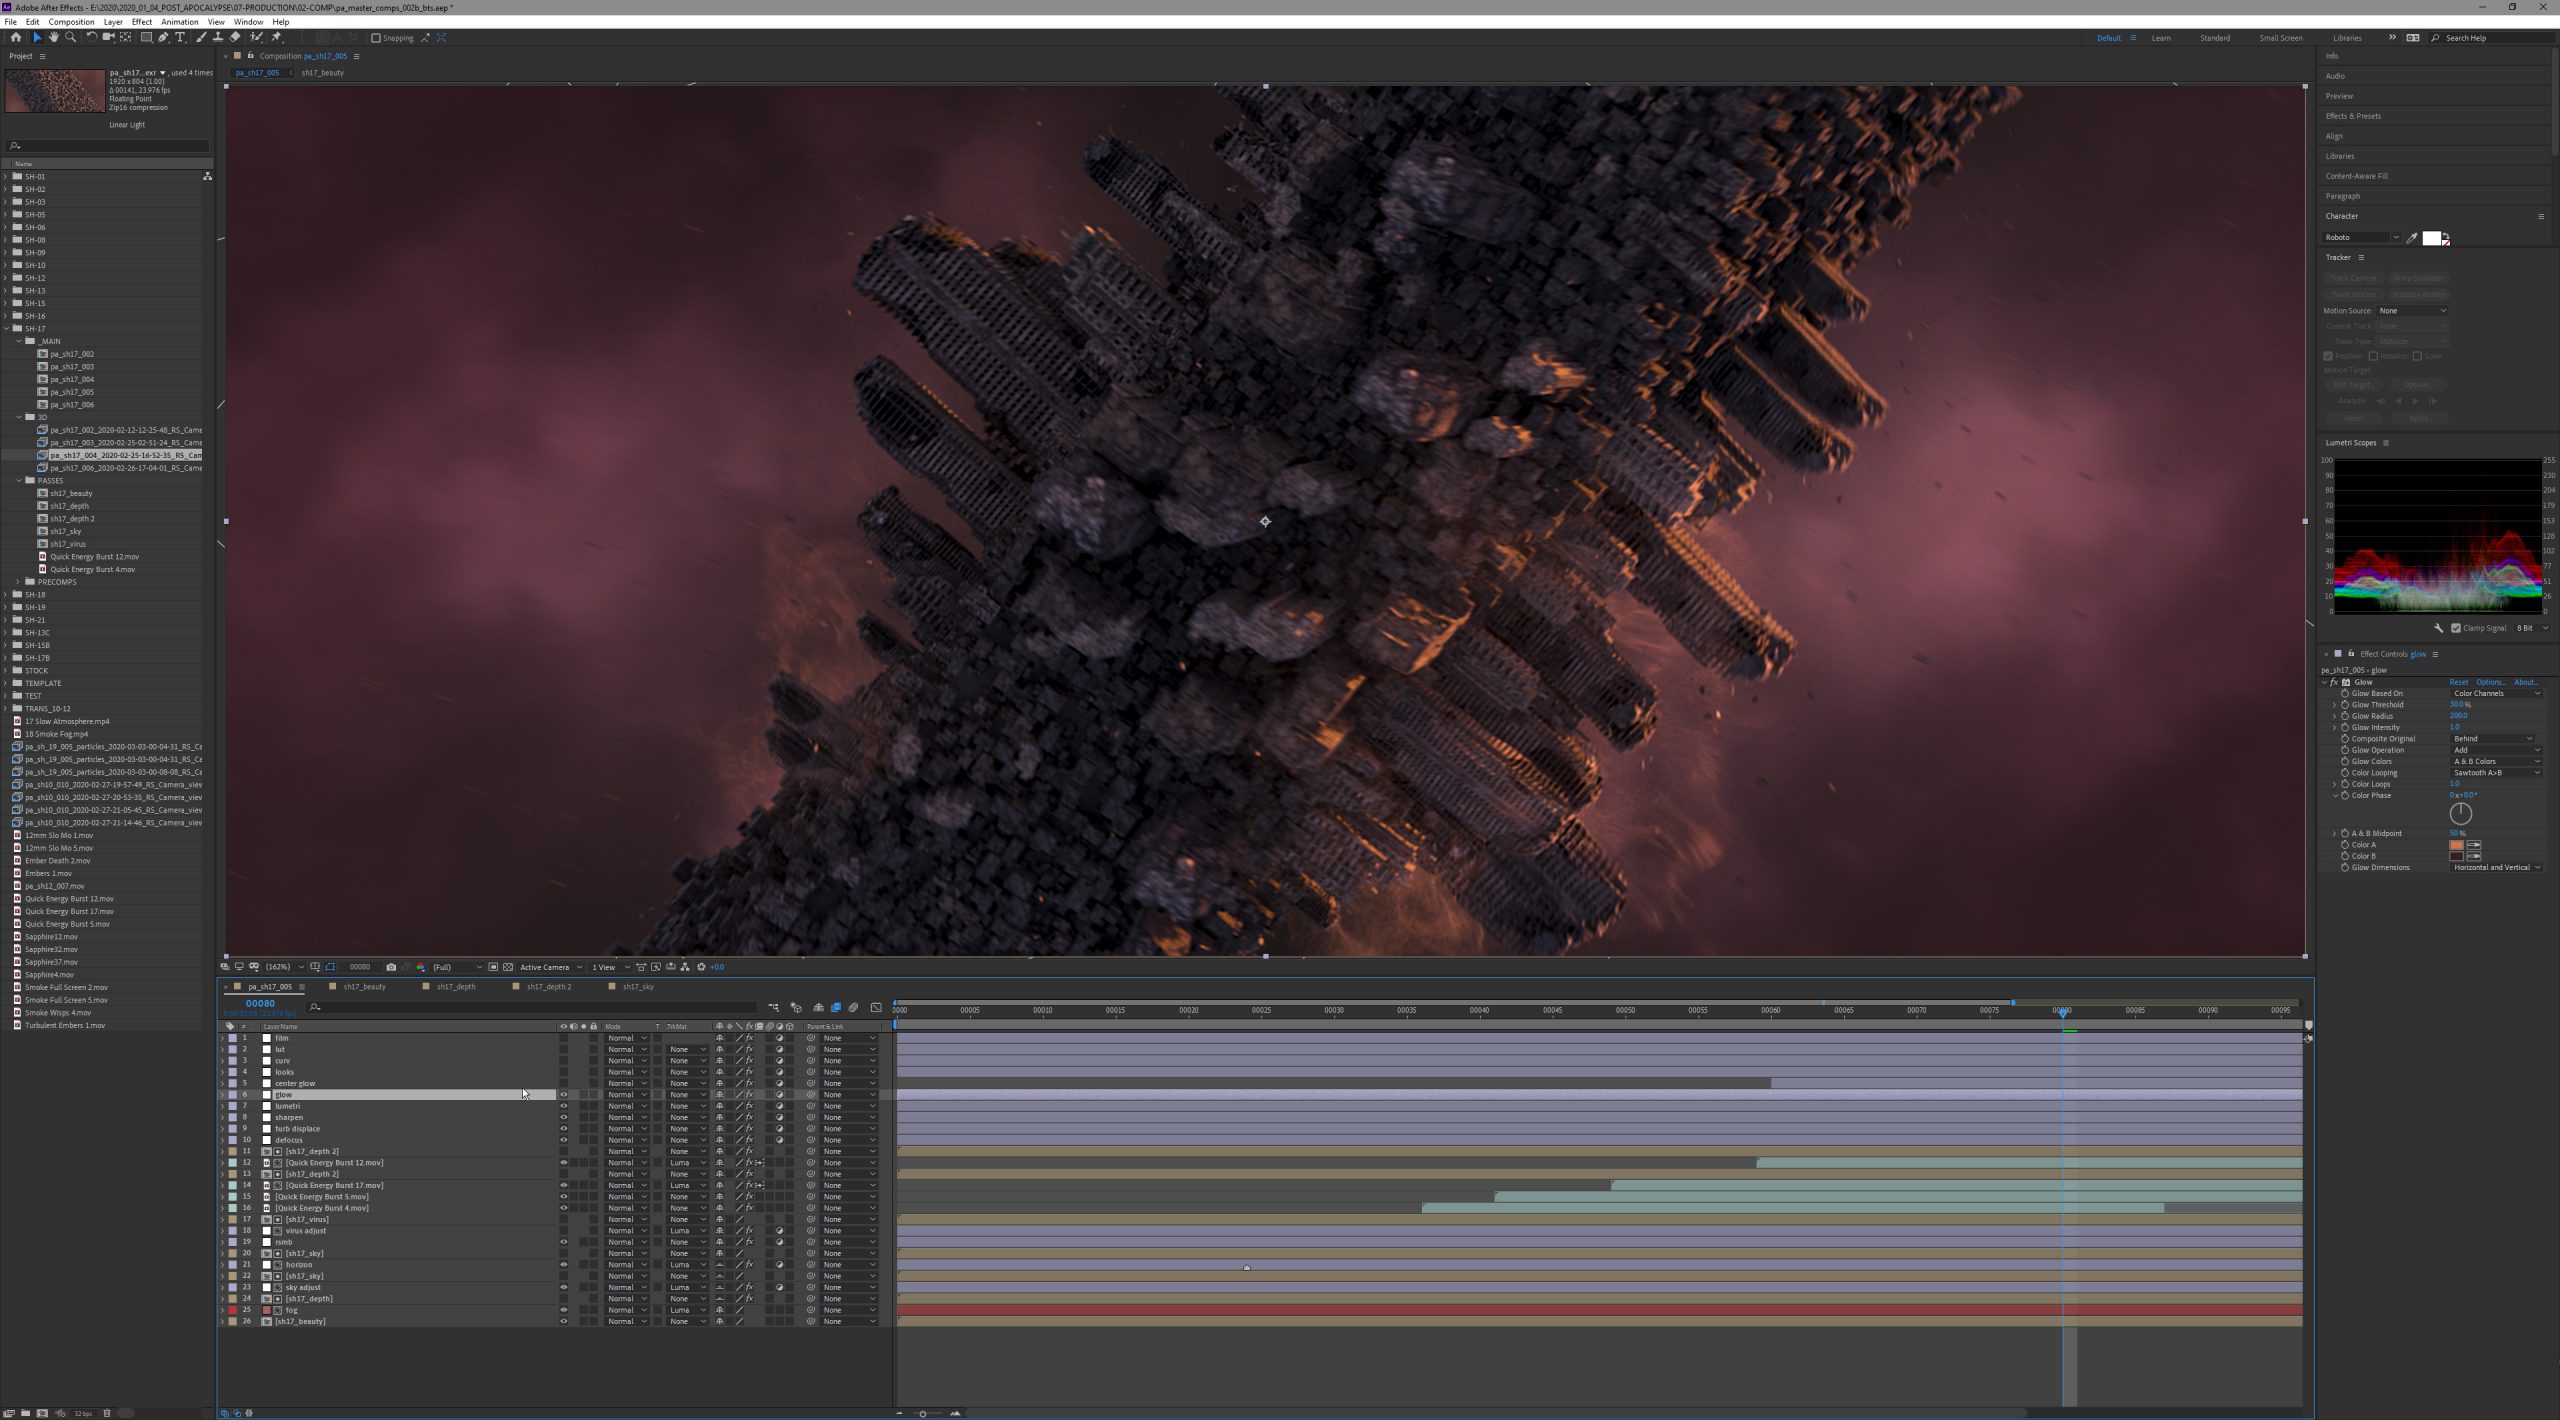

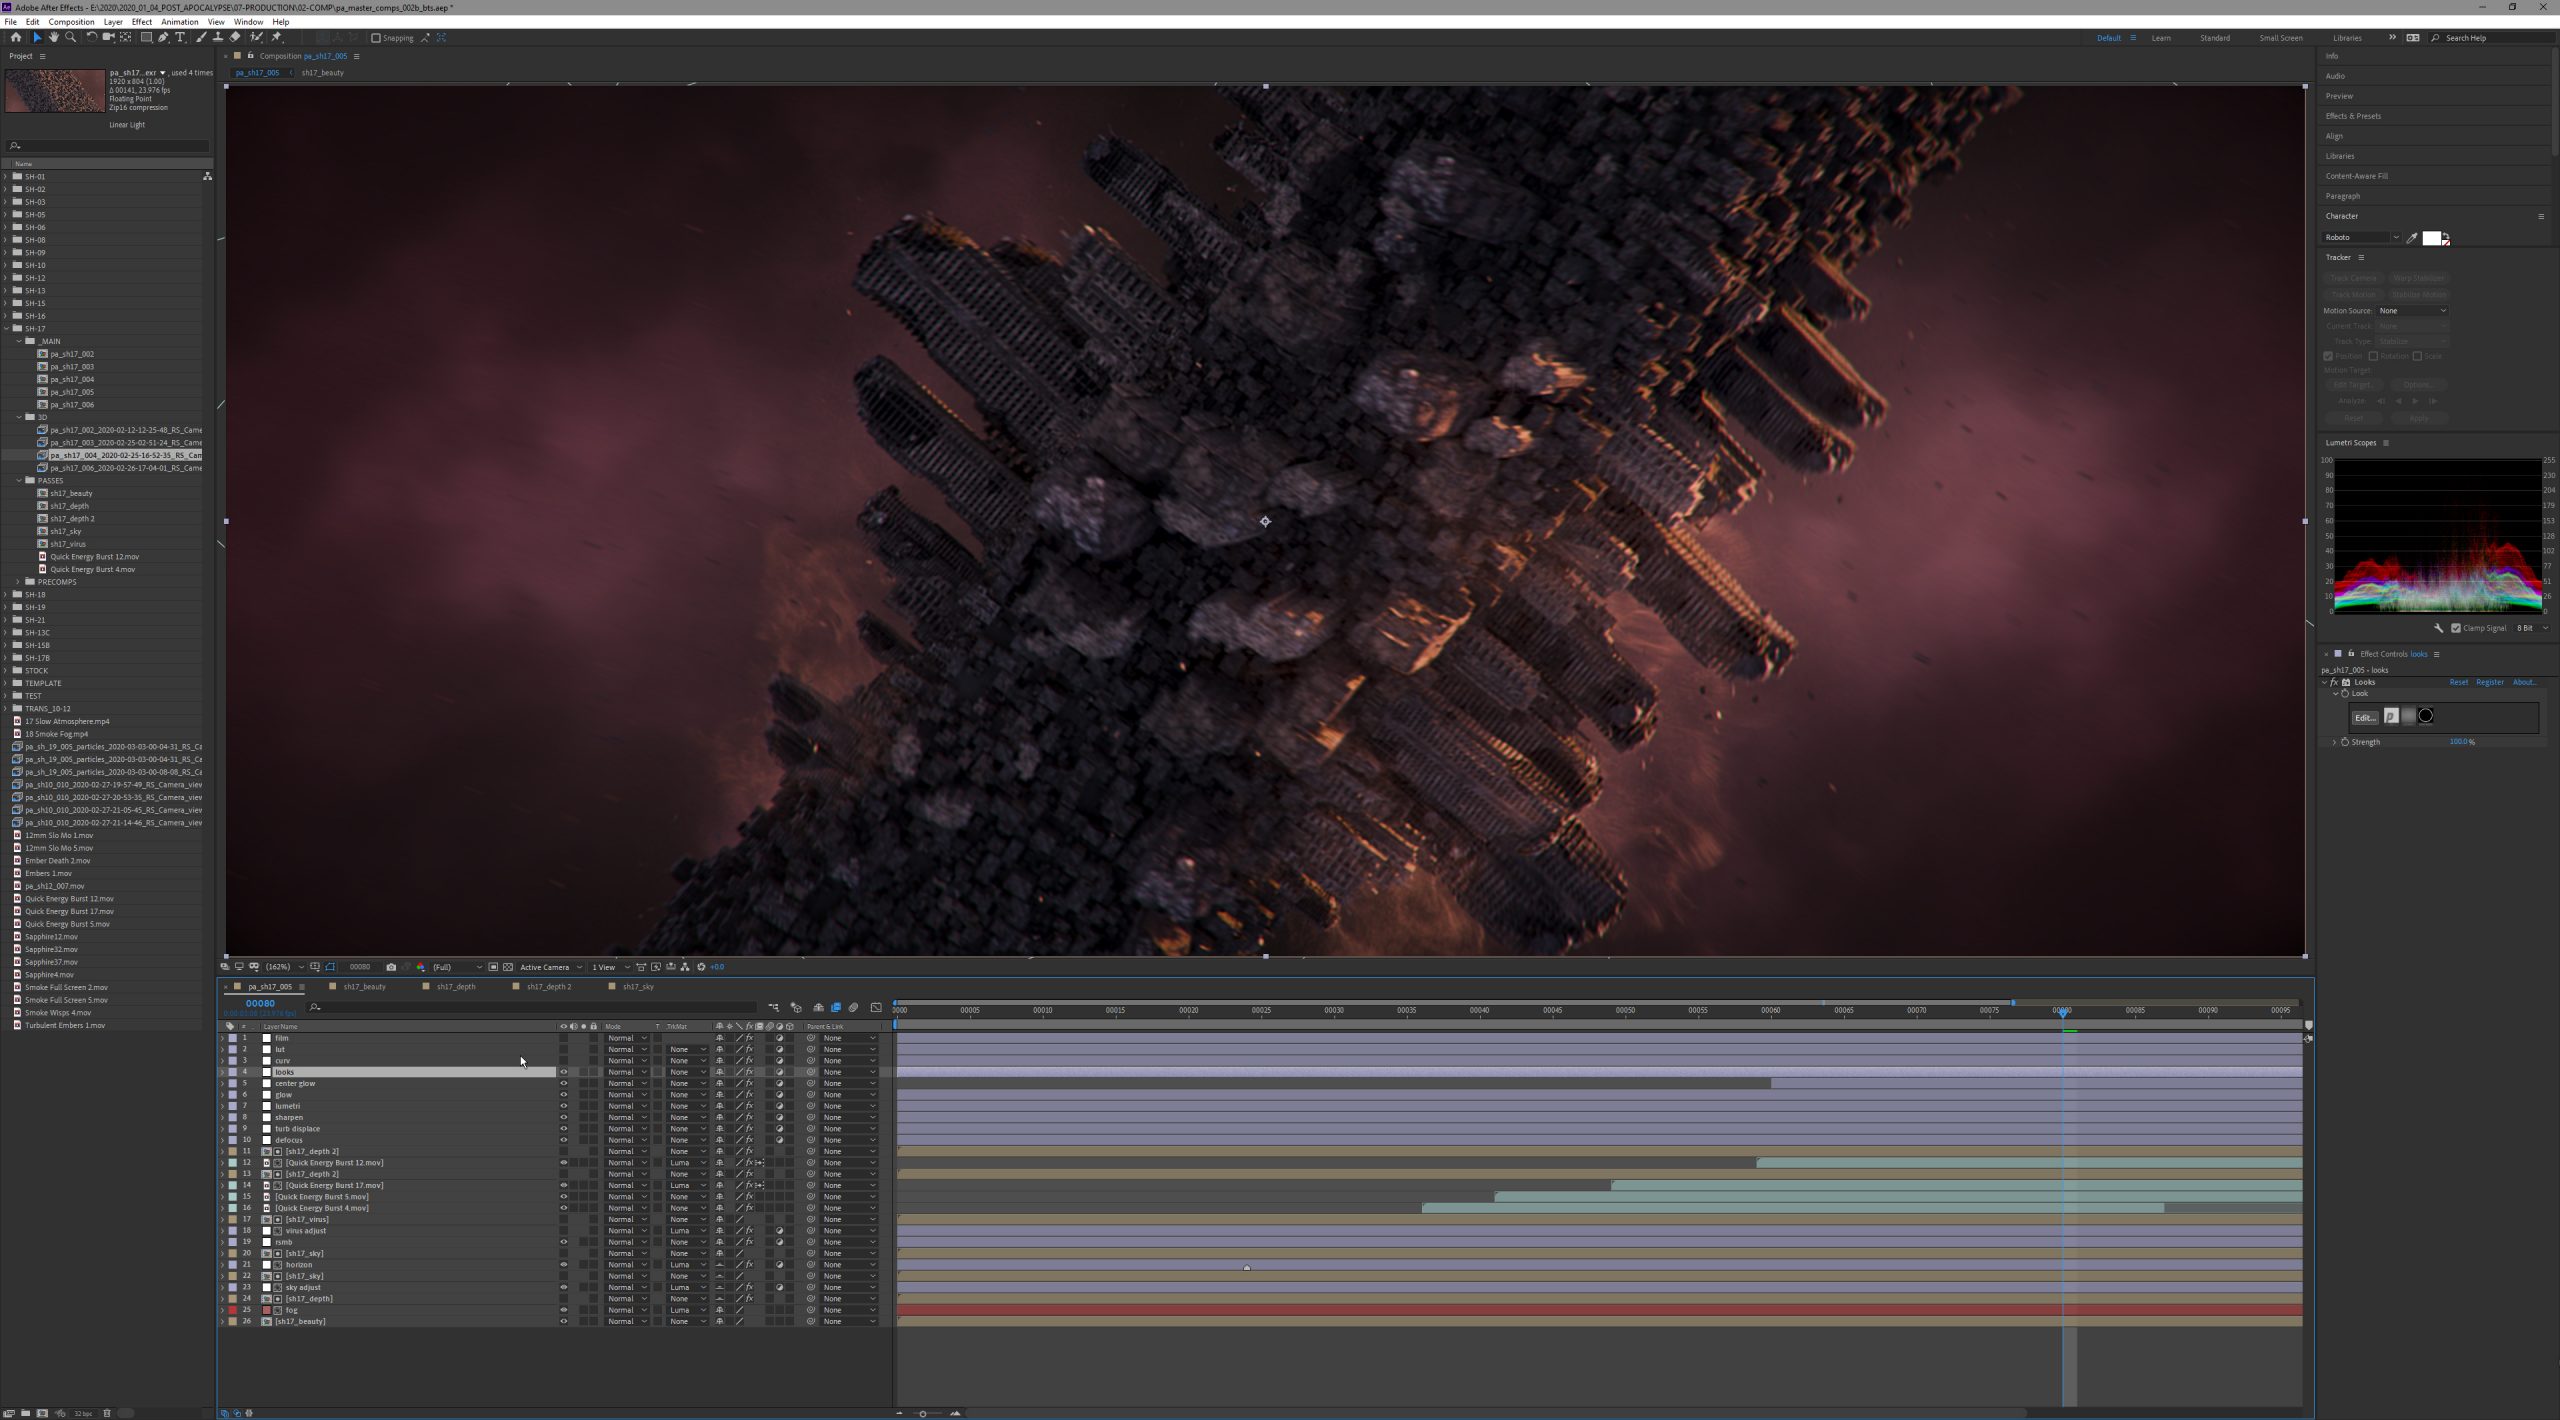
“Final” (is there ever anything final?) images were rendered out of Cinema 4D as openEXR image sequences and imported into After Effect for compositing. This is where I can take the base image and really tweak and finesse it… adding layers of atmosphere, particles, smoke, lighting effects, and overall adjustments.
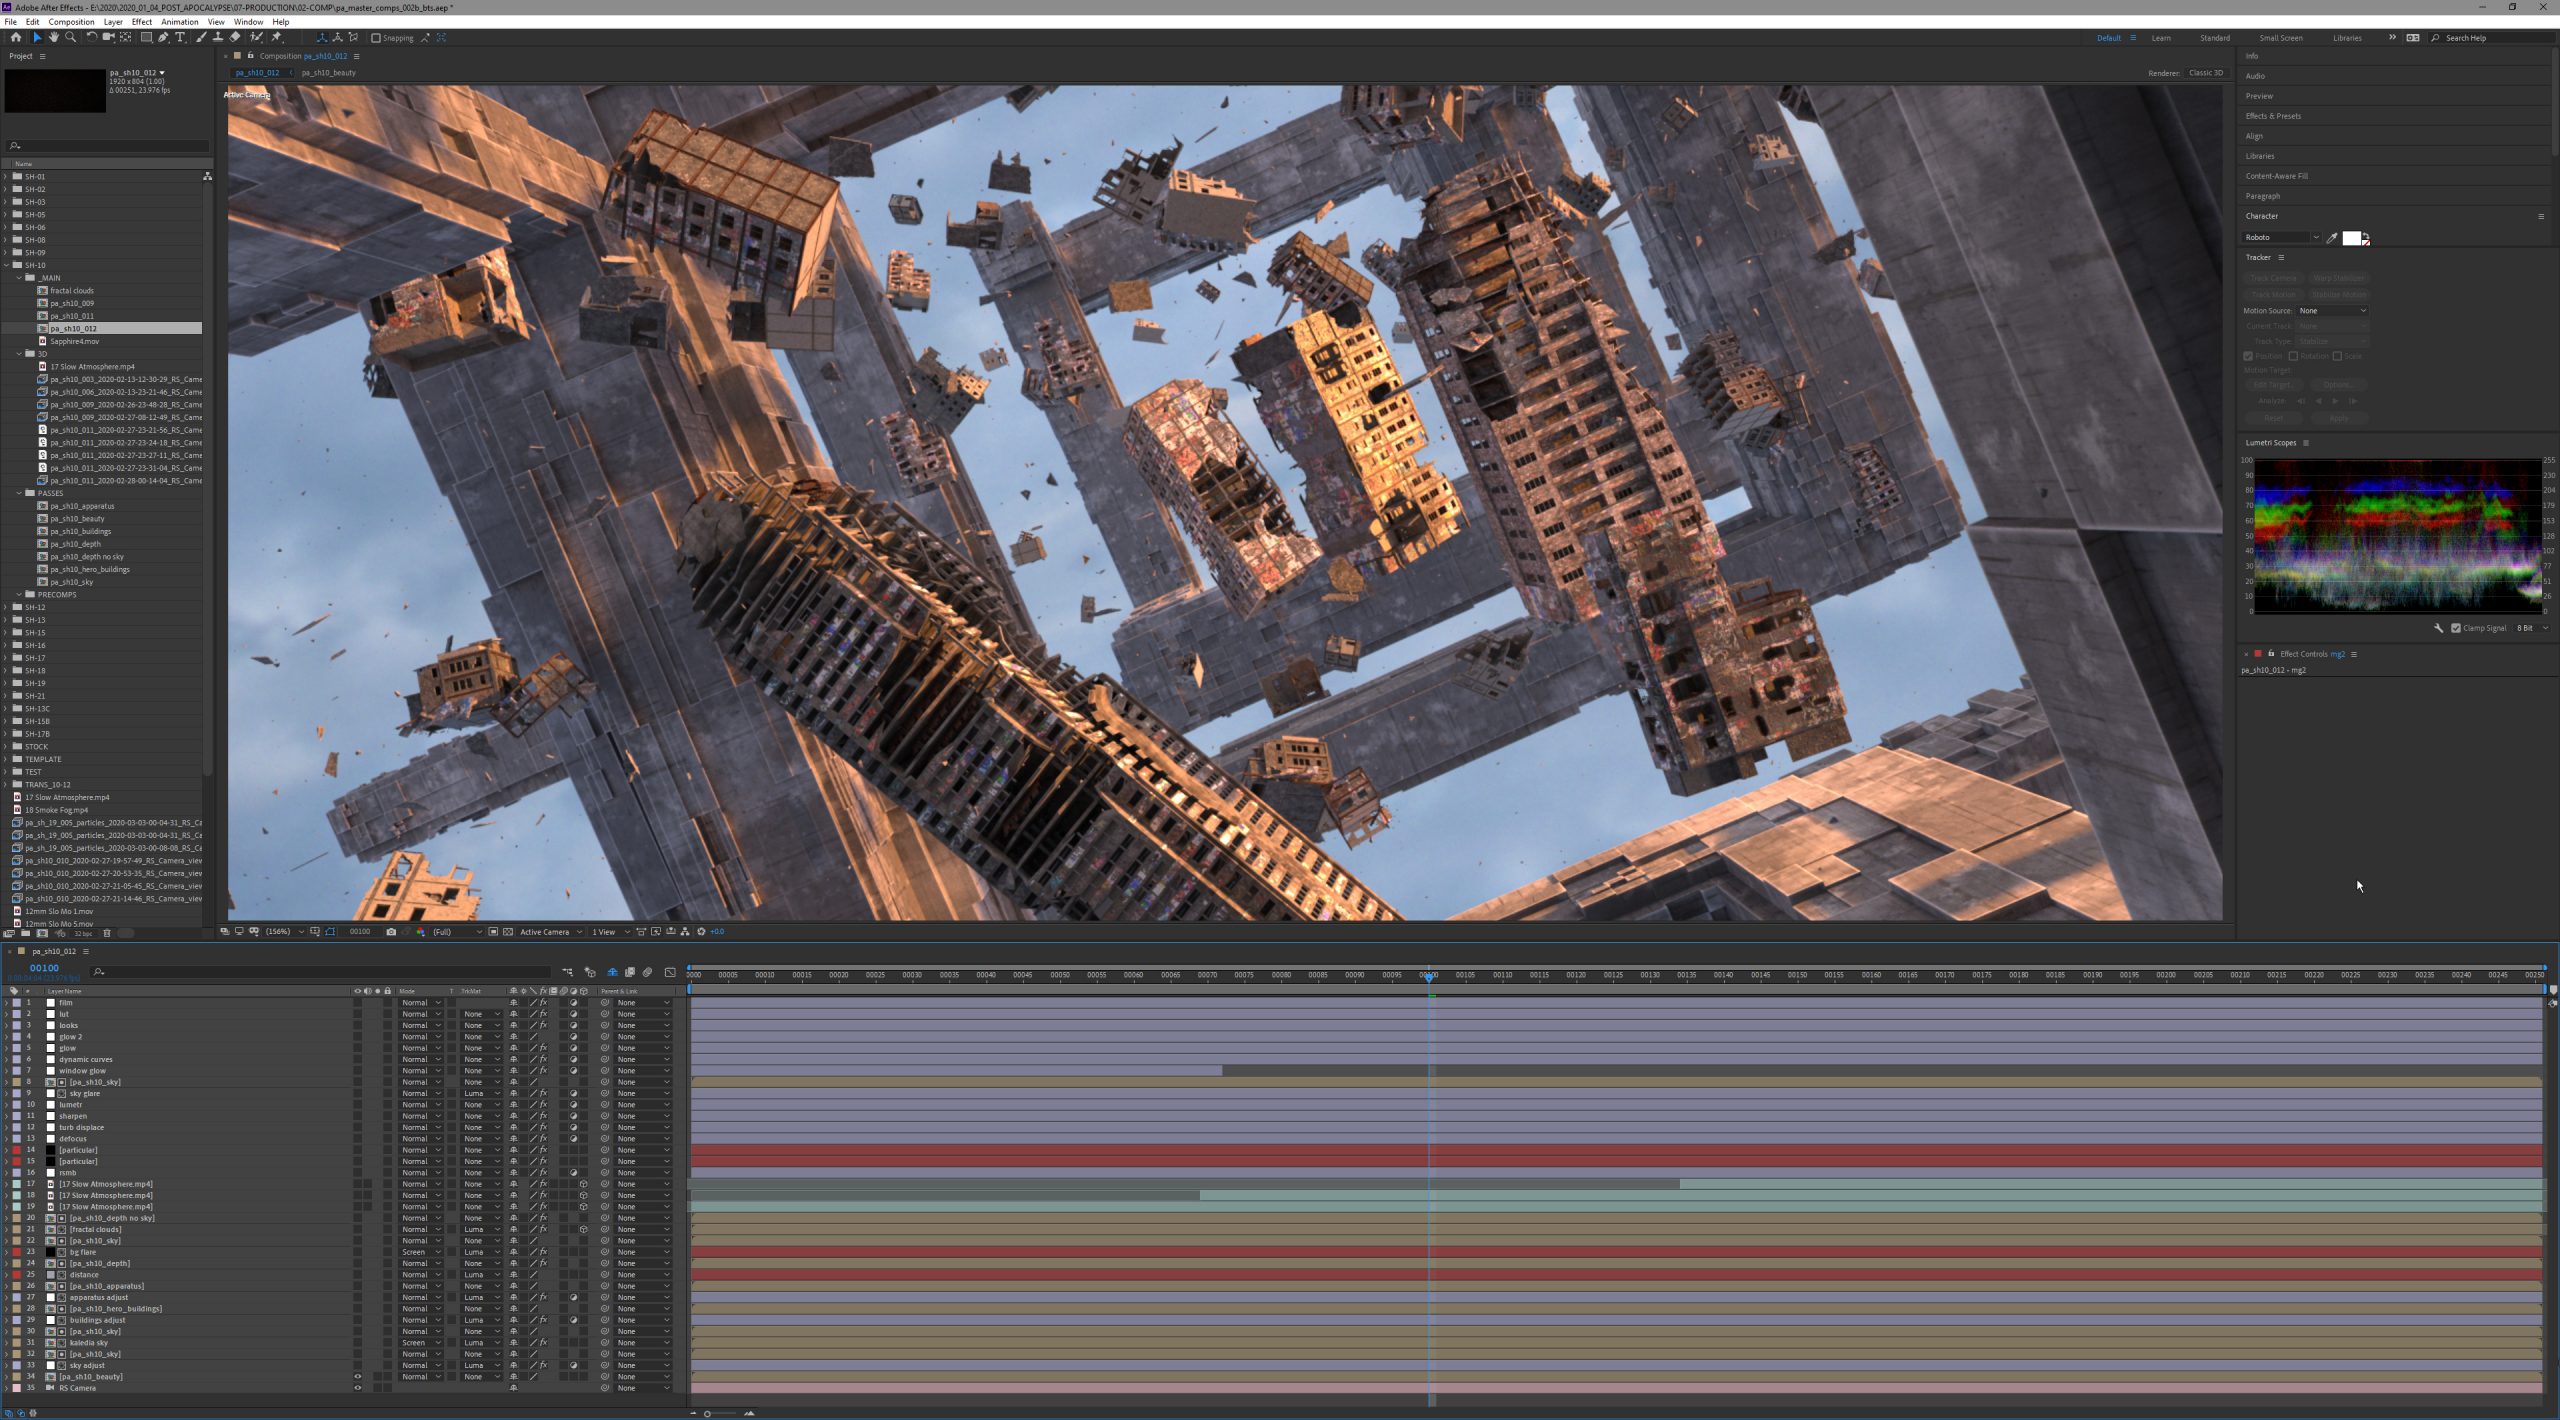
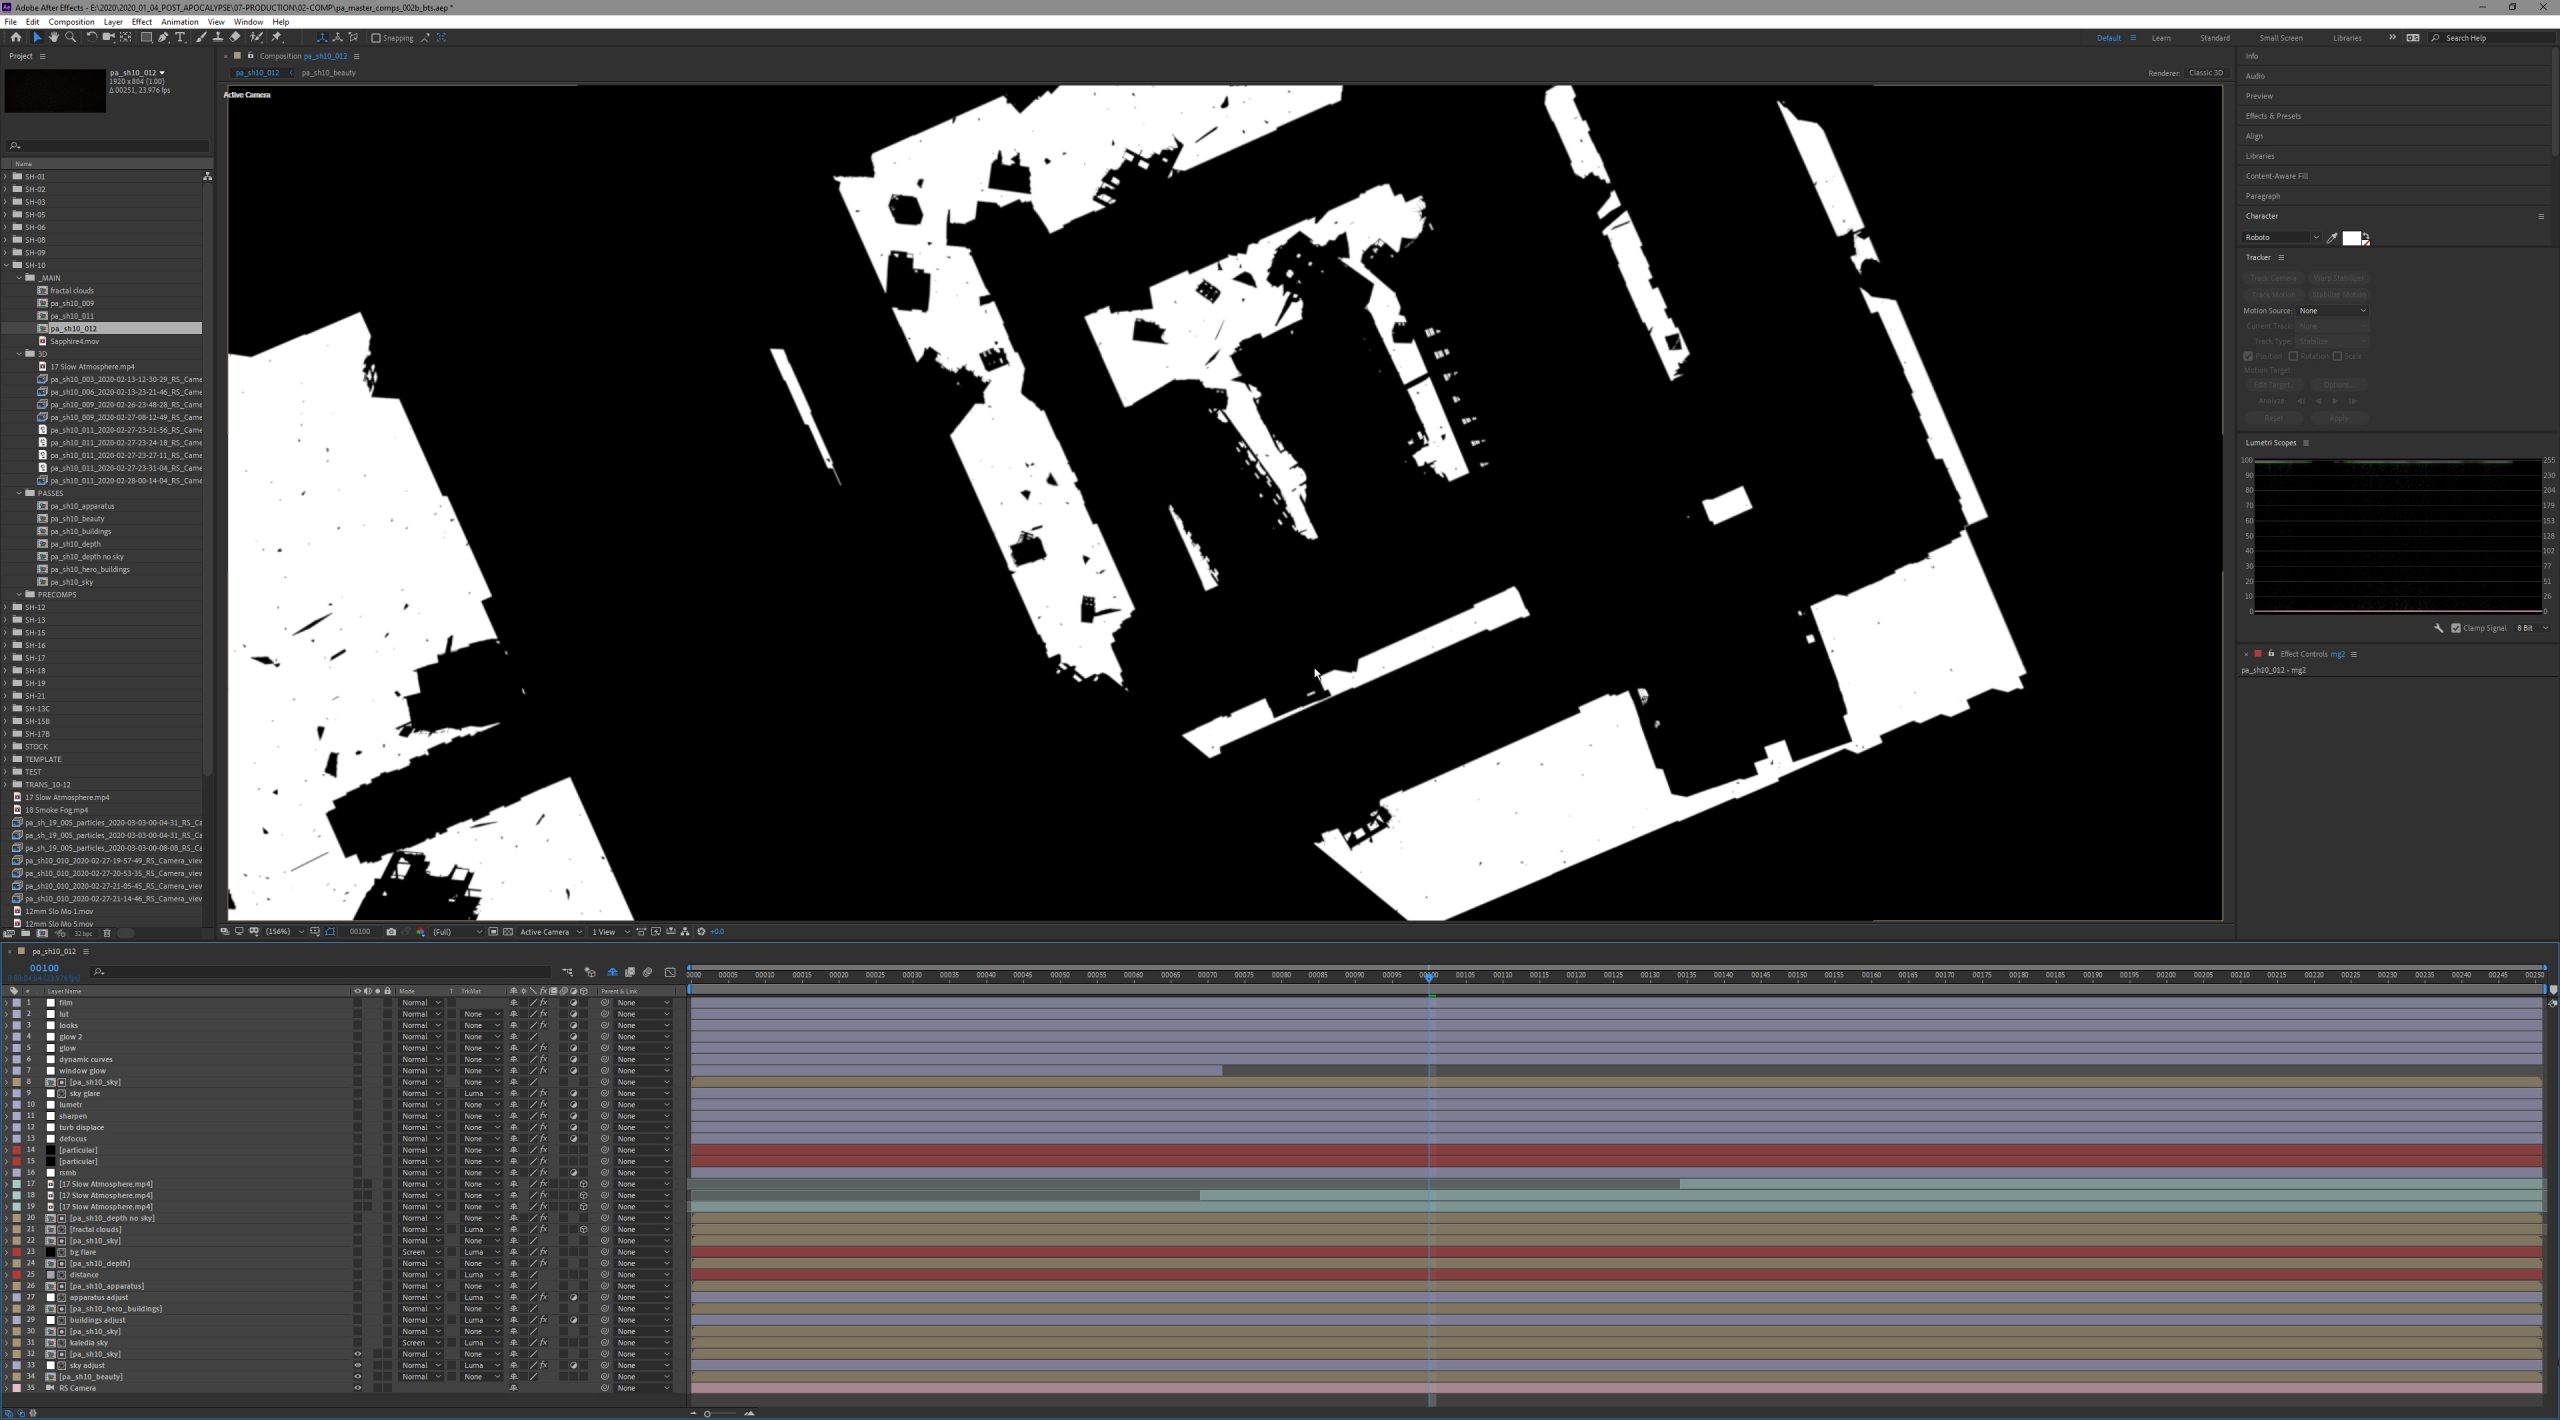
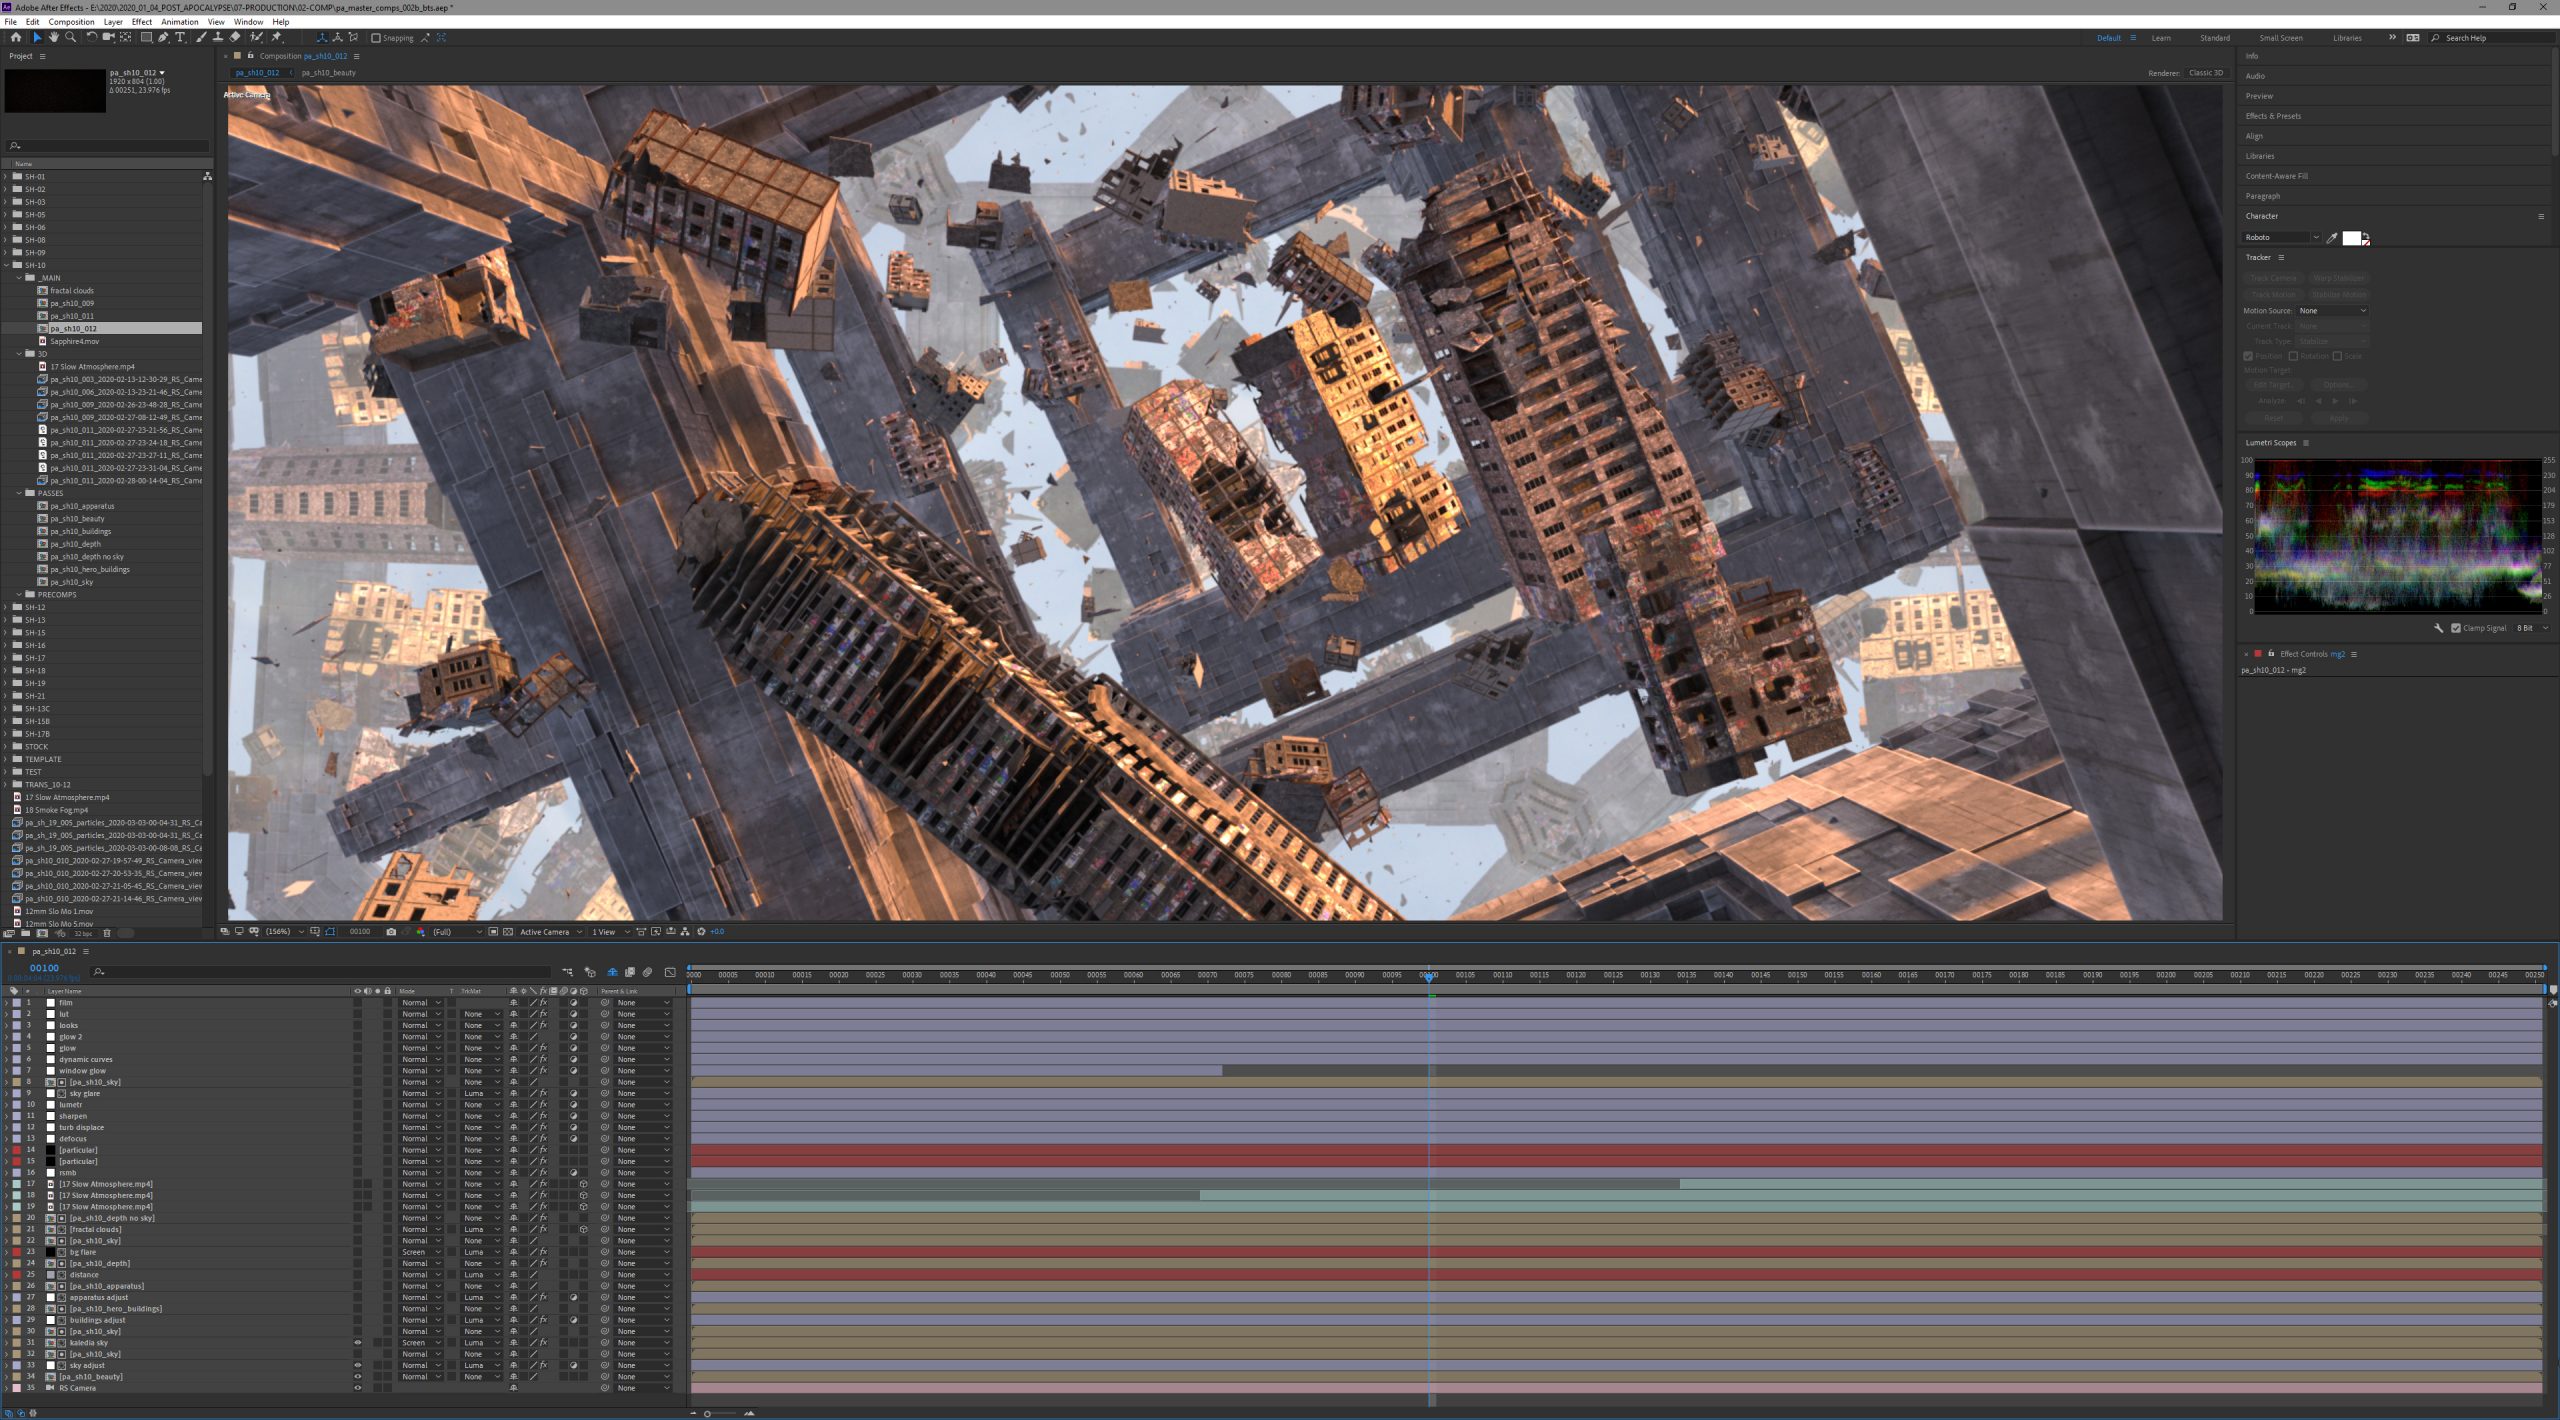


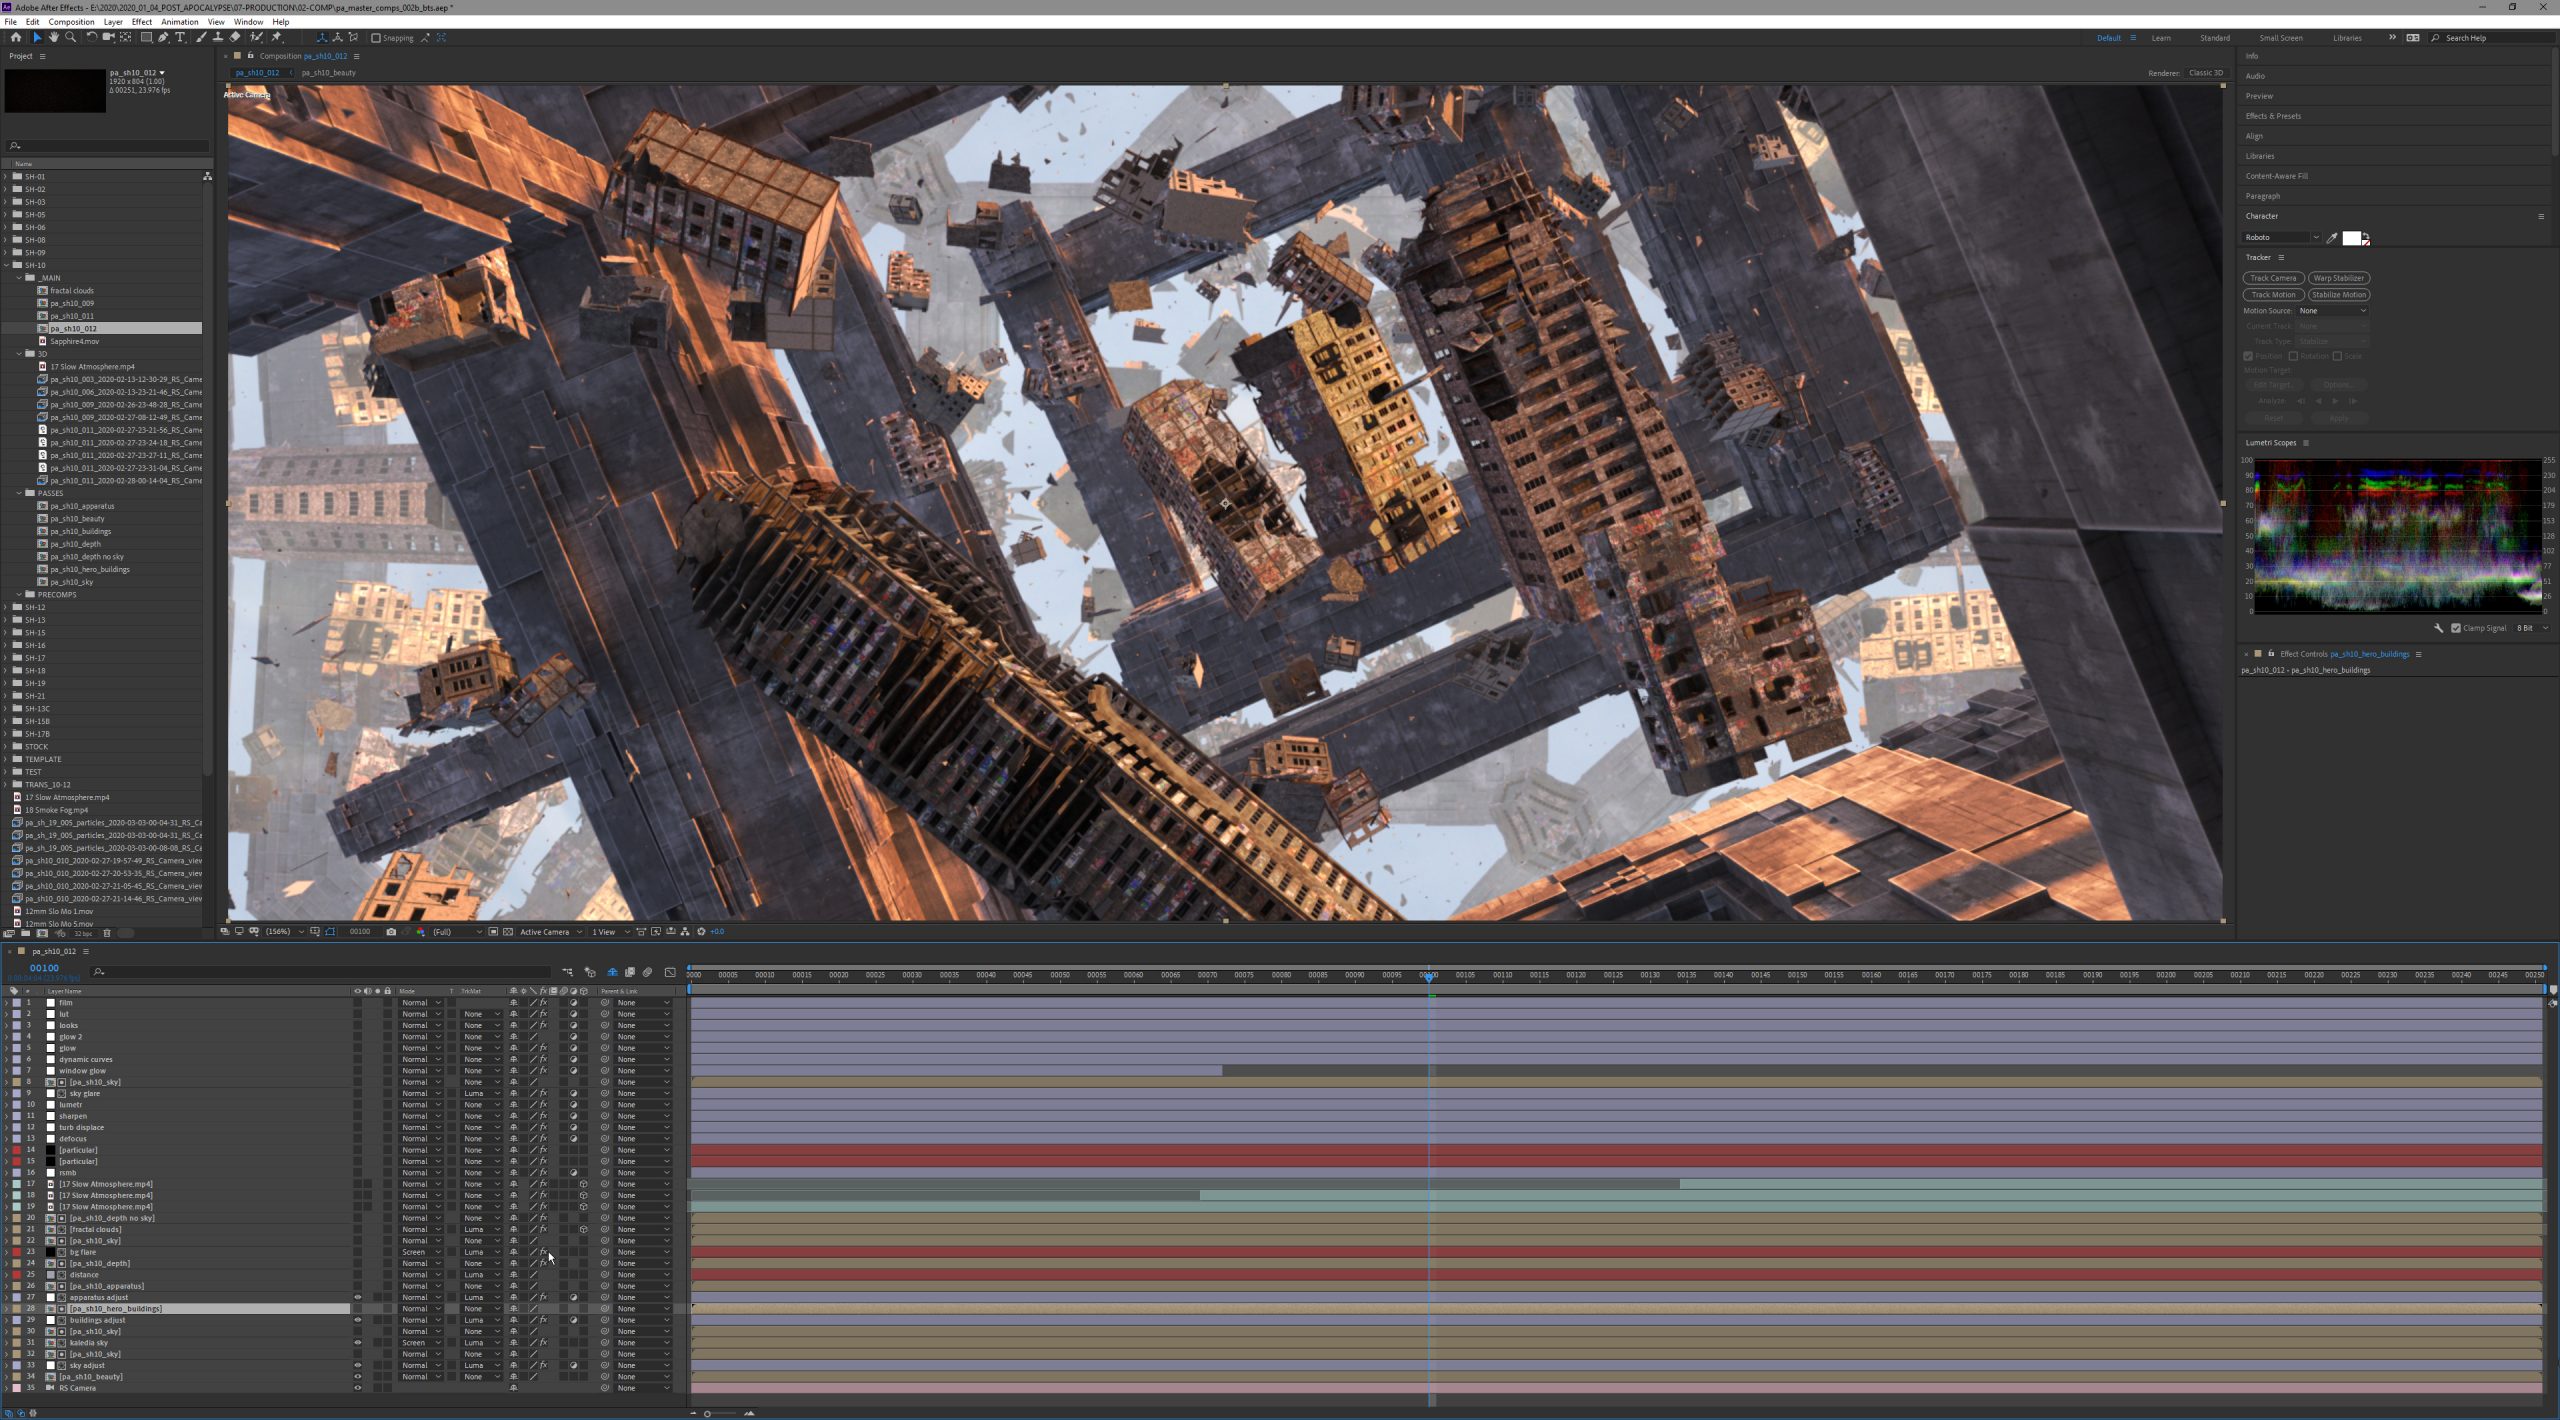
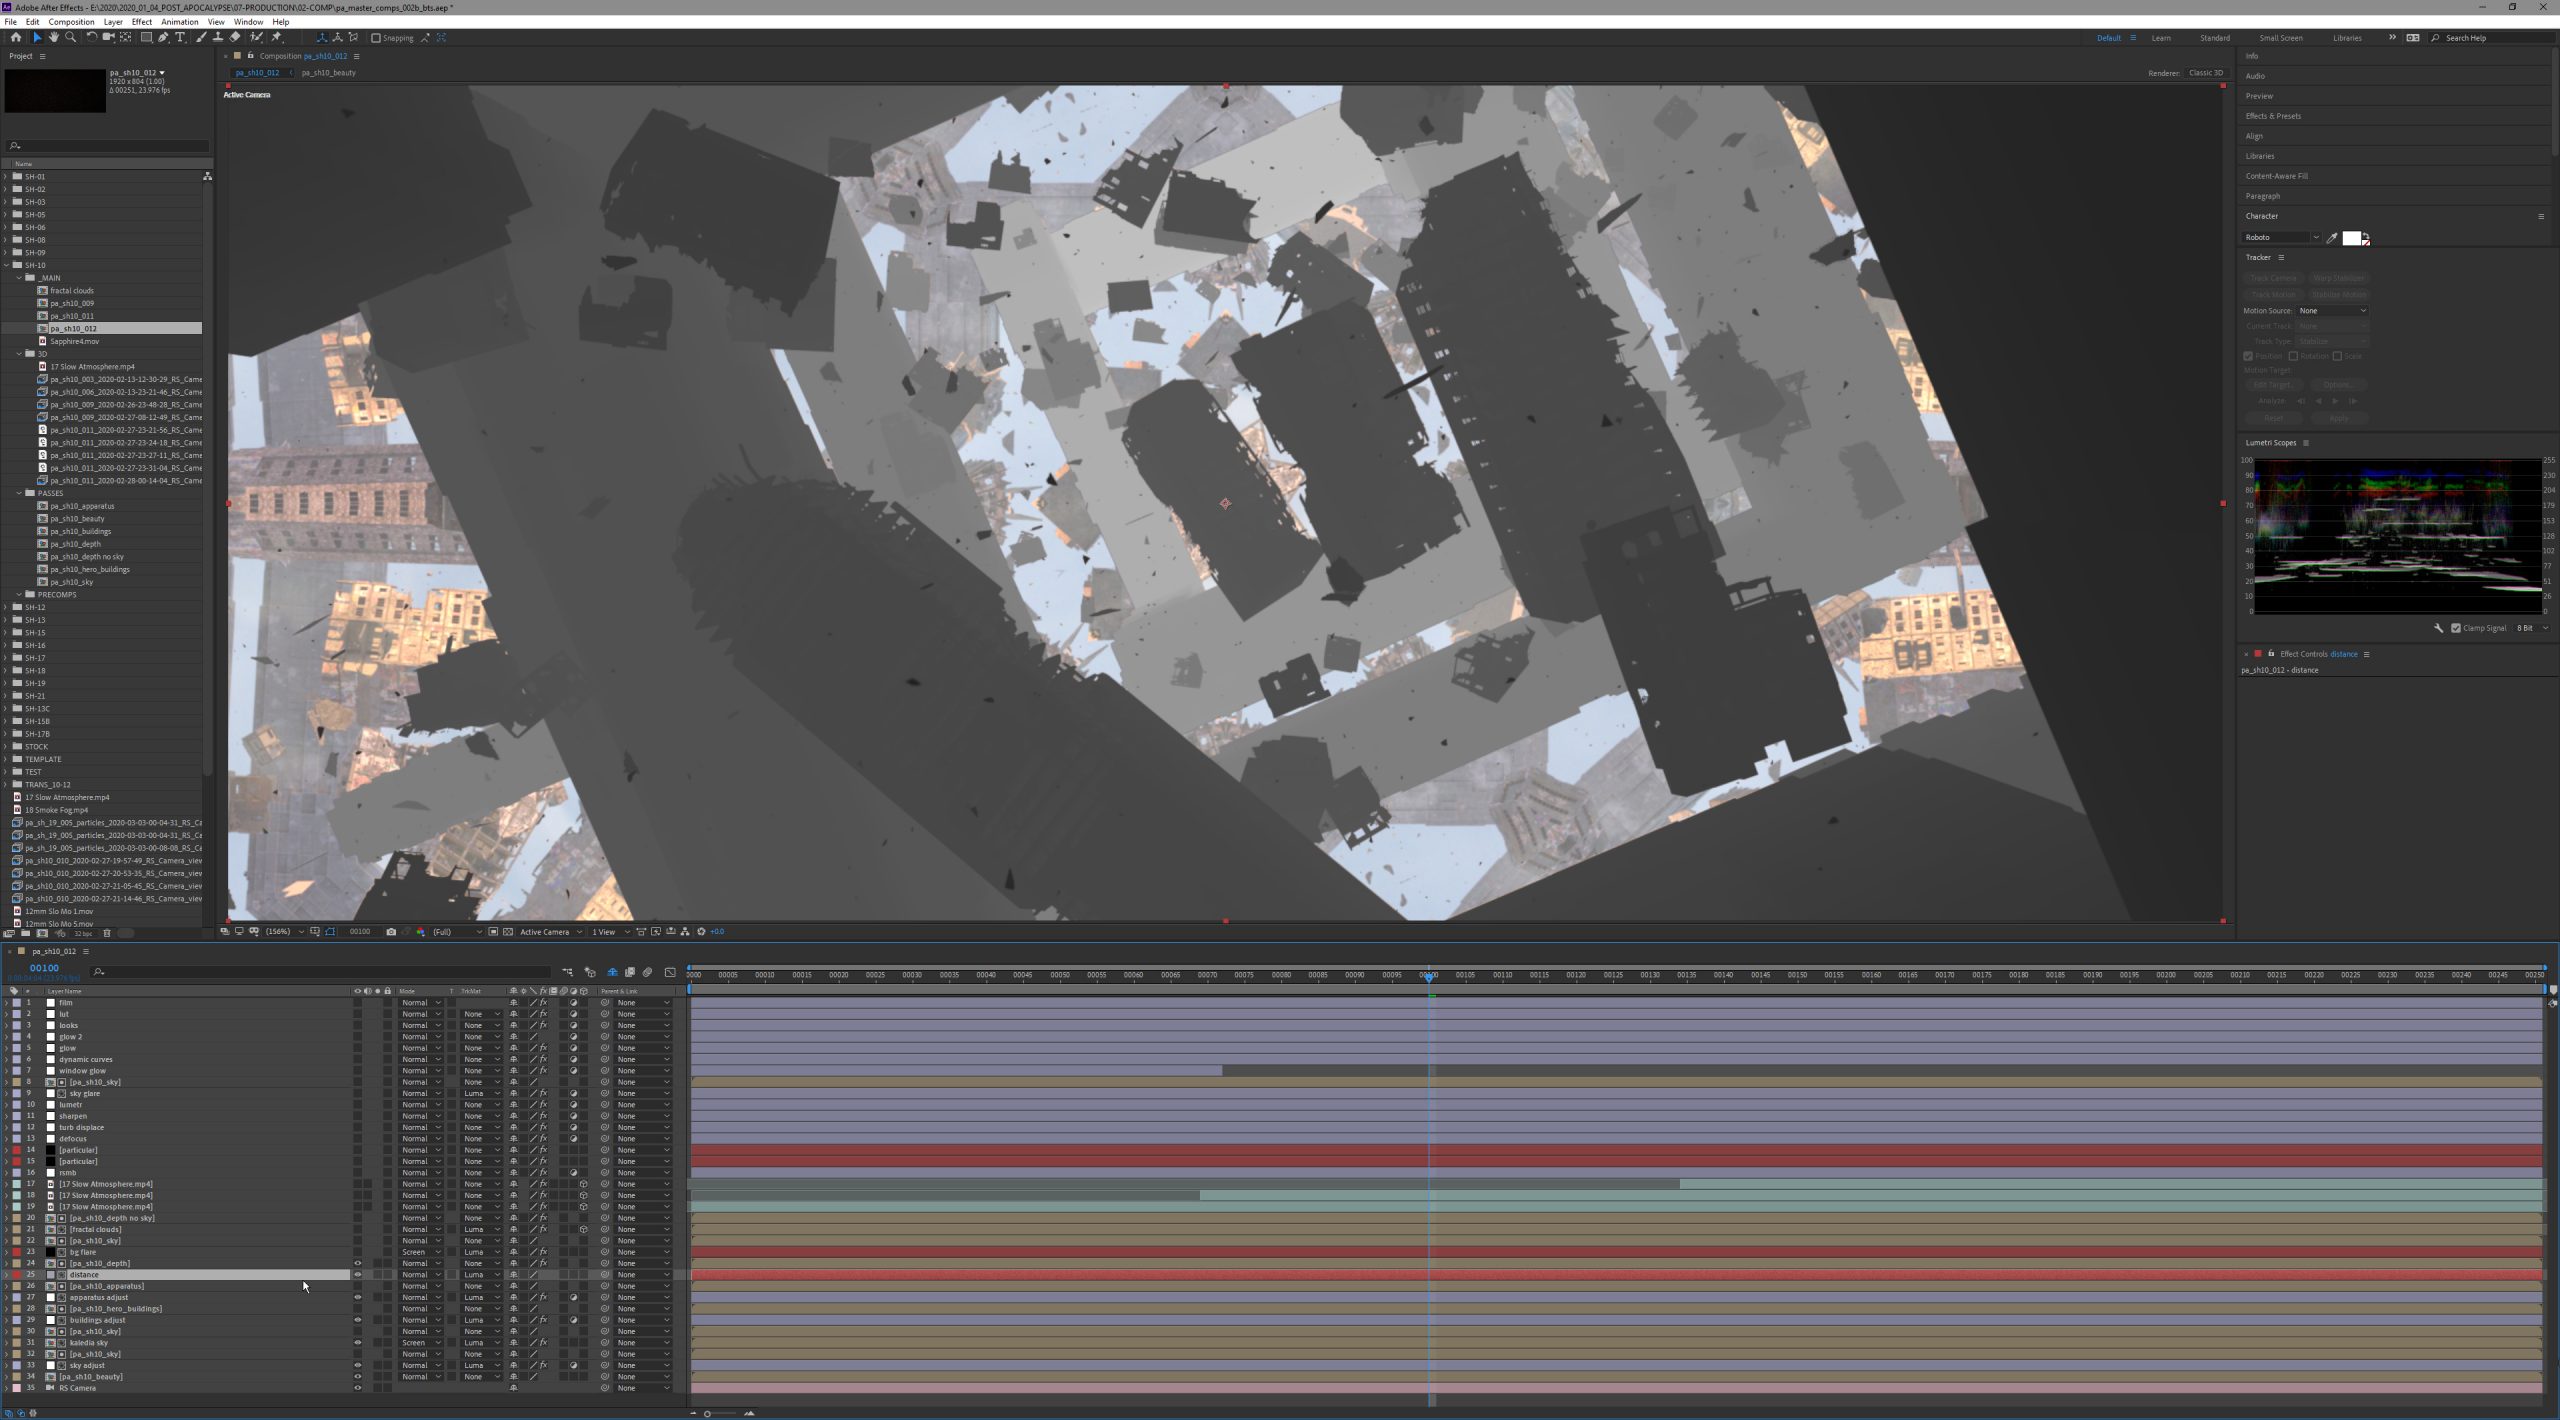
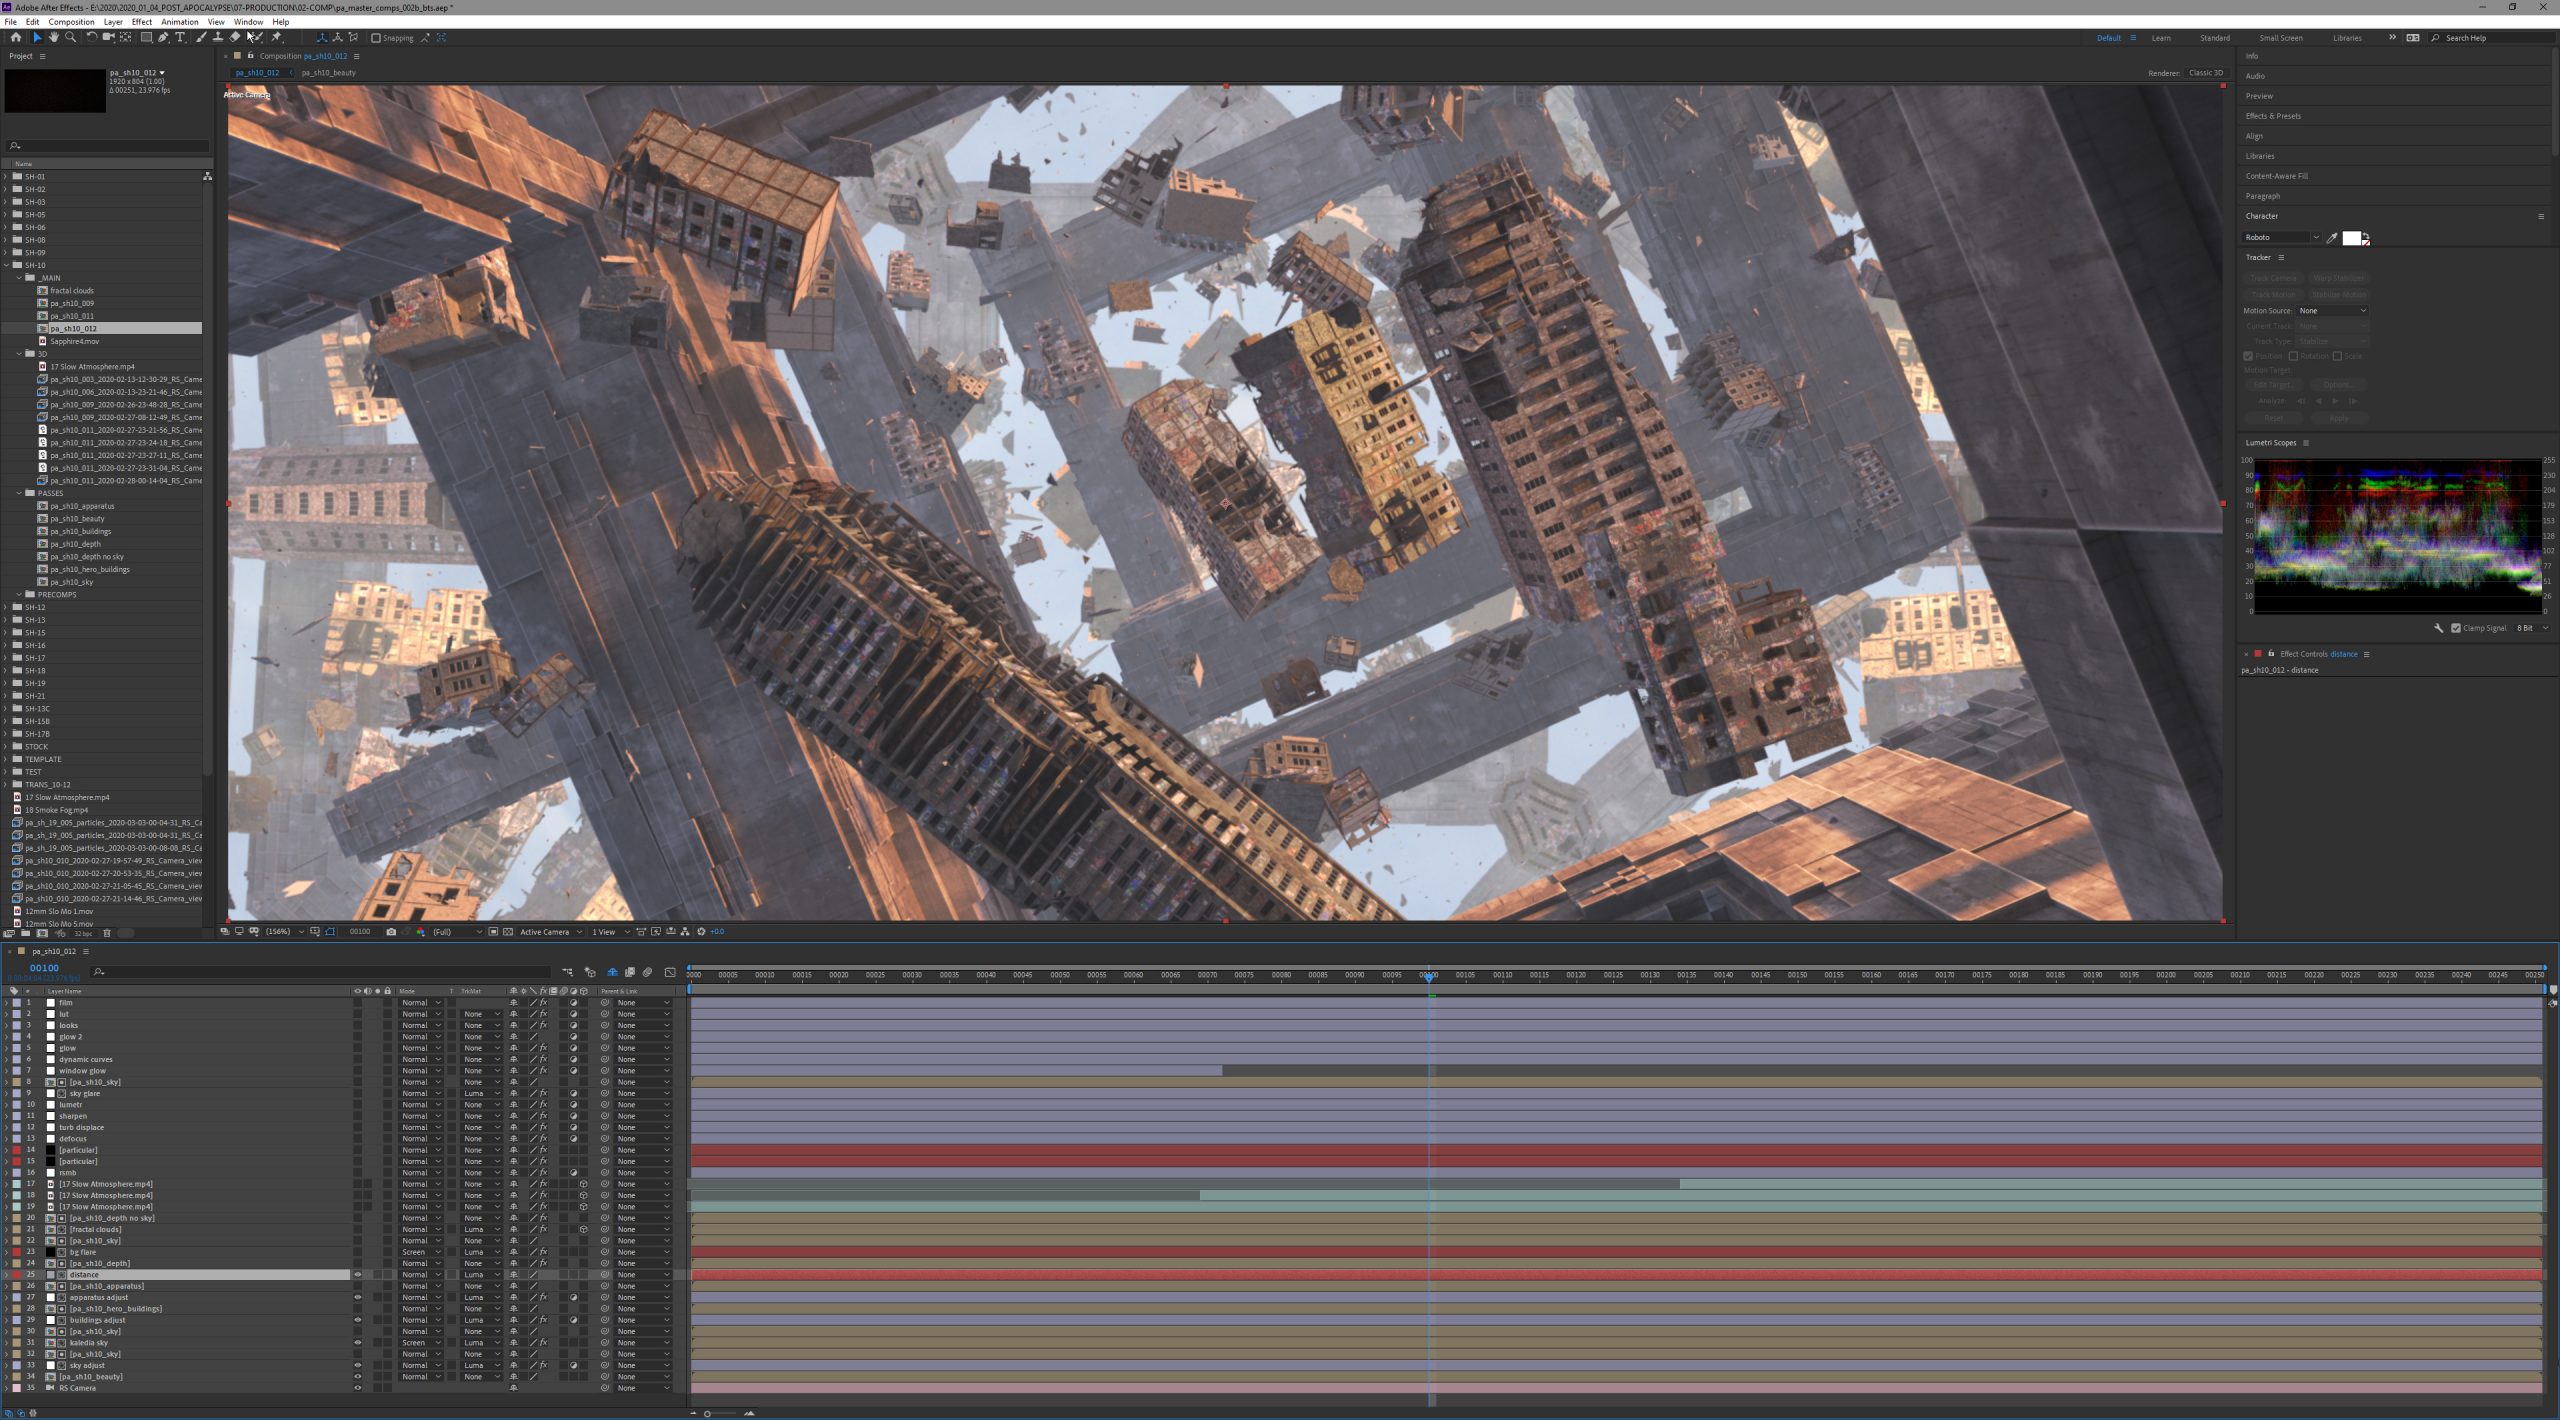
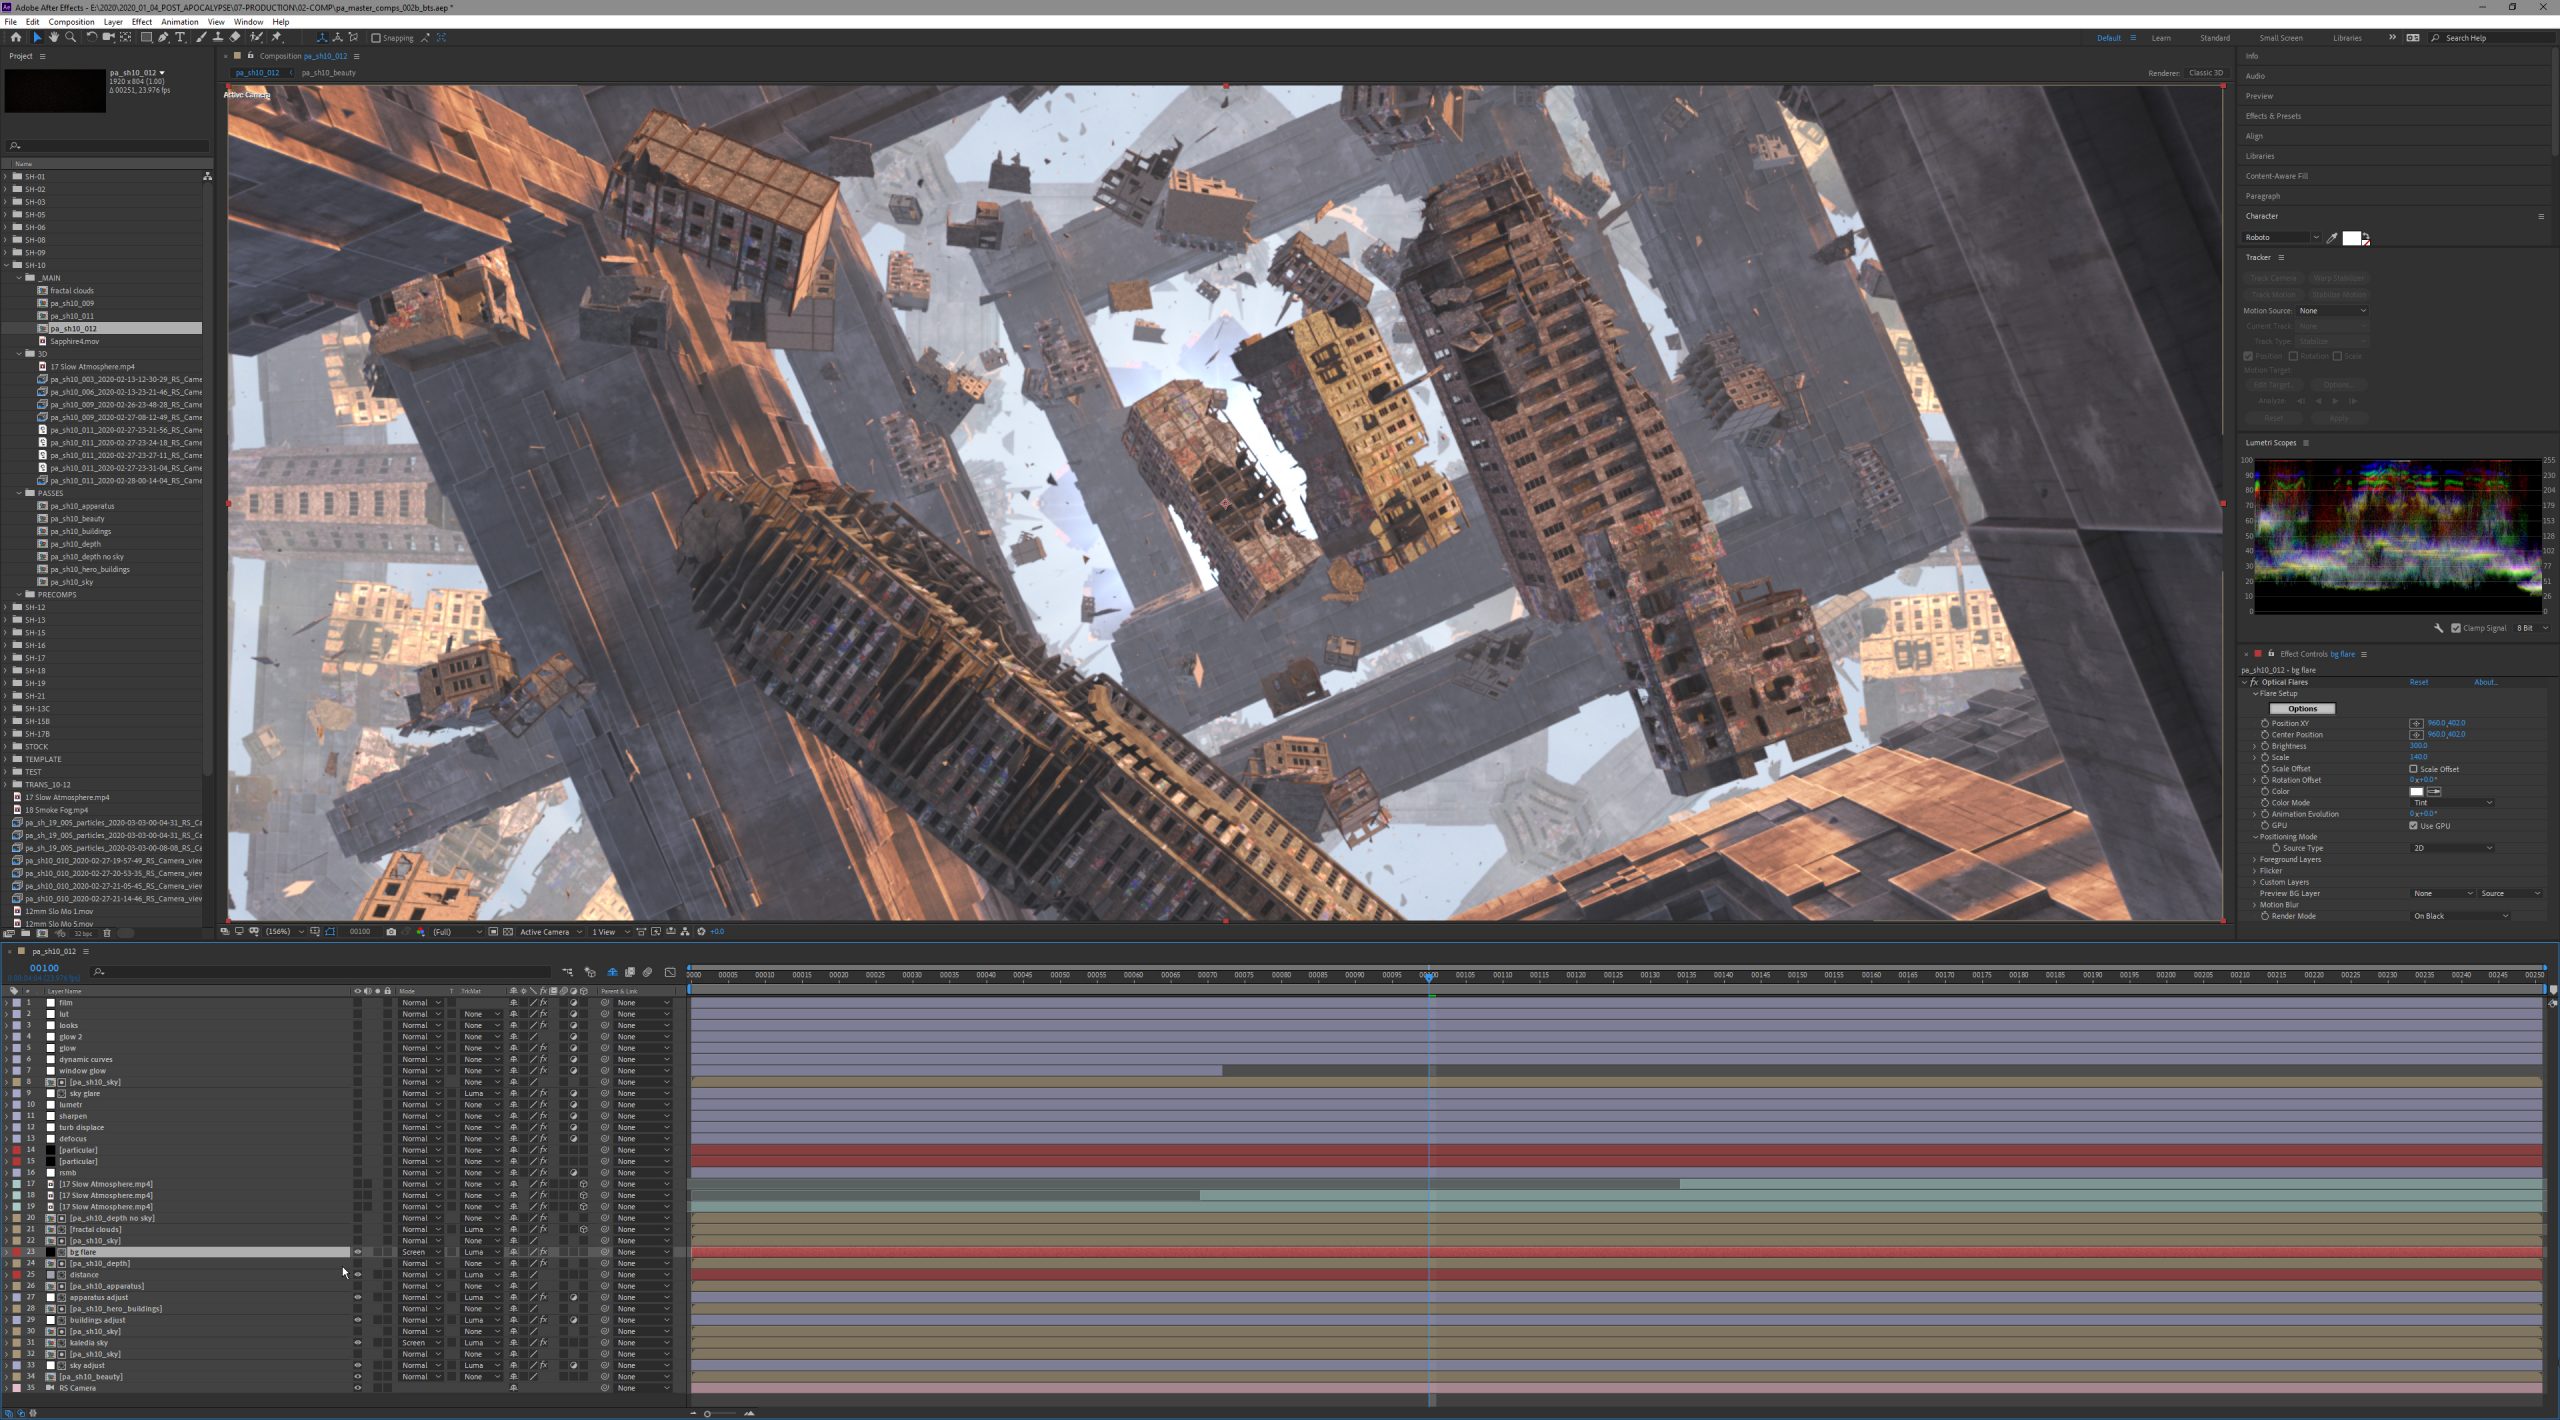
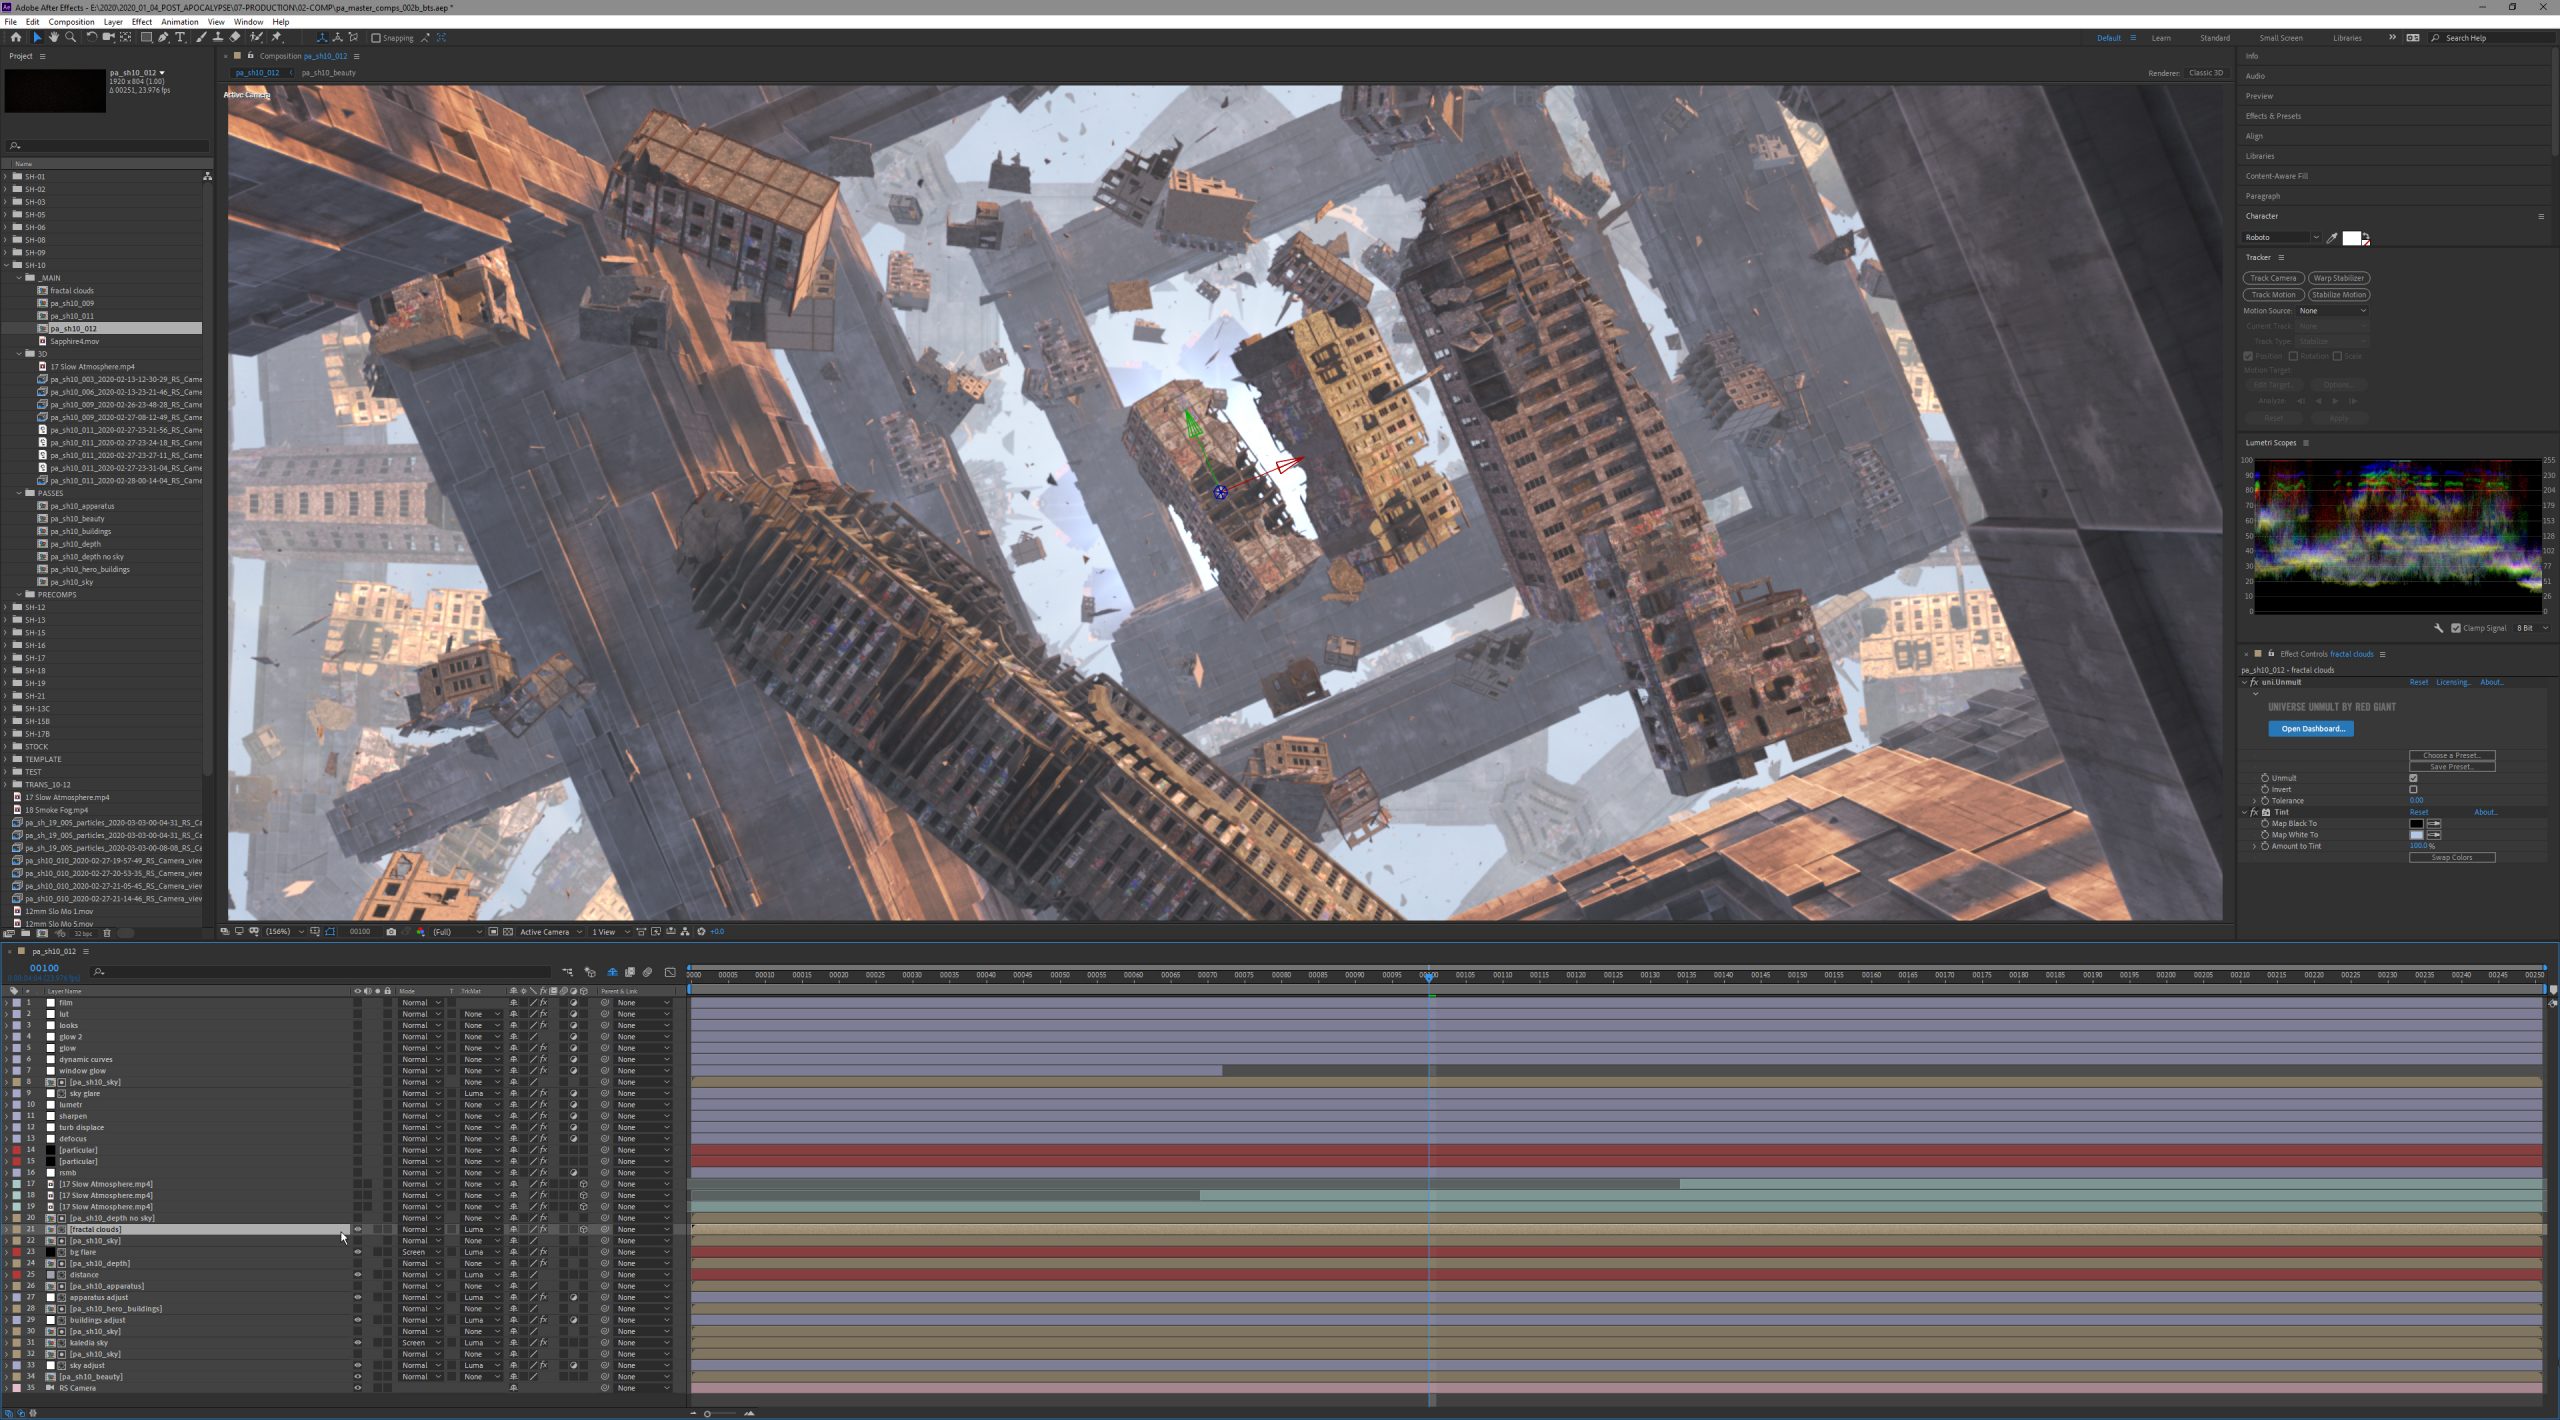

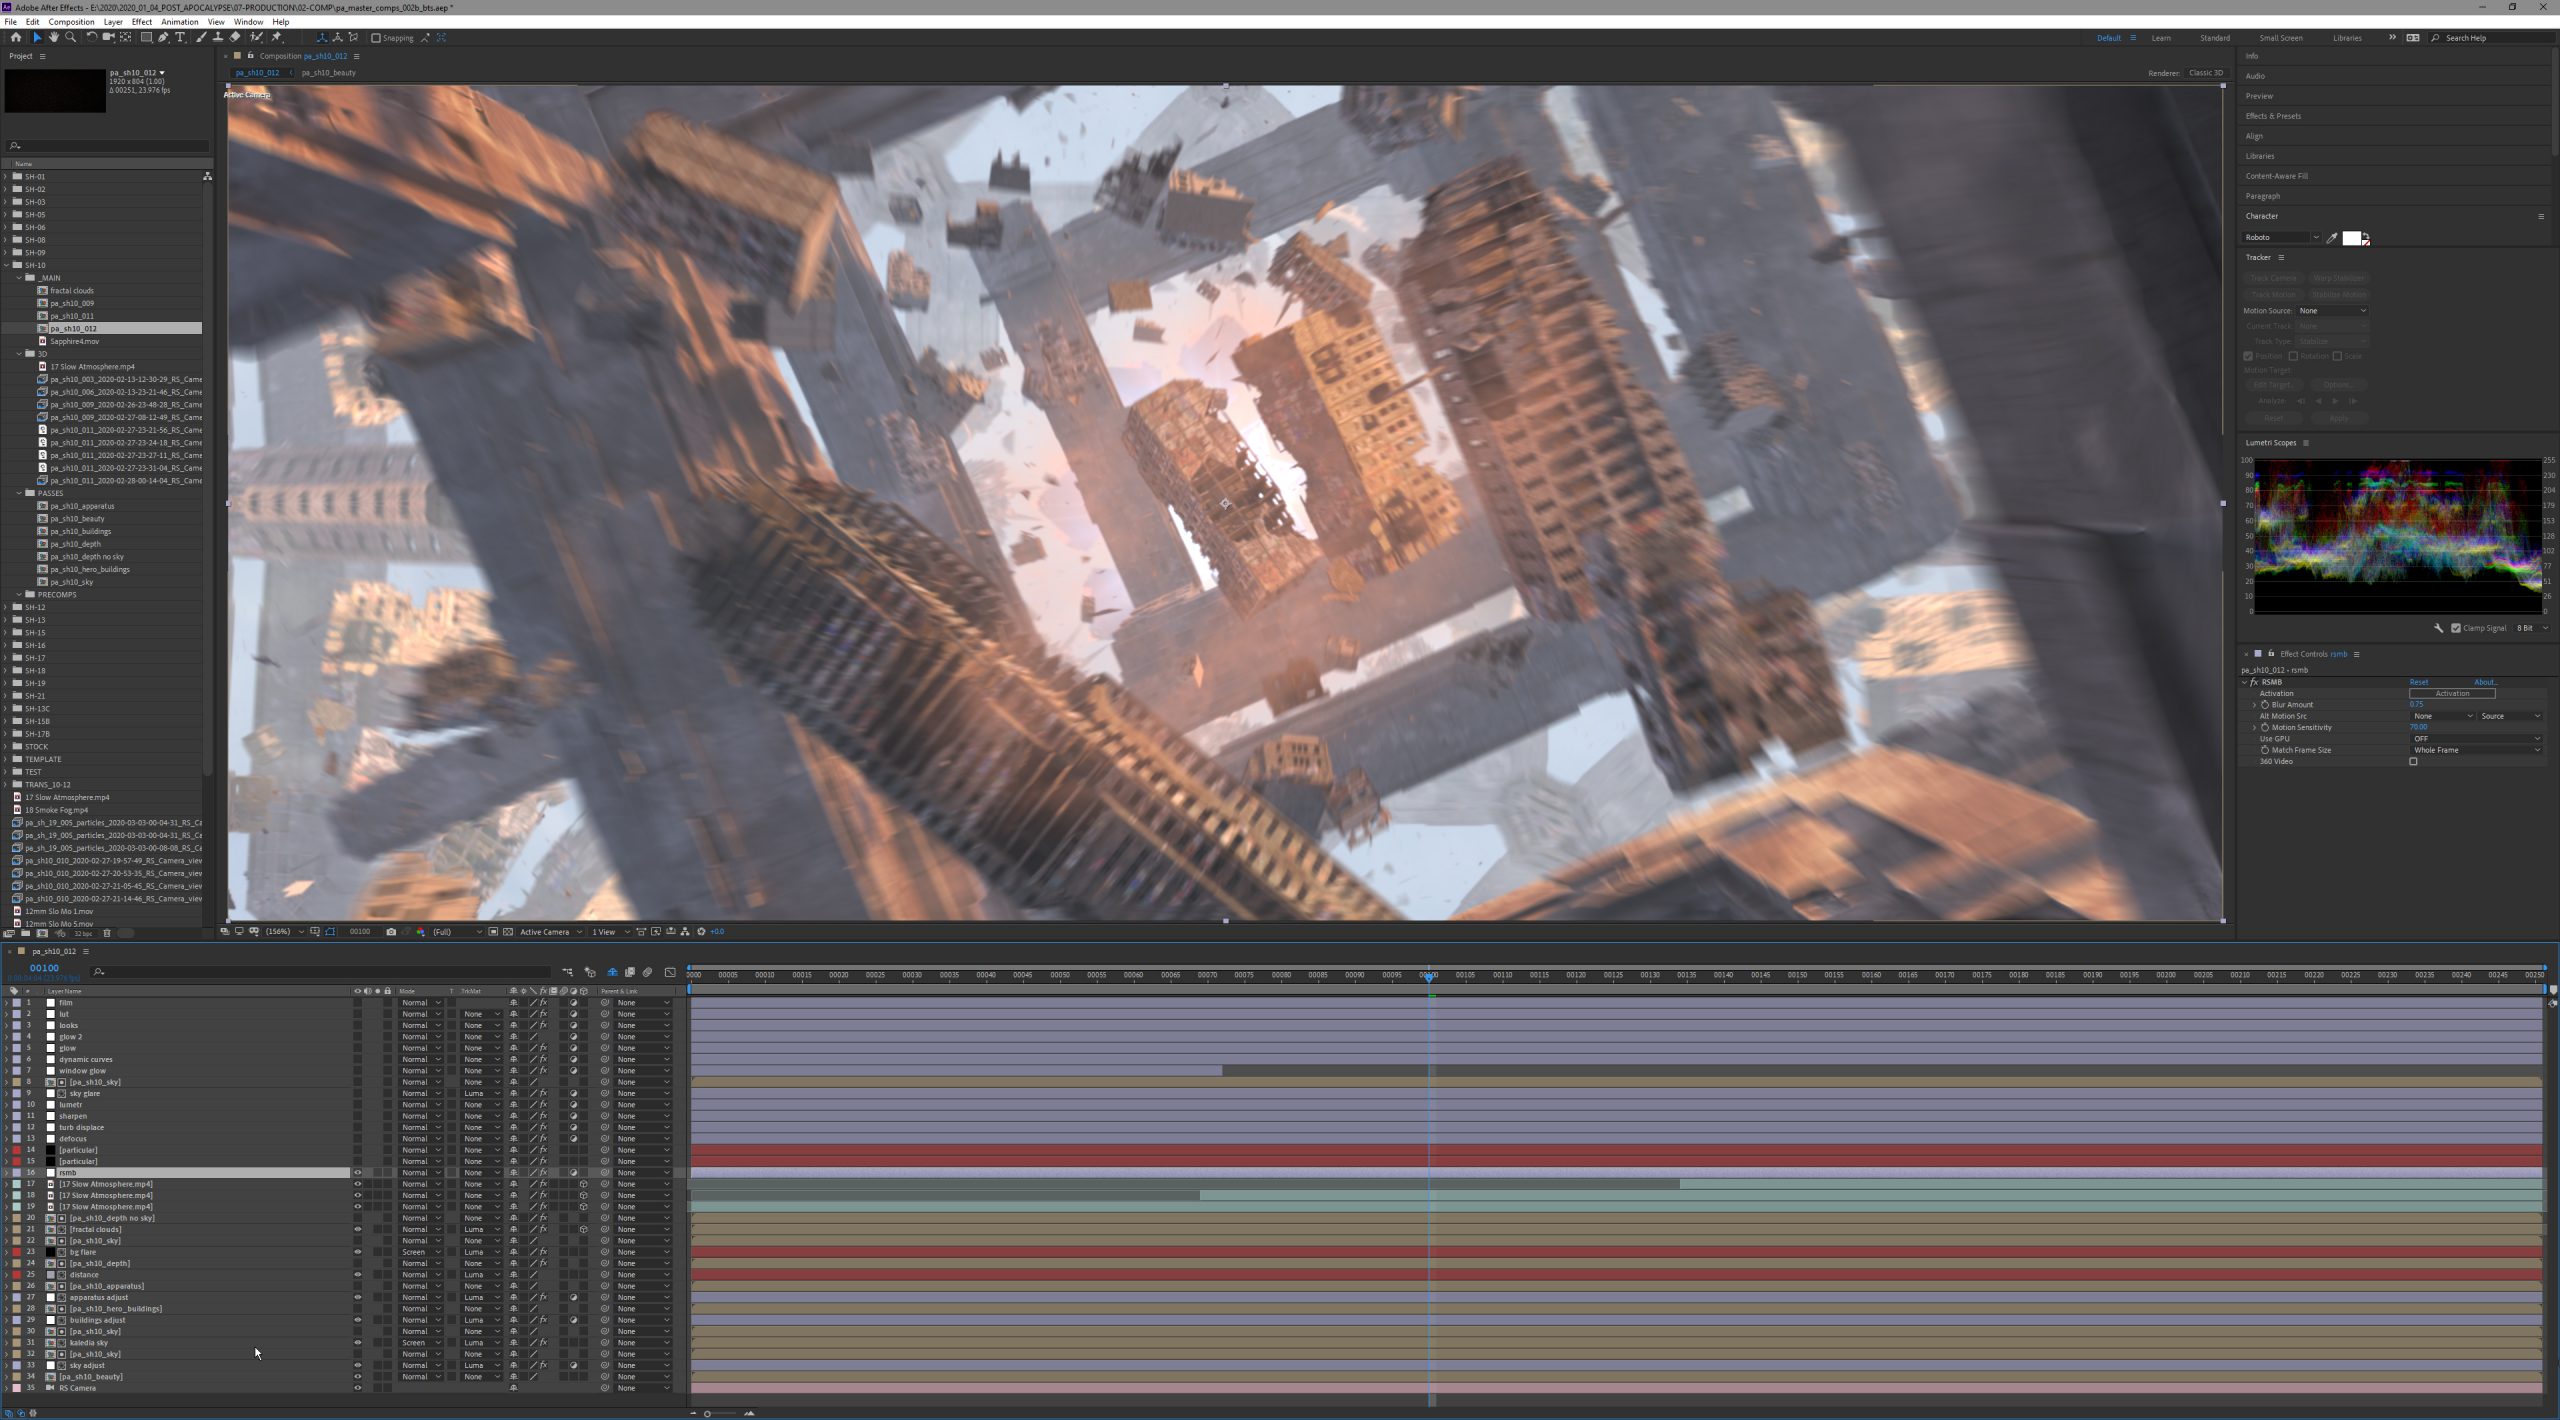
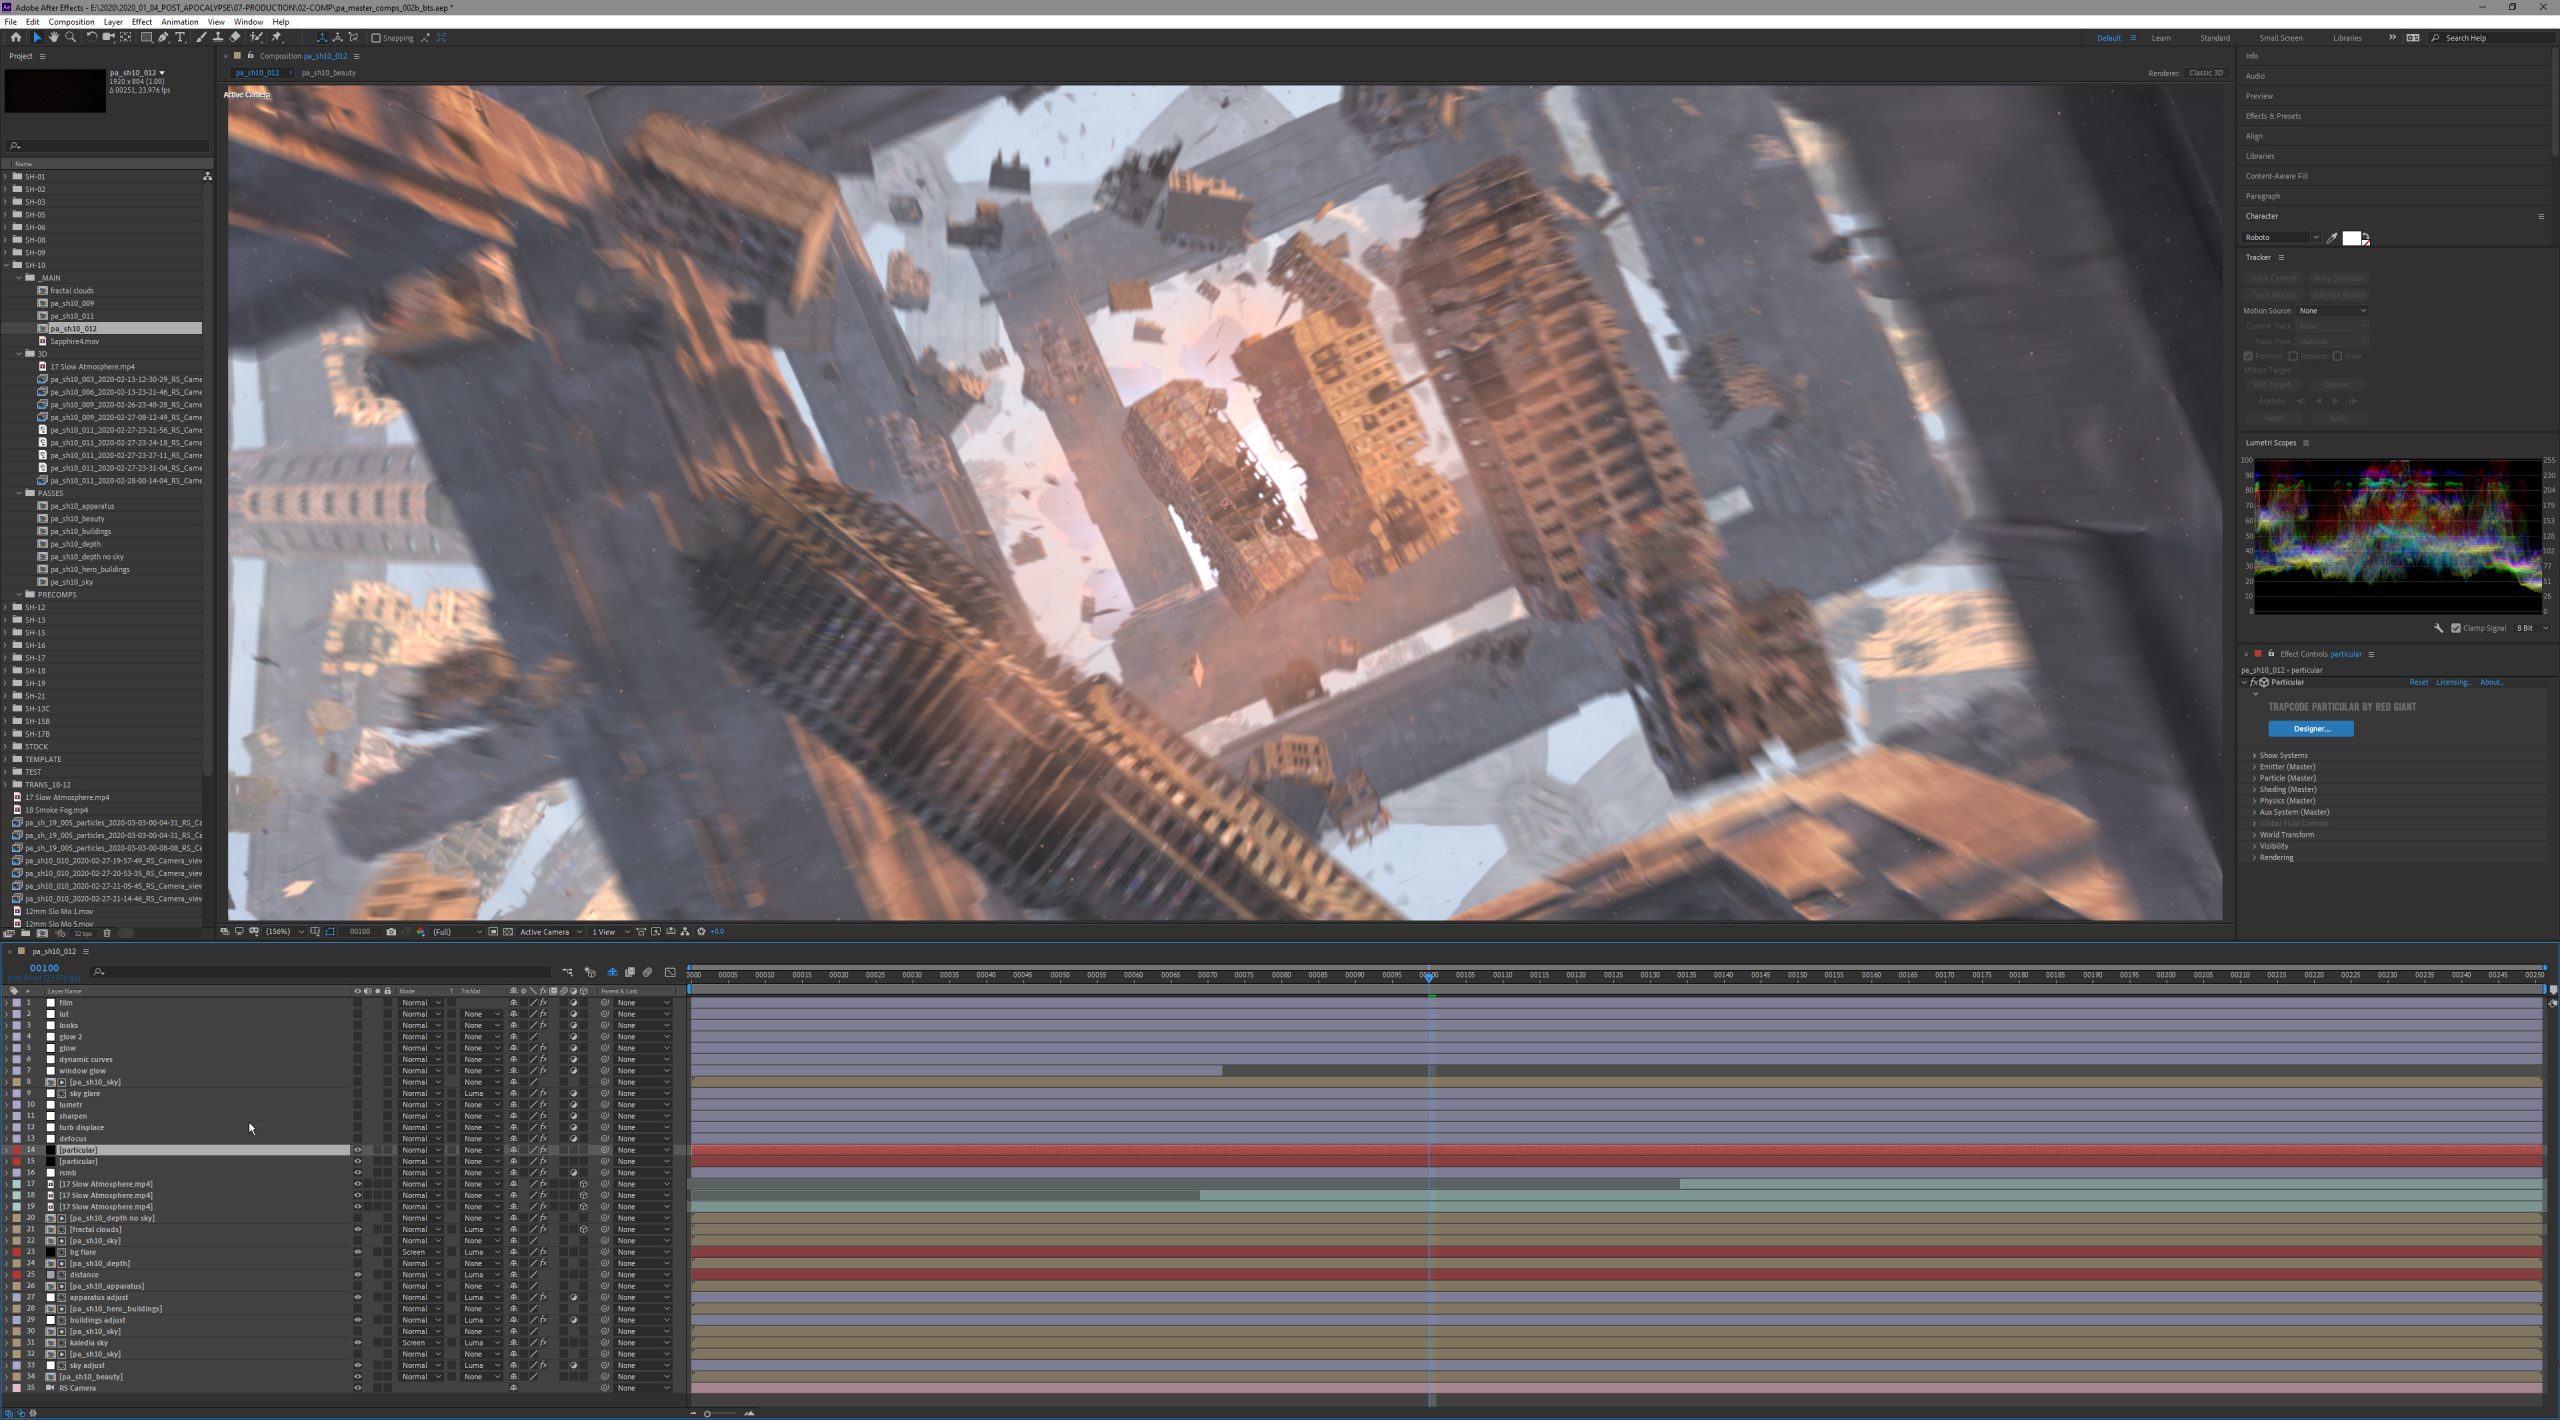
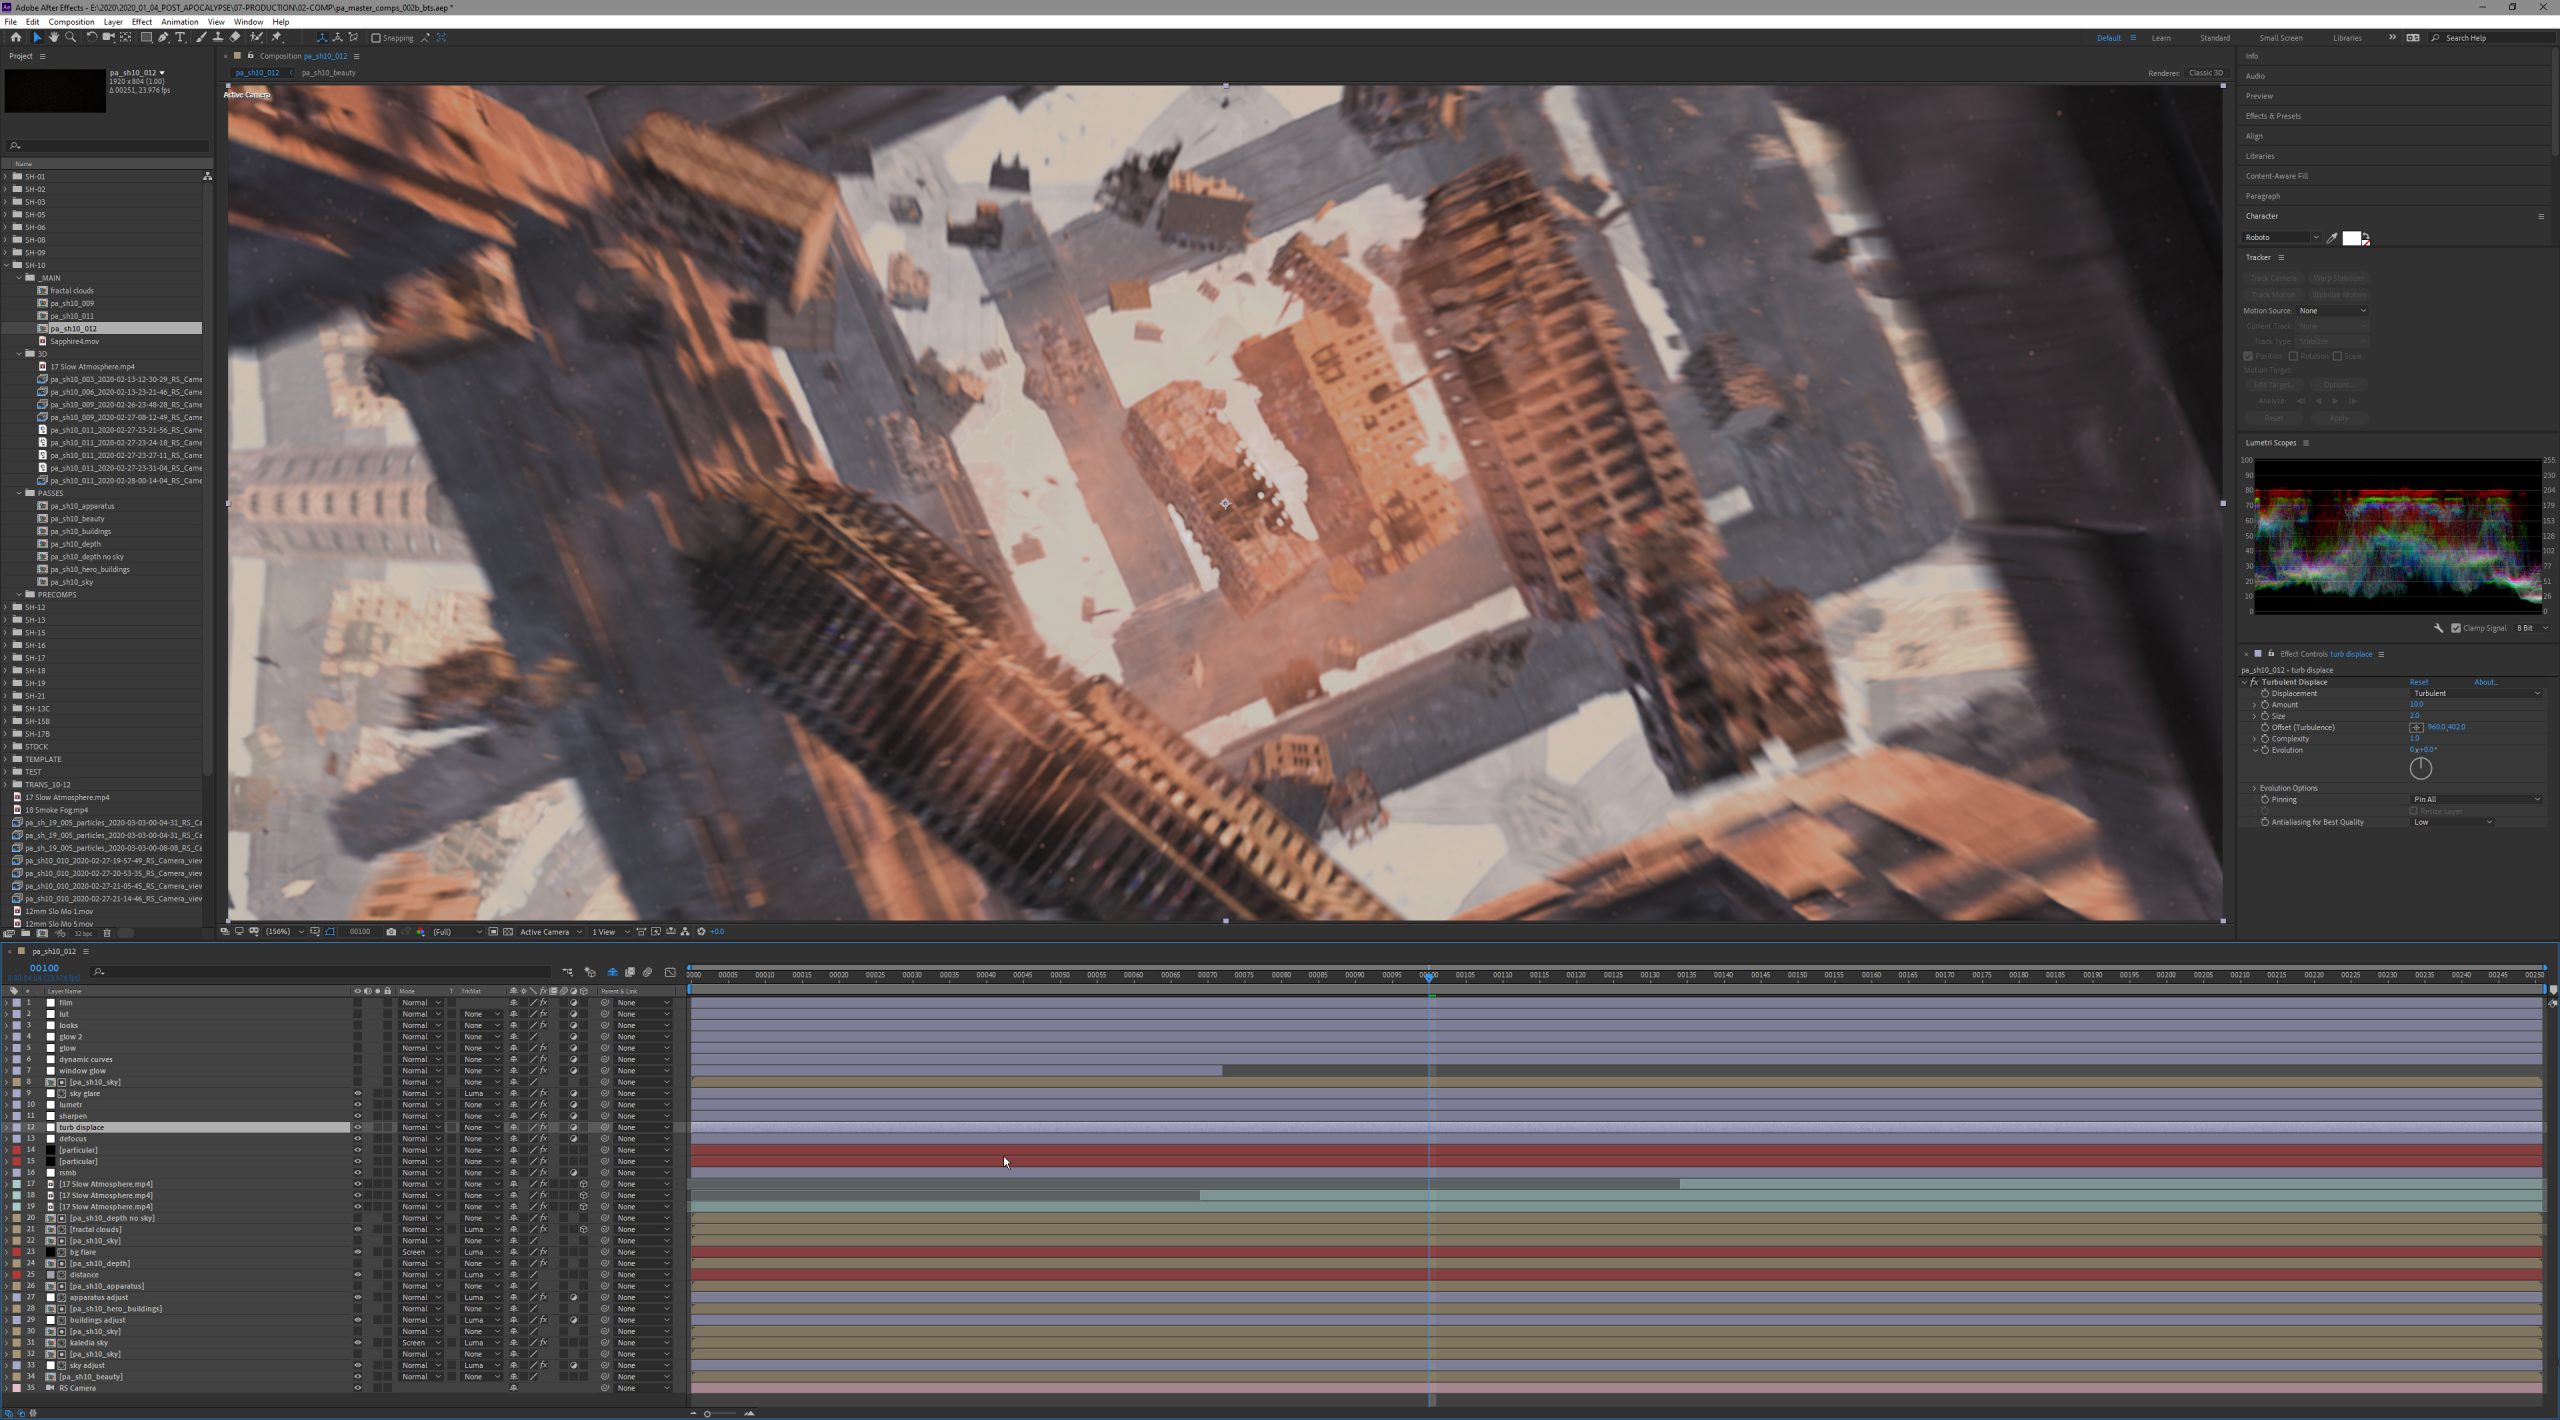

The openEXR format allows me to embed multiple passes that enable me to isolate elements of the 3D render for detailed adjustments. Quite the timesaver, especially when this shot here took upwards of eight or nine hours to render.
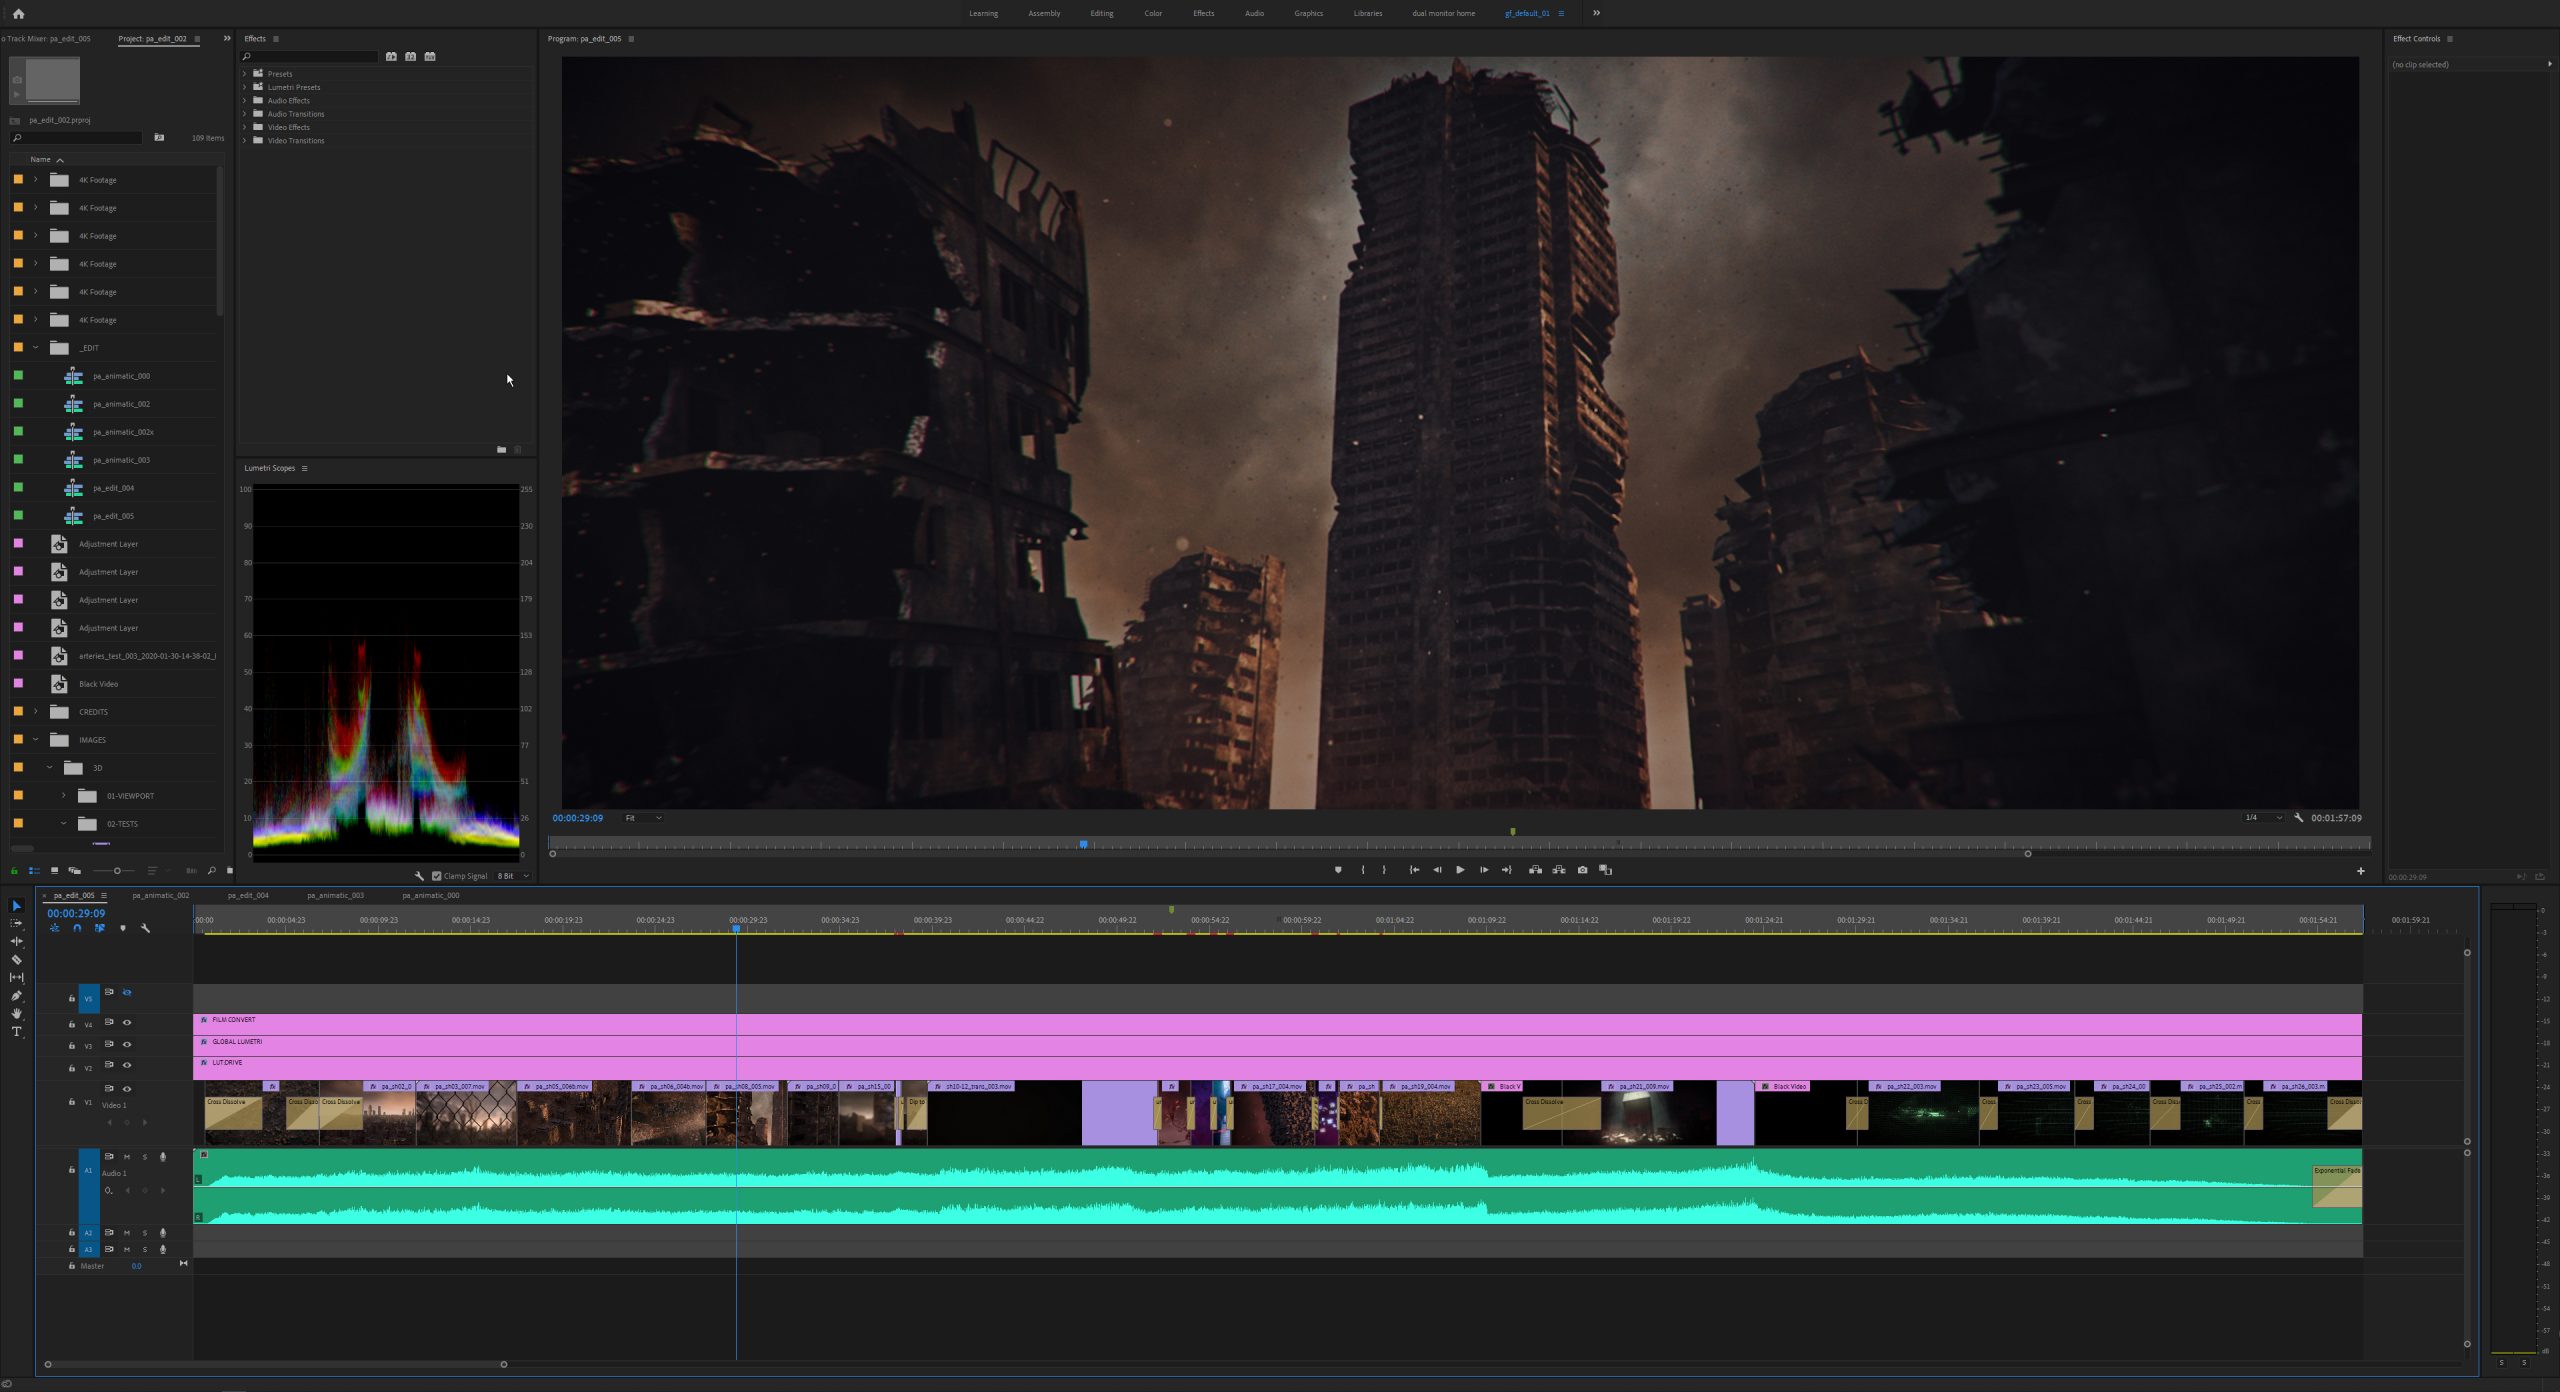
Production : Final Edit + Grade
Composited shots were rendered out of After Effects as ProRes QuickTime clips and imported into the editing timeline. Finishing image adjustments were made with a combination of Lumetri Color and Red Giant’s Magic Bullet suite. Film emulation and grain was applied with Film Convert Nitrate.
Keeping it Together
In an effort to keep things mostly sane during a two-month production time-frame, I used this Google Sheet to keep an eye on things. Status, notes, and render times were all tracked here.
Final Thoughts

Elevating your story through truly moving images.
Let's collaborate on something awesome.

©2023 BOTCHED CREATIVE LLC